Introduction
This document describes the required steps to add UCS Director (UCSD) as a cloud to an existing CloudCenter instance.
Prerequisites
Requirements
Cisco recommends that you have knowledge of these topics:
- Cisco CloudCenter
- UCS Director
Note: This document assumes that UCSD is already fully configured and Cisco CallManager (CCM), which manages CloudCenter is already configured as well.
Components Used
The information in this document is based on CloudCenter v4.8.1.
The information in this document was created from the devices in a specific lab environment. All of the devices used in this document started with a cleared (default) configuration. If your network is live, make sure that you understand the potential impact of any command.
Limitations
- Appliances are not available for this integration, it is recommended to do a manual install of these components, however instructions are included below for how to modify a VMware appliance to be compatible with UCSD. For instructions on how to manually install the components, please contact Cisco TAC.
- UCSD does not support HA for the CCO or AMQP
- One CloudCenter system can only connect to one UCSD and one UCSD can only connect to one CloudCenter
Configure
Step 1. Deploy an AMQP and CCO VMware appliance to the UCSD environment, these appliances can be gained from https://software.cisco.com or by contacting Cisco TAC.
Step 2. Configure the two appliances to have fixed IP addresses.
Step 3. Secure Shell (SSH) into the AMQP.
- Run /usr/local/osmosix/bin/gua_config_wizard.sh
- Enter the CCM IP address or DNS name.
- Enter the CCO IP address or DNS name.
Step 4. SSH into the Cisco Connection Online (CCO).
- Run /usr/local/cliqr/bin/cco_config_wizard.sh
- Enter the AMQP IP address or DNS name.
- Enter the Guacamole IP address or DNS name (same as the AMQP).
- Edit /usr/local/osmosix/etc/cloud and /usr/local/osmosix/etc/profile.properties and then replace VMware with CiscoUCSD in both files.
- Run init 6 which reboots the CCO.
Step 5. SSH into the CCM.
- In order to stop tomcat, run /etc/init.d/tomcat stop
- In order to login into the database, run psql -d cliqrdb -U cliqr and contact Cisco TAC for the password.
- In order to update the database, run update IMAGES set private_img=TRUE where name='Callout Workflow';
- In order to start the tomcat, run /etc/init.d/tomcat start
Step 6. Login to CCM through a browser.
- Navigate to Admin >Clouds > Add Cloud
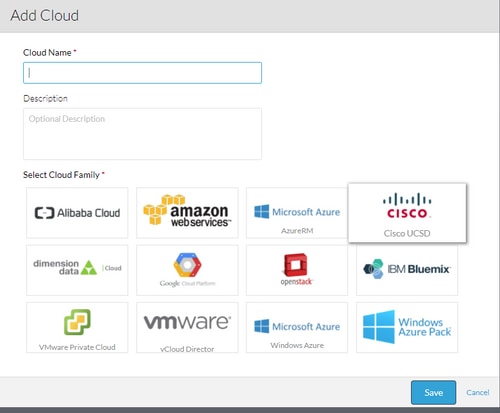
- Select Cisco UCSD and give it a name, as shown in the image.
- Select Add Cloud Account and Name the account, and provide the UCSD Address, UCSD Admin API Key, and the UCSD Folder Name where the workflows are stored.
- Select Add Region and Provide Region name and a Display Name for the Region.
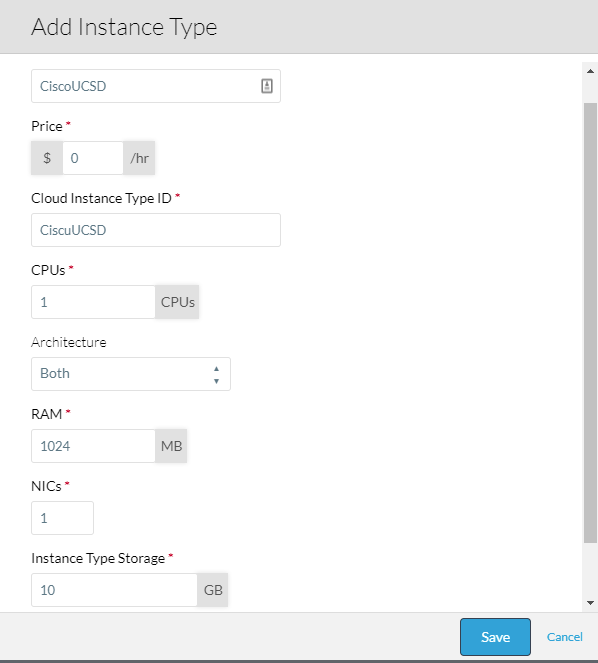
- Under Configure Region, Select Configure Orchestrator and provide the Orchestrator IP or DNS and Guacamole IP or DNS (Same as AMQP). Then select Add Instance Type and fill out the fields, this is a dummy instance and does not matter what is entered.
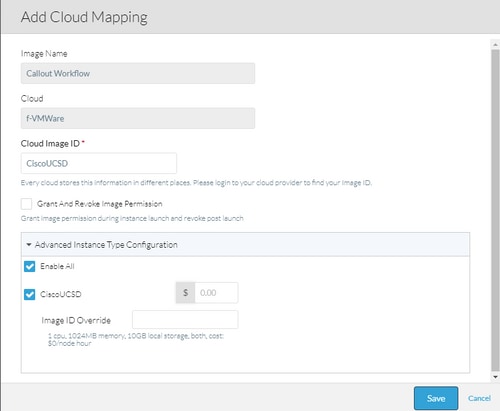
- Select Add Mapping beside Callout Workflow image and provide a dummy Cloud Image ID also Ensure the mapping is enabled for the dummy instance type configured in the previous step.
- Add UCSD Cloud to a Deployment Environment.
At this point, the configuration from CloudCenter is complete. However, CloudCenter relies on UCSD informing it of certain steps, which by default UCSD does not do. These steps are to be performed on the UCSD interface.
Step 1. Add a User Output with a JSON_OUTPUT Label and a Type of gen_text_input

Step 2. Import Cliqr_Wait task that is attached to this guide.
Step 3. Add Cliqr_Wait task to the end of each workflow that CloudCenter runs.
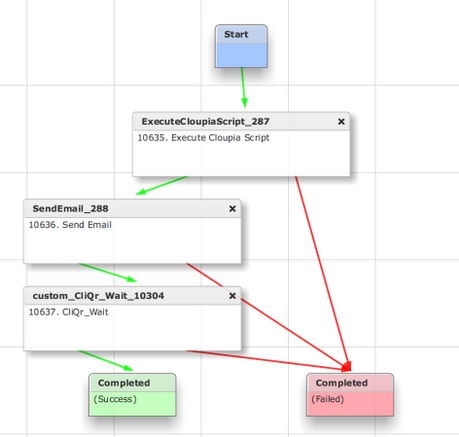
This task reports back the SR ID to CloudCenter, this allows CloudCenter to determine that the workflow ran successfully, and gives it the ID that rollbacks the workflow
Step 4. Import the RollBack task and add it to the Termination workflow.
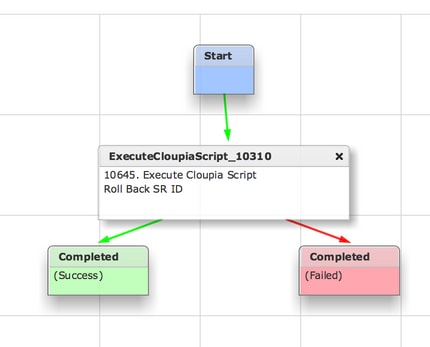
UCSD should now be fully configured. To add a Workflow, model an app and add the UCSD Workflow service. Default parameters can be entered on the right side of the Topology Modeler. All parameters that UCSD needs can be entered at deployment time
Related Information
