Introduction
This document describes how to replace the Active or Standby node of Smart Software Manager (SSM) On-prem in a High Availability (HA) Environment.
Background Information
At the time of the deployment of the on-prem servers, they are deployed as standalone nodes. There are not any concepts implemented as secondary deployment. This is because of the way the on-prem application is developed. There are multiple containers integrated into a single entity and hosted as an end application to the users.
So the best practice would be:
|
Node
|
IP
|
Reference Values
|
|
A
|
x.x.x.a
|
10.106.43.11
|
|
B
|
x.x.x.b
|
10.106.43.13
|
|
Virtual IP (VIP)
|
x.x.x.c
|
10.106.43.17
|
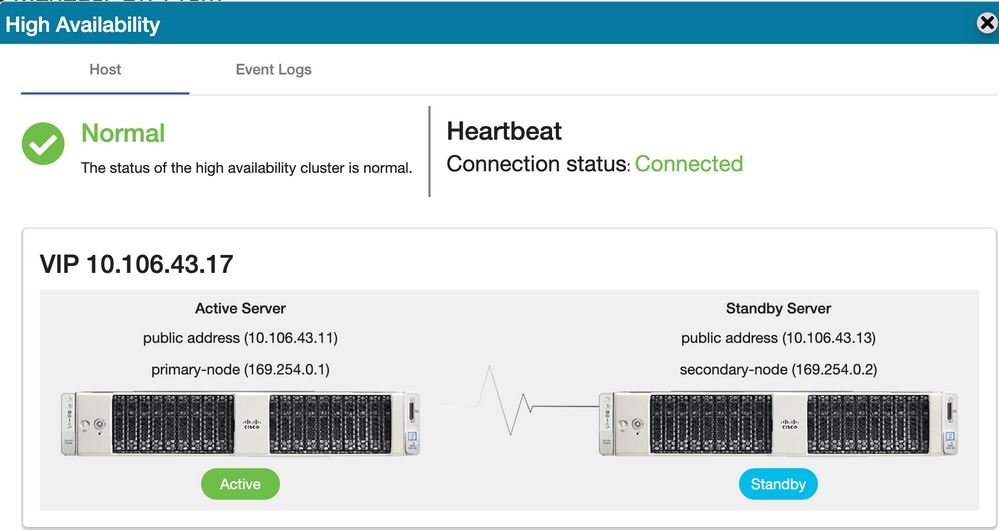
Let us say HA is integrated and it is in place. Node ‘A – x.x.x.a’ is the active node and node ‘B – x.x.x.b’ is in standby mode and Virtual IP (VIP) would be ‘x.x.x.c’.
Initially, the actual HA status when intact would be normal as shown in the image.

Replace the Active Node
Let us assume as a user, you want to replace your active node.
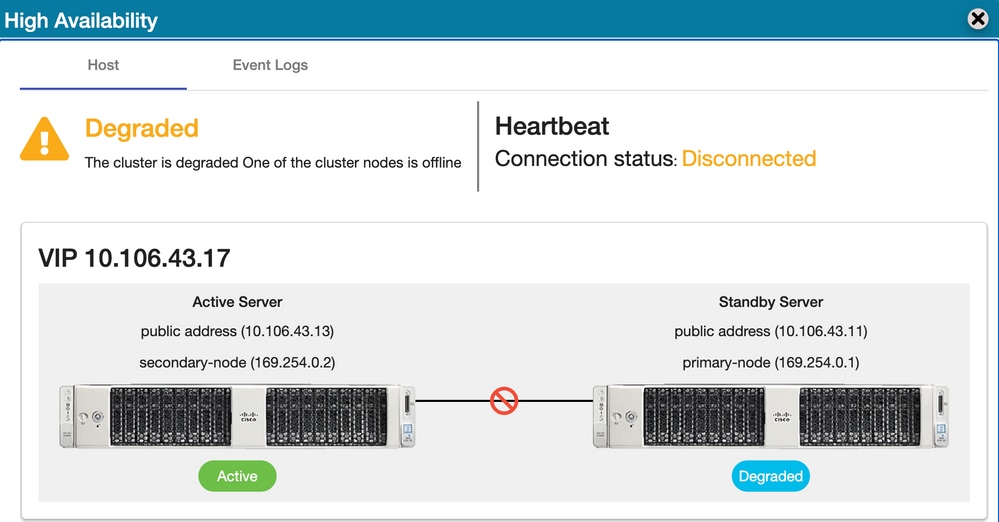
In this scenario, your standby node would take over the active node position and the network would remain to function over the VIP.

The user could replace the active node with these steps:
- Take a valid backup from the currently active node (which would be the standby node).
- Run the command ha_teardown from that node through the on-prem console.
- Deploy a fresh on-prem server and make sure the versions match.
- Later restore the collected backup on this newly built node.
- Then initiate HA from scratch.
Replace the Standby Node
Let us assume as a user, you want to replace your standby node.
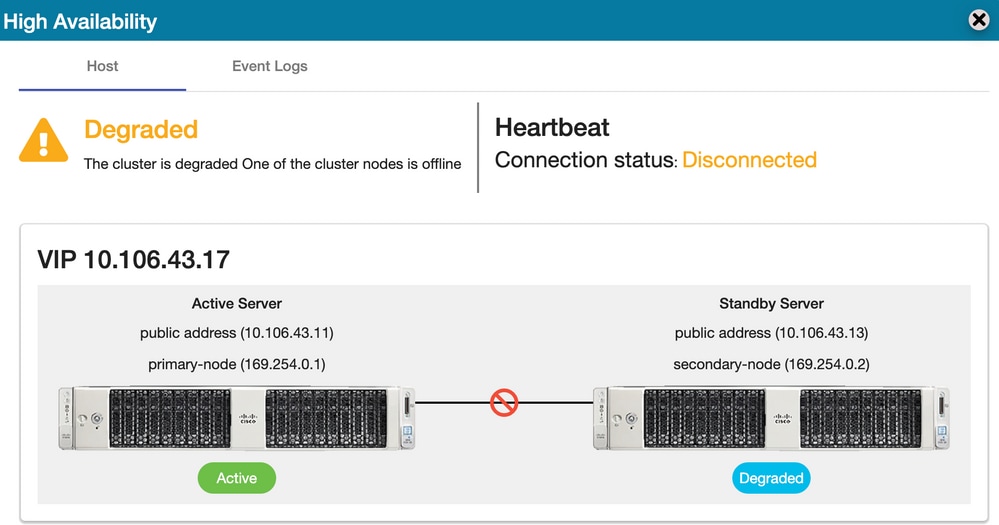
In this scenario, your active node would remain as it is and the network would remain to function over the VIP.

The user could replace the standby node with these steps:
- Run the command ha_teardown in the active node through the on-prem console.
- Deploy a fresh on-prem server and make sure the versions match.
- Then initiate HA from scratch.
Steps to Form HA in an On-prem Server
The step-by-step procedure to form HA from scratch:
1. On Active Node
- on-prem console.
- ha_generatekeys <HA cluster password>.
2. On Standby Node
- ha_provision_standby.
- Enter IP address of the active node: <x.x.x.a>.
- Enter the private IP address of the active node: <leave the default values>.
- Enter IP address of the standby node: <x.x.x.b>.
- Enter the private IP address of the standby node: <leave the default values>.
- Enter HA cluster password: <HA Cluster Password used in ha_generate>.
3. On Active Node
- ha_deploy.
- Enter IP address of the active node: <x.x.x.a>.
- Enter the private IP address of the active node: <leave the default values>.
- Enter IP address of the standby node: <x.x.x.b>.
- Enter the private IP address of the standby node: <leave the default values>.
- Enter virtual IP address: <x.x.x.c>.
- Enter HA cluster password: <HA Cluster Password used in ha_generate>.
Additional Information
- There are no failback/failover concepts in SSM On-Prem as there is no primary or secondary mode of design.
- The user could run the ha_teardown command only when the node is active. If it is a standby node then the system would throw the banner "Run the command on the active node first".
- You could always refer to the topic ‘Manually Installing on a VM’ in the installation guide for the step-by-step deployment procedure.
- This is the link for the installation guide of SSM On-prem version 8-202201.
- You could refer to this article for more details on the "SSM On-prem 8. x HA cluster".
If you still have any further queries on this use case feel free to open a Service Request (SR) to get complete assistance.


 Feedback