Introduction
This document describes the process to create the tests in CiscoThousand Eyes.
Prerequisites
Requirements
Knowledge of ThousandEyes.
Cisco ThousandEyes Demo or corporate account and access privileges to create a test.
Components Used
The information in this document was created from the devices in a specific lab environment. All of the devices used in this document started with a cleared (default) configuration. If your network is live, ensure that you understand the potential impact of any command.
Configure
Configurations
Step 1:
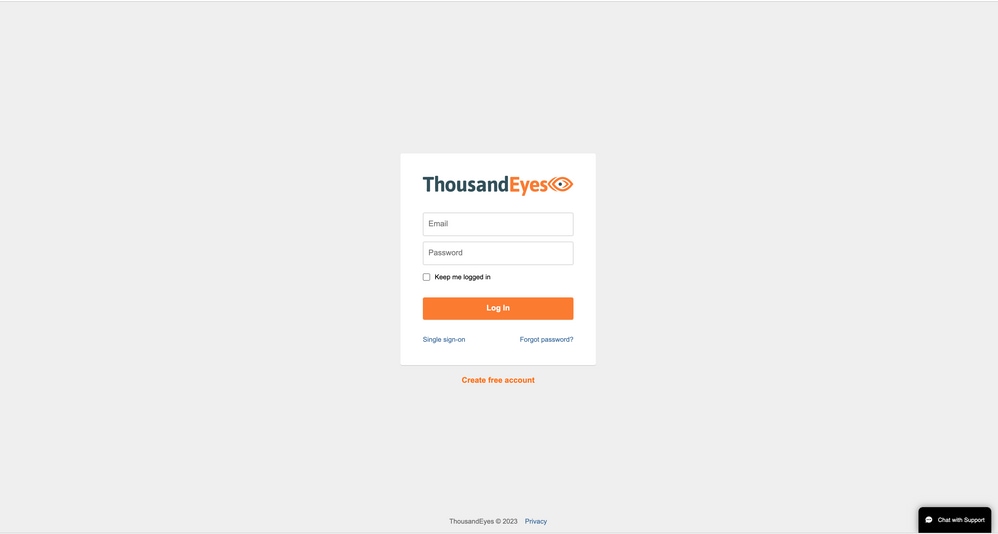
Sign in to the Cisco ThousandEyes portal.
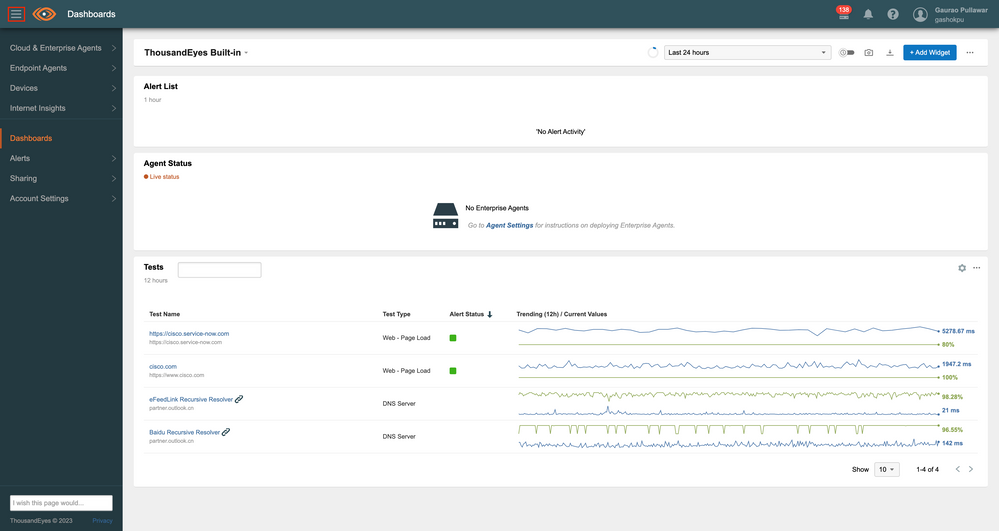
Click the Hamburger icon to navigate to the menu.
Step 2:
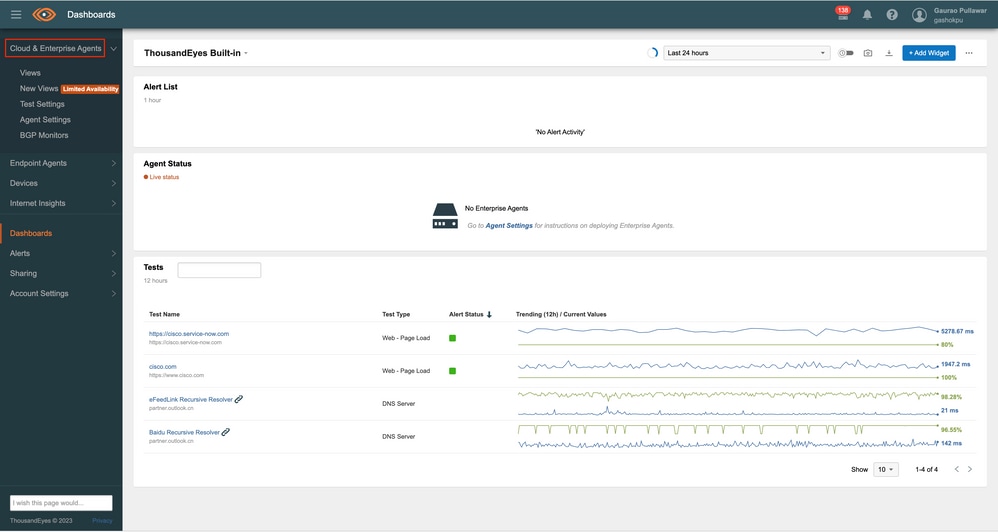
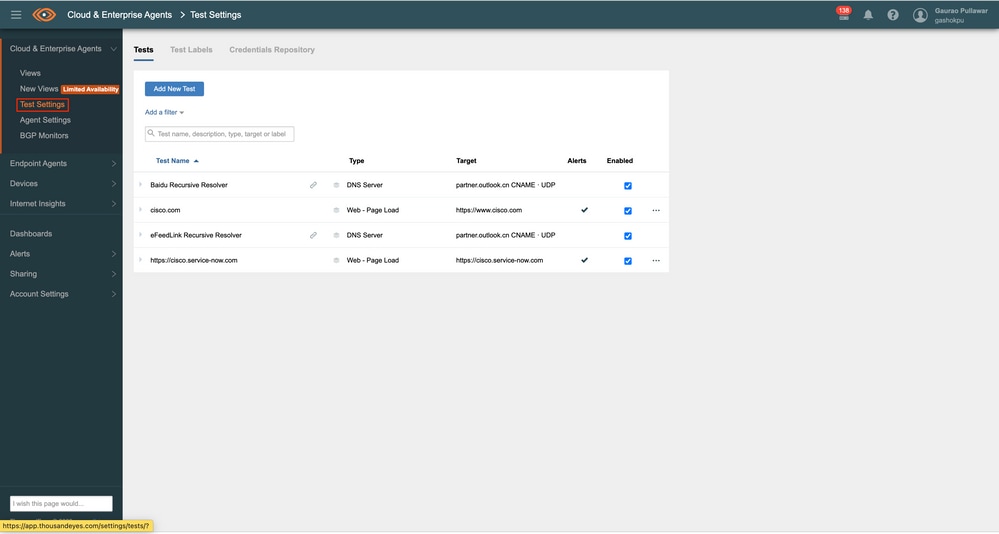
Click Cloud and Enterprise Agents and select Test Settings.
Step 3:
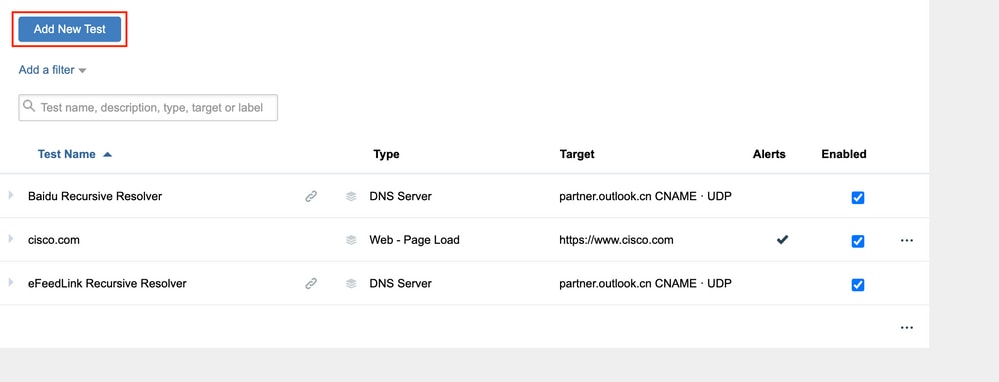
To create a new test, click the Add New Test button.
Step 4:
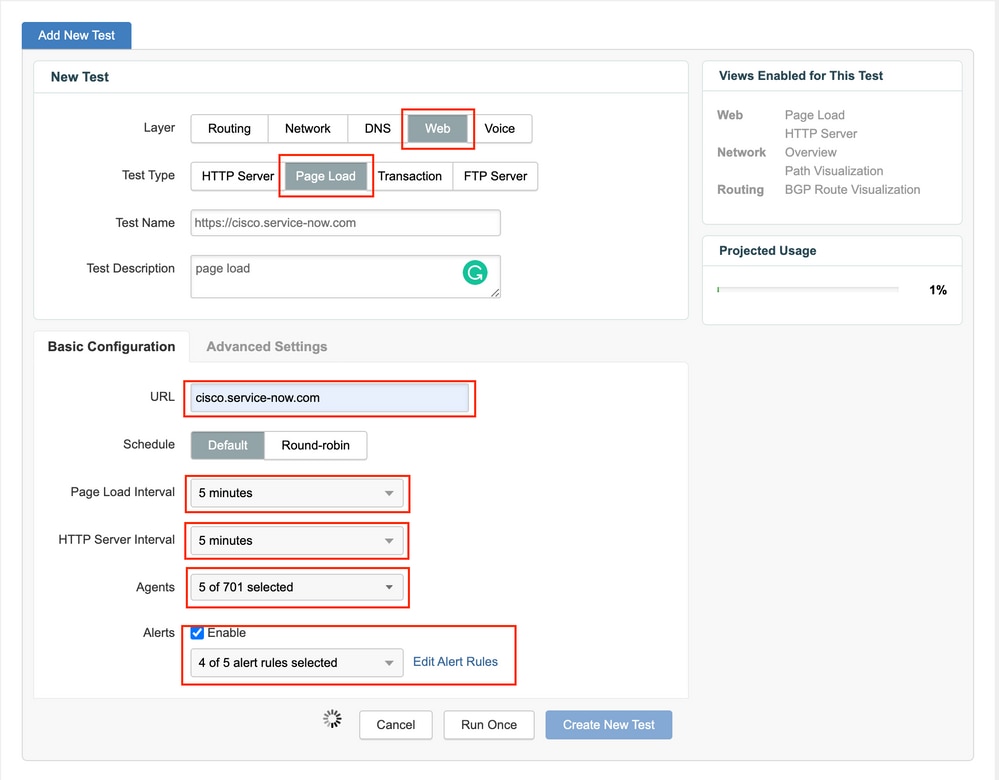
Go to the New Test section, Here you have the 5 types of layers:
- Route
- Network
- DNS
- Web
- Voice
You can choose any one of these available options.
For example, you can select the WEB layer test.
Step 5:
For the WEB layer, there are 4 types of tests:
- HTTP Server
- Page load
- Transaction
- FTP Server
For example, you can choose the Page Load test.
Step 6:
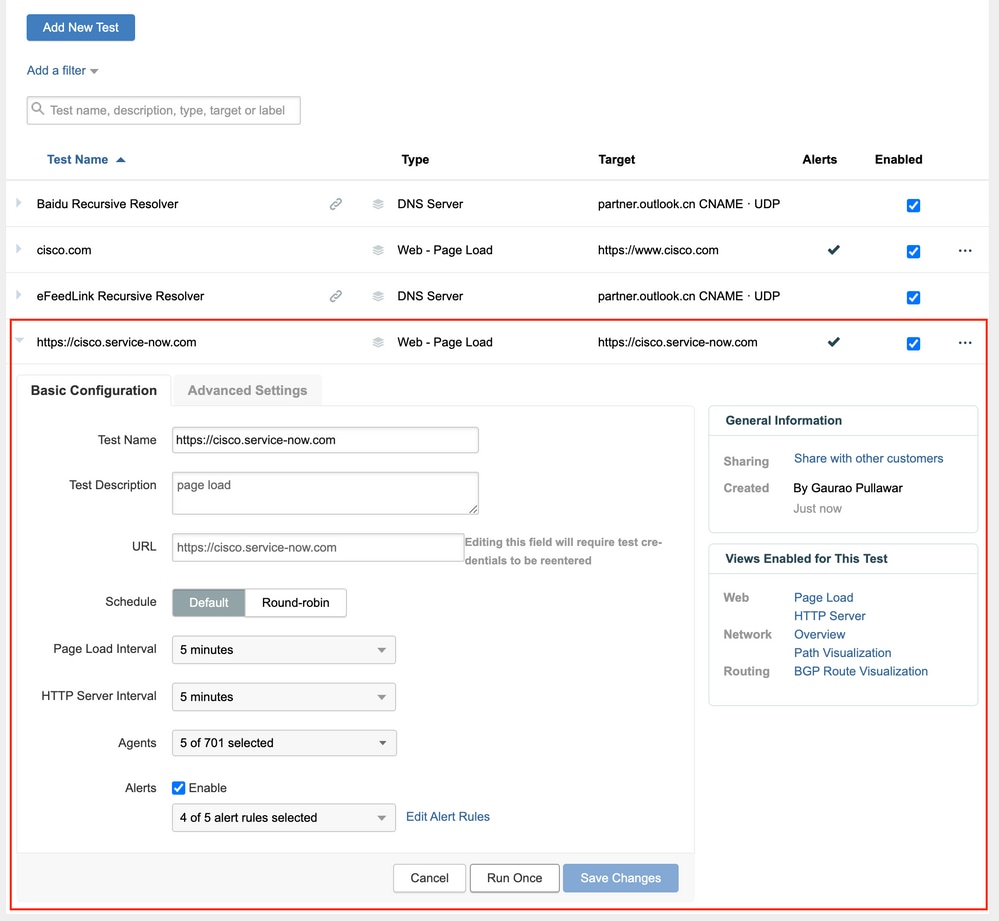
Enter the test name and description field, if the test name is not filled in, it is auto-filled by the destination URL, once it is entered.
Step 7:
Move to the Basic Configuration section.
Here you need to add the destination URL in the URL field.
Select Page Load Interval. By default it is 1 minute. You can set it up to 1 hour.
After the Page Load Interval, select HTTP Server Interval. The default value is 1 minute. You can set it up to 1 hour.
For example, 5 minutes was selected.
Step 8:
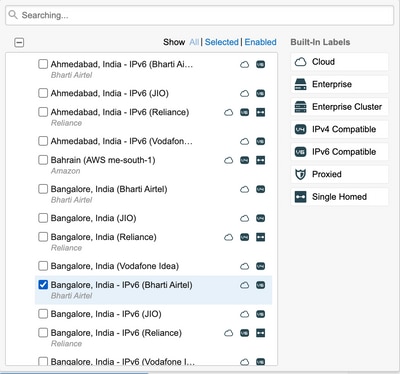
Select the agents you want to use as sources for these tests. For optimal utilization of the platform, you can choose 5 agents from all the cloud agents.
For example, these agents have been chosen:
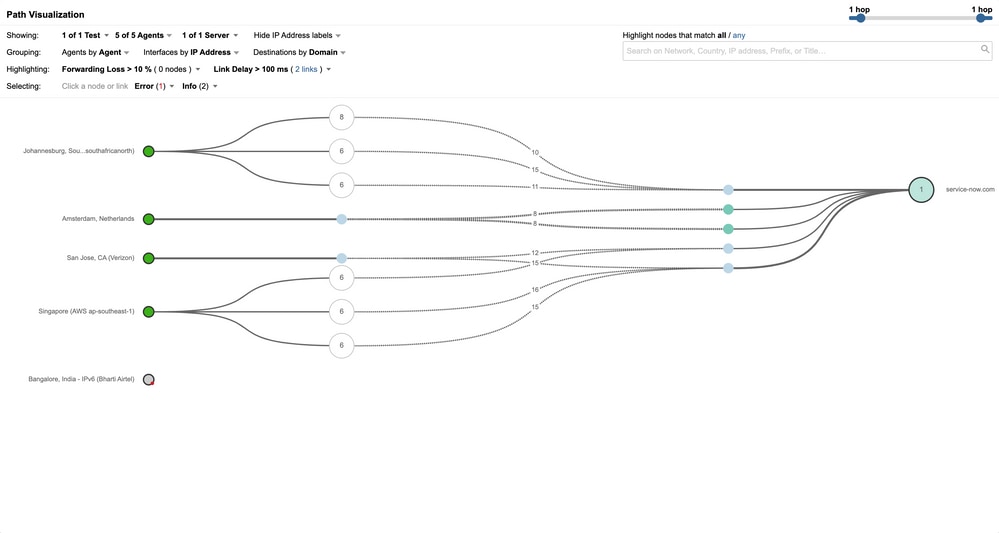
- Bangalore
- Singapore
- San Jose
- Amsterdam, Netherlands
- Johannesburg, South Africa
Step 9:
Click the check box to enable the alerts. If there are any customized rules configured, you can choose those.
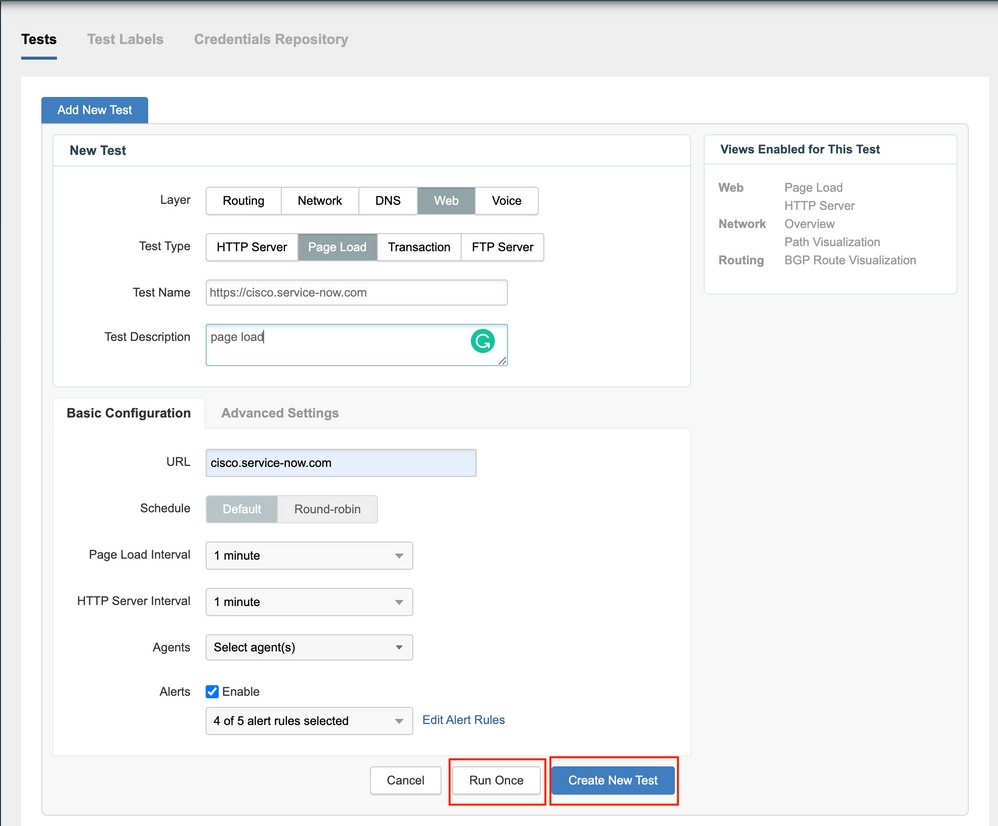
Once all the fields are filled, click the Run Once button, it executes the test and shows the results in a new tab.
If the results are satisfactory, click Create New Test.
Verify
After the test is successfully created, it can be viewed under Test Settings.
Click on the test and its details can be displayed.
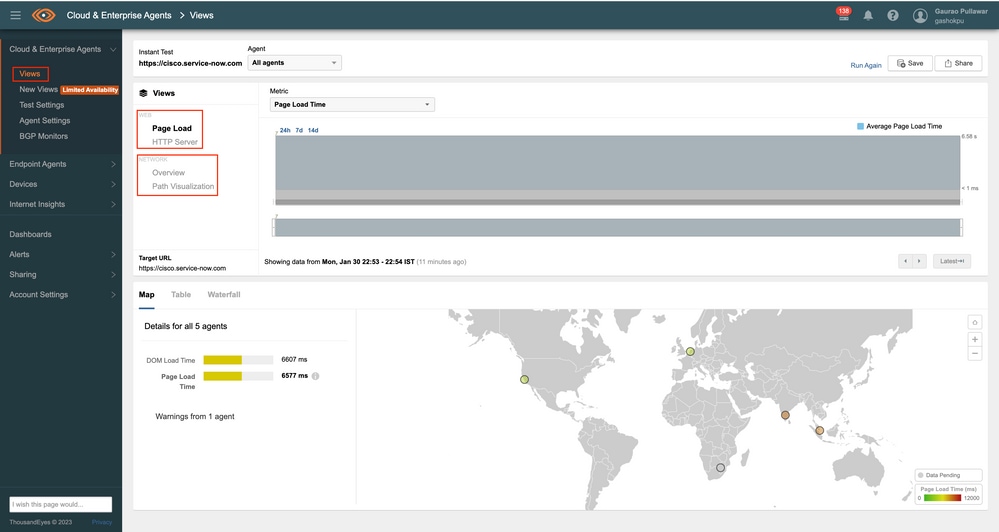
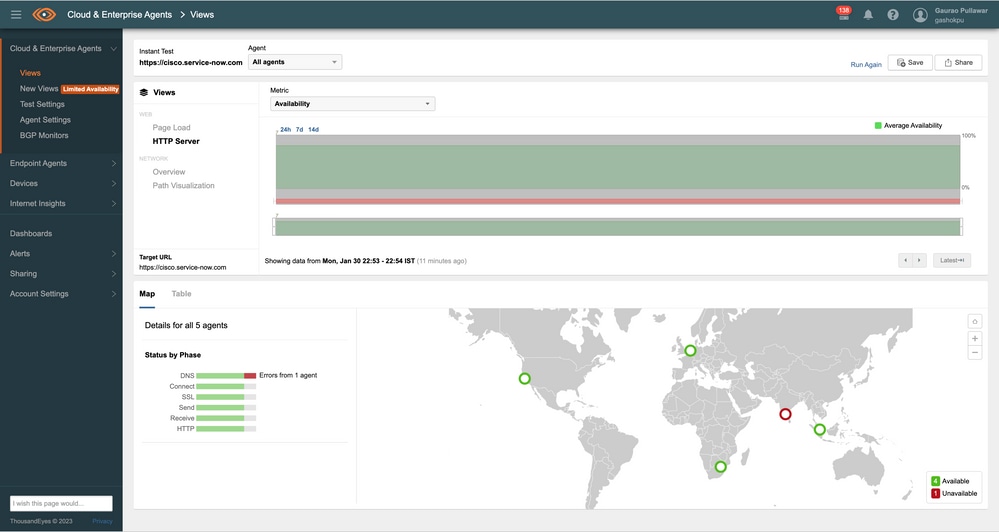
To see the results and run the test in the future, you can access it through the View menu.
These images show the test results after it is executed:


 Feedback