Introduction
This document describes how to create a phonebook from a file and how to connect it to a source in TMS (Telepresence Management Suite).
Prerequisites
Requirements
- TMS knowledge
- Access to TMS server as an administrator
Components Used
The information in this document is based on these software versions:
- TMS 15.3
- Windows Server 2012
- Notepad
The information in this document was created from the devices in a specific lab environment. All of the devices used in this document started with a cleared (default) configuration. If your network is live, make sure that you understand the potential impact of any command.
Procedure
Phonebook creation
Step 1. Open Notepad.
Step 2. Copy and paste this information
Id,Name,ISDNNumber,SIPAlias,IPNumber,IPAddress
1,Test Entry,+1 (555)1231234,system@example.com,system@example.com,10.0.0.5
2,Test Entry2,+1 (555)1111111,system2@example.com,system2@example.com,10.0.0.6;
Should look like this.
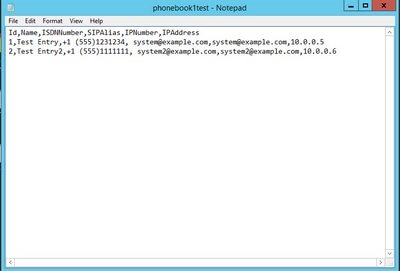
Step 3. Change the default values for the ones that you need, following the same format and save it as a .txt.
Note: You can also save it as a .csv for an cleaner view
Best practices
- The column headers must be named as follows: Id, Name, ISDNNumber, ISDNNumber2, ISDNBandwidth, Restrict, Telephone, SIPAlias, IPNumber, IPAddress, IPBandwidth.
Note: Note that IPNumber may contain an H.323 ID or an E.164 alias.
- For the Id you can use any string or number of less than 512 characters
- This format needs to be followed in order for TMS to support it.
- If you dont have a value for for a column dont type anything on that space, dont type false because the format does not accept boolean values.
How to upload phonebook source to TMS
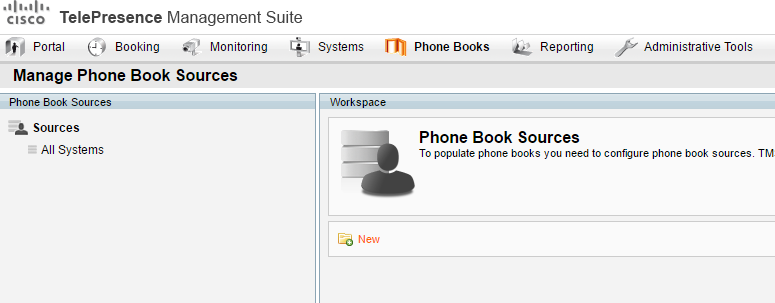
Step 1. Open TMS as an administrator, then navigate to Phonebooks > Manage Phone Book Sources.

Step 2.Click on the button New.
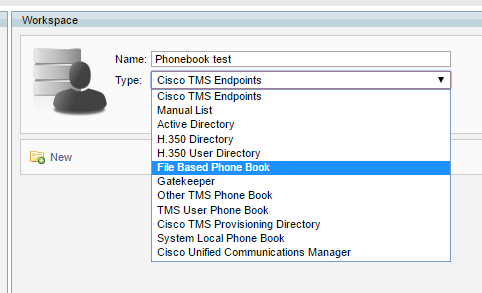
Step 3. Write a name for your phonebook source and select File Based Phone Book from the dropdown list, click on save.
Note: The name doesn't need to match the name of the .txt or .csv file.
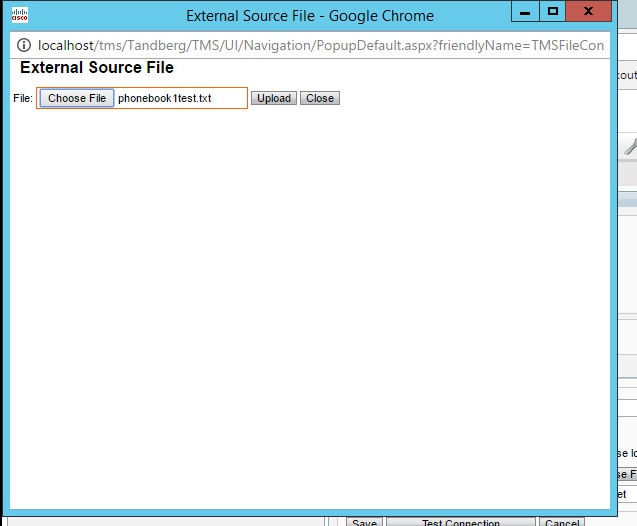
Step 4. On this page click on Browse Files and find the file (.txt) you previously created.
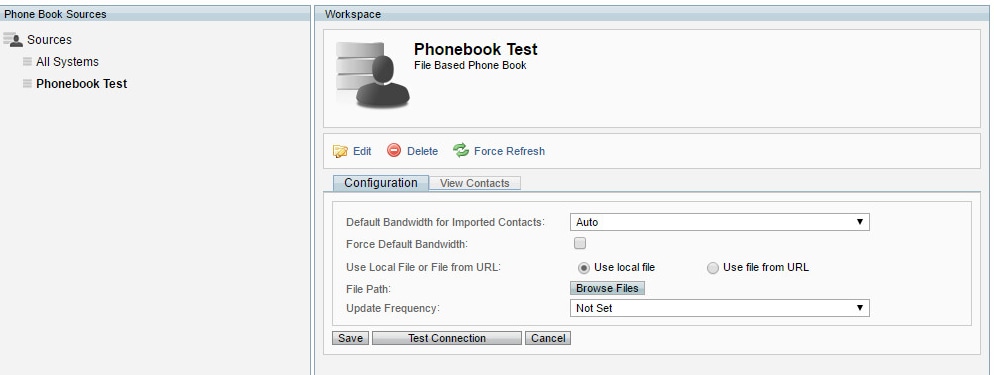
Step 5. Once you found the file click on Upload.
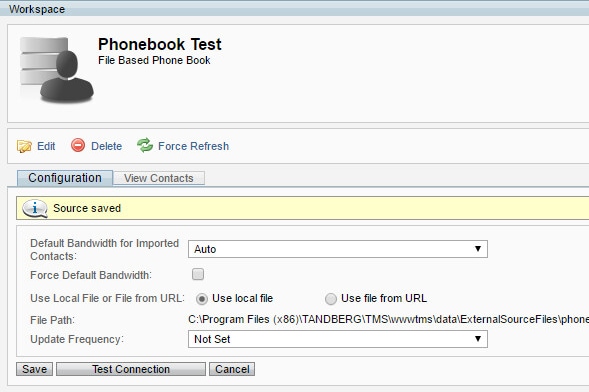
Step 6. Once you have uploaded the file click on Test Connection and save you should see a message saying Source Saved.
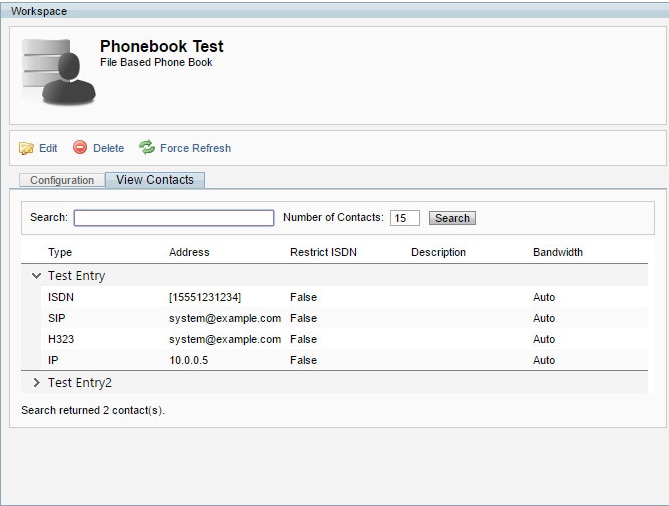
Step 7. Navigate to the View Contacts tab to verify your contacts are there and look the way you wanted them to be configured.
Step 8. If you get to this step your phonebook source is correctly created now lets proceed and add the phonebook source to a phonebook.
How to connect phonebook source to phonebook.
Step 1. Navigate to Phonebooks > Manage Phone Book.

Step 2. Choose or create a new phonebook to connect with the source you just created.
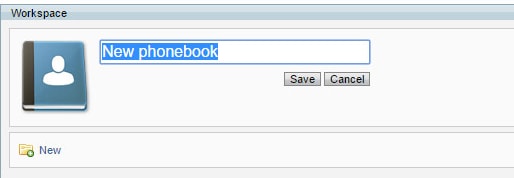
Step 3. Choose the option Connect.
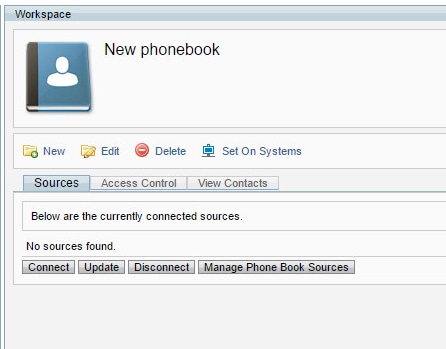
Step 4. Choose the file you created previously, in this case it's called it phonebook Test and click ok.
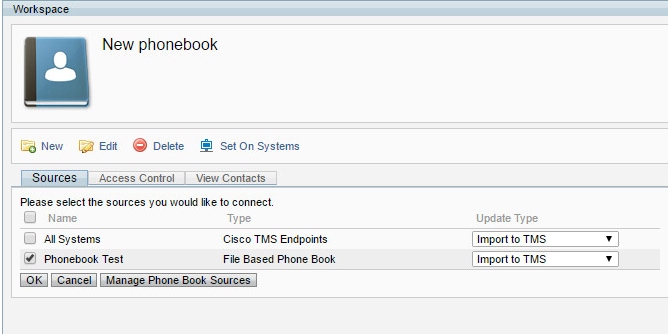
Step 5. You have successfully connected a phonebook to a phonebook source now
you can push your phonebooks to endpoints, but first verify the contacts under View contacts tab.
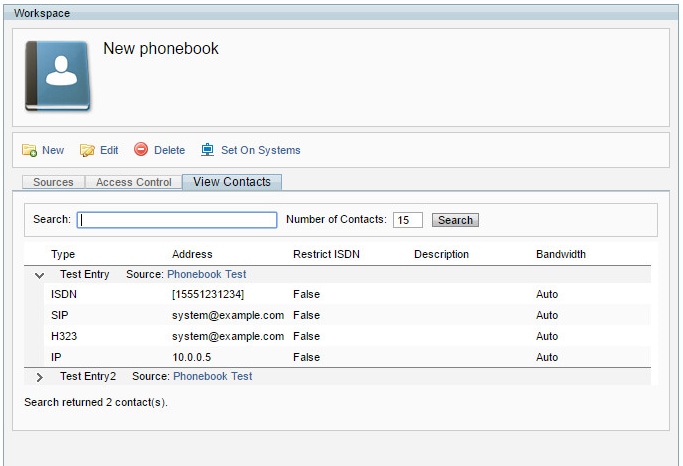
Verify
Step 1. Push the phonebook to the endpoints with the button Set on systems.
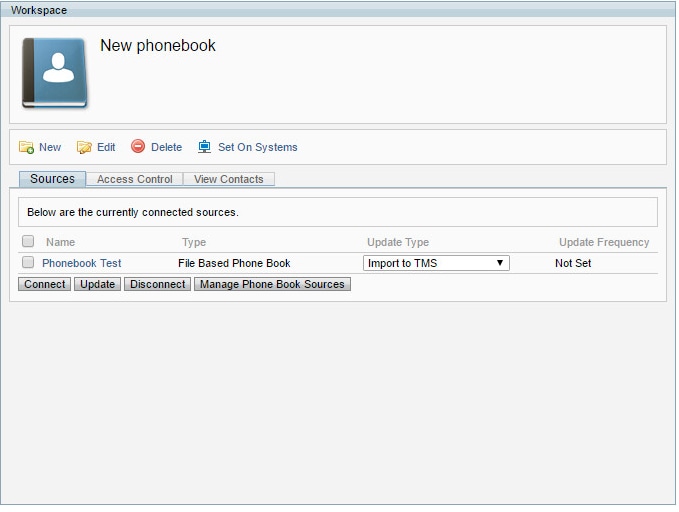
Step 2. Select the endpoints you want to push the phonebook from the left and add them to the right pannel using the arrows in the middle.
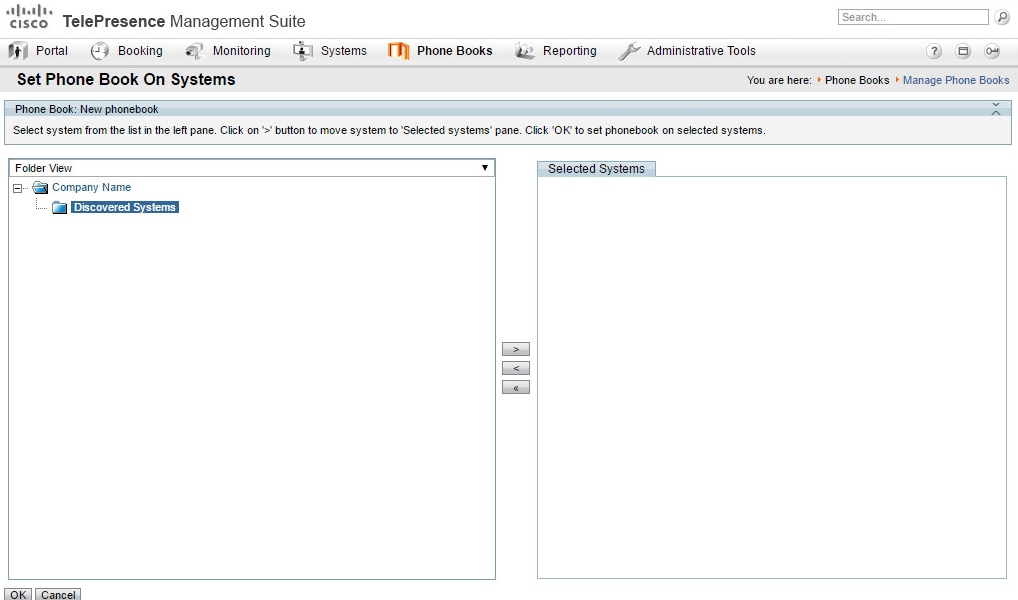
Step 3. Access to the web interface or touch panel of your endpoint and verify if you are able to view the recently pushed phonebook.
Note: Synchronization time may vary due to network, number of contacts and numer of endpoints.
