Introduction
This documents describes the procedure to create Quick Links and Quick Response in ECE. Similar procedure can be used to create Header, Footer, Greetings, Signatures and Auto Acknowledgements for e-mails.
Prerequisites
Requirements
Cisco recommends that you have knowledge of these topics:
- Cisco Unified Contact Center Enterprise (UCCE)
- Cisco Finesse
- Cisco ECE
Components Used
The information in this document is based on these software and hardware versions:
- UCCE 11.6
- Finesse 11.6
- ECE 11.6
The information in this document was created from the devices in a specific lab environment. All of the devices used in this document started with a cleared (default) configuration. If your network is live, ensure that you understand the potential impact of any command.
Problem: How to Create Quick Links and Quick Responses in ECE
You can see how to add ECE Quick Links and Responses for Chat and also Header, Footer, Greetings, Signatures and Auto Acknowledgements for Emails.
Solution
Step 1. Log in into PA console and choose Knowledge Base under Authoring section.
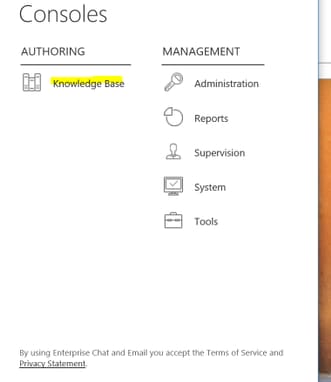
Step 2. When you navigate under Knowledge Base, you would see these options.
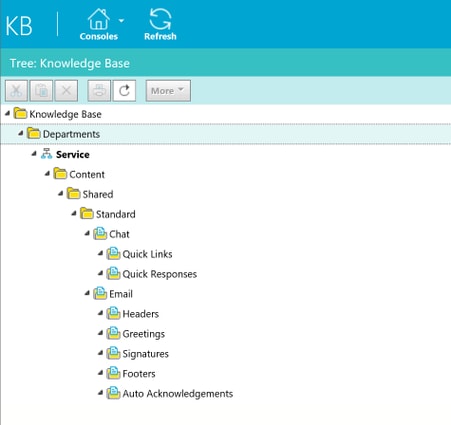
Step 3: Navigate to Chat > Quick Links:
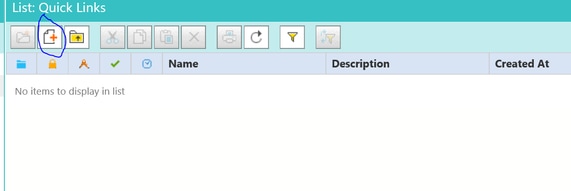
Step 4. Click New Article. Create the article name and provide the contents:

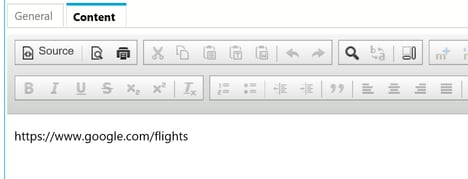
Step 5. Once you updated the content, save and click on Check In, Checkout and Publish.


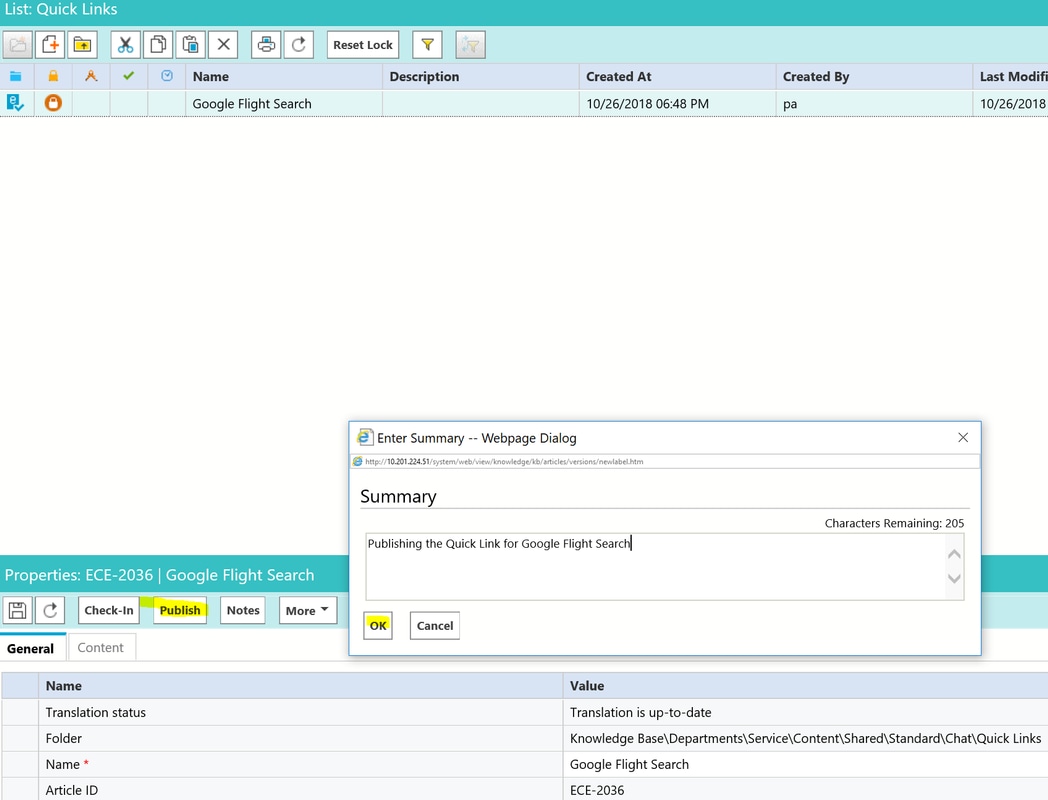
As soon as you publish, the article is ready to integrate with available Queue’s.

For Quick Response:
Procedure is same as Quick Links configuration. Navigate to PA console > Knowledge Base > Departments > Service > Content > Shared > Standard > Chat > Quick Response
Step 1. Create a new article.


Step 2. Save it and Navigate to the Content tab and enter the Welcome message and Save the Content.

Step 3. Once you save it. Click Check-In, Checkout and Publish. Quick Response is ready to Integrate with Queue’s now.
This section of the article describes how to integrate the article you have created for a Queue.
Step 1. Return back to Administrator Console and Navigate to Queue and Select the Queue for which you have the KB articles created.
Step 2. Once you select the Queue, click on Chat and you can see the articles. Now you have moved the article from Available to Selected and Save it.
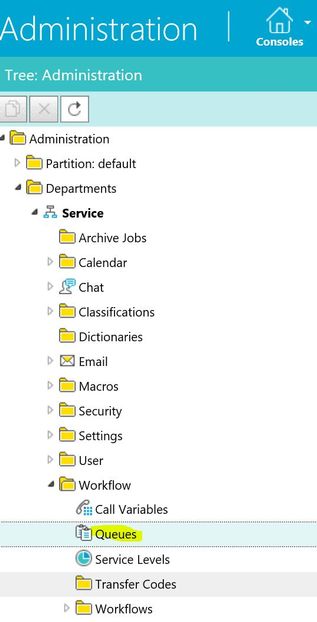
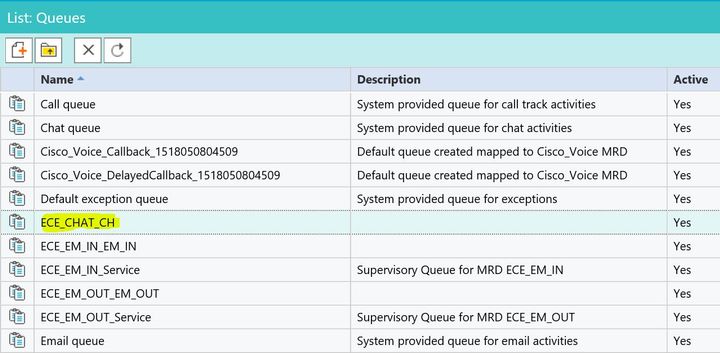
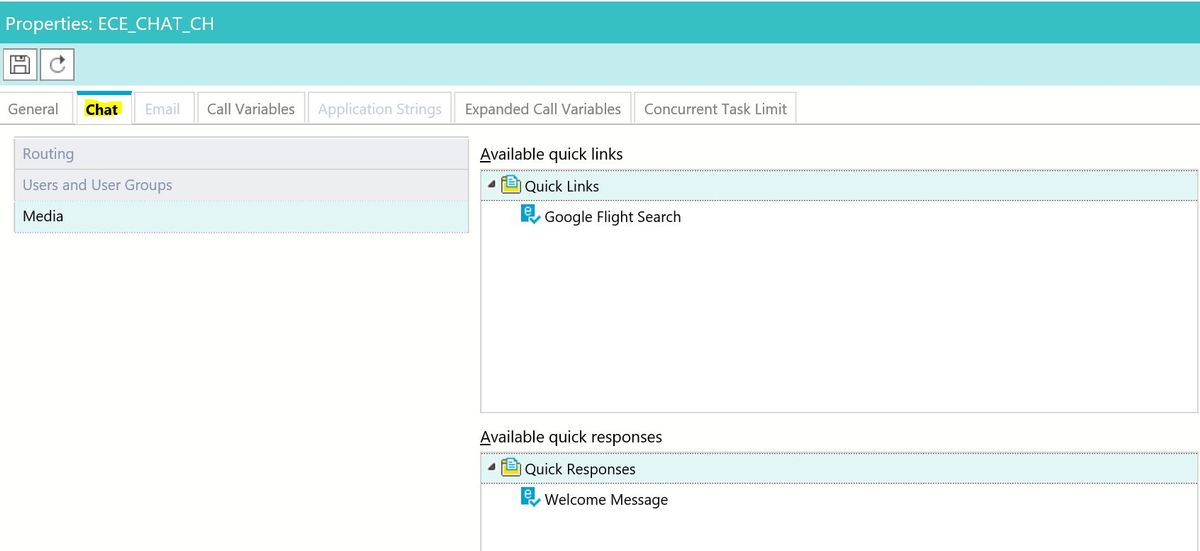
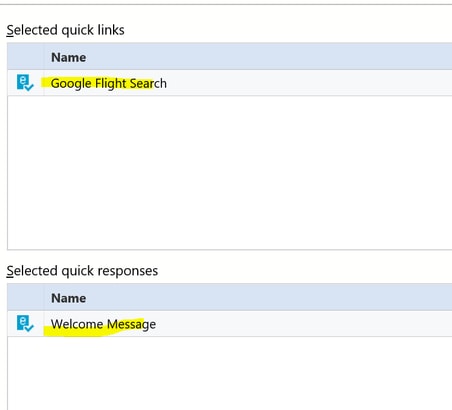
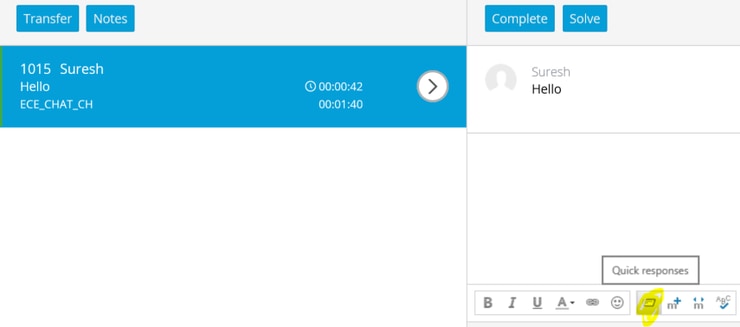
As soon as agent receives the Chat, Agent can choose their Quick Response or Quick Links:


You can use the same procedure for Email queues, in order to create Header, Footer, Greetings and Auto Acknowledgments.
