Introduction
This document describes the steps to configure Webex Connect with Facebook.
Contributed by Mykola Danylchuk, Cisco TAC Engineer
Prerequisites
Requirements
Cisco recommends that you have knowledge of these topics:
- Webex Contact Center (WxCC) 2.0
- Webex Connect portal with Facebook flow configured
Components Used
The information in this document is based on these software versions:
- WxCC 2.0
- Webex Connect (Formally IMI)
The information in this document was created from the devices in a specific lab environment. All of the devices used in this document started with a cleared (default) configuration. If your network is live, ensure that you understand the potential impact of any command.
Configure
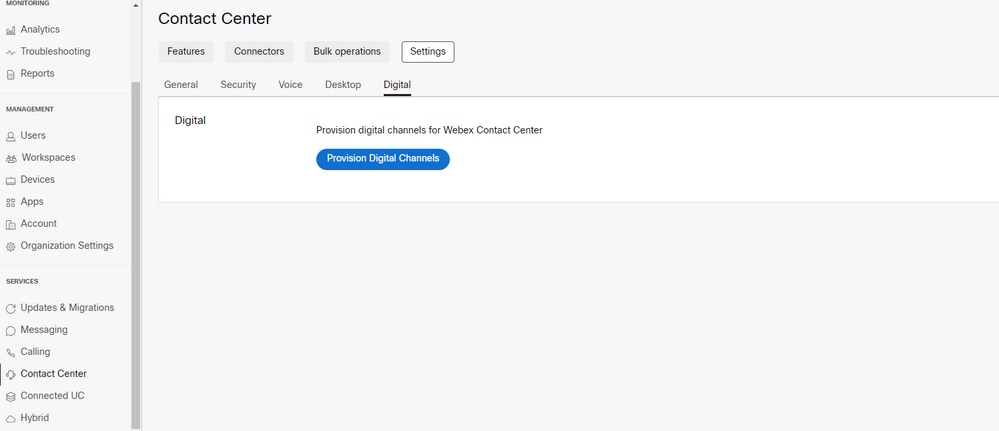
Step 1. Provision Digital Channel.
Navigate to Control Hub > Contact Center > Digital, and select Provision Digital Channels.
After the connector is provisioned you can see the digital channels under the Custom Connectors card.
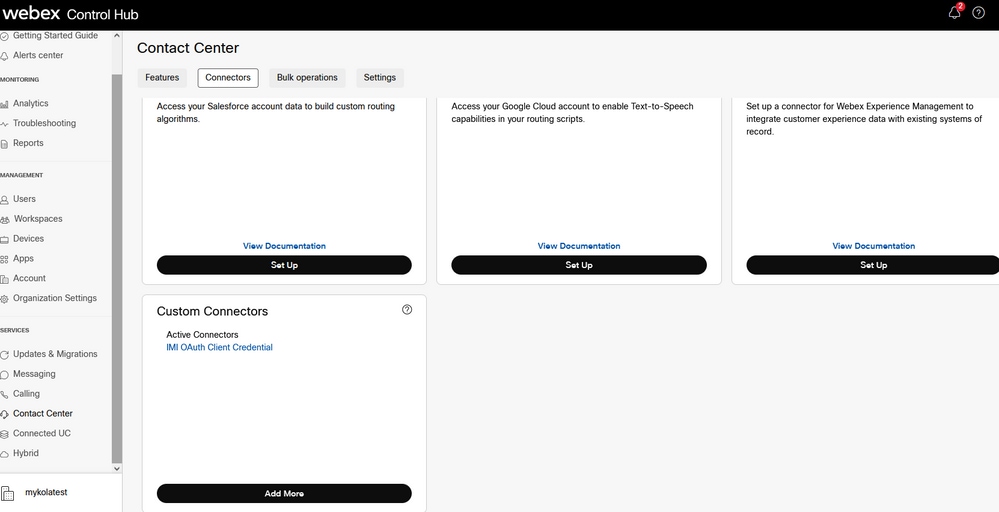
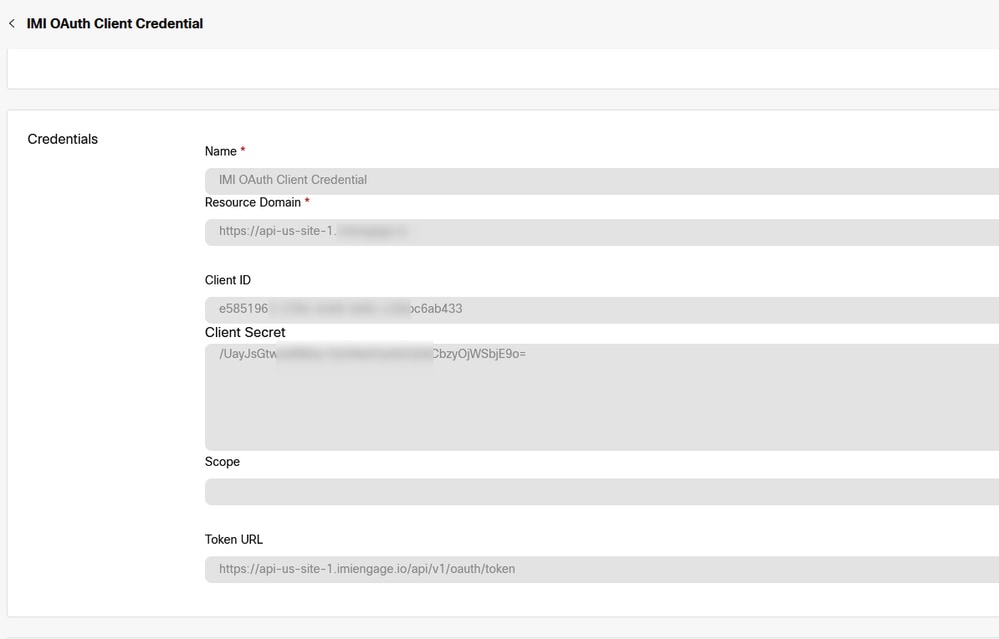
Open the connector in order to see authentication details.
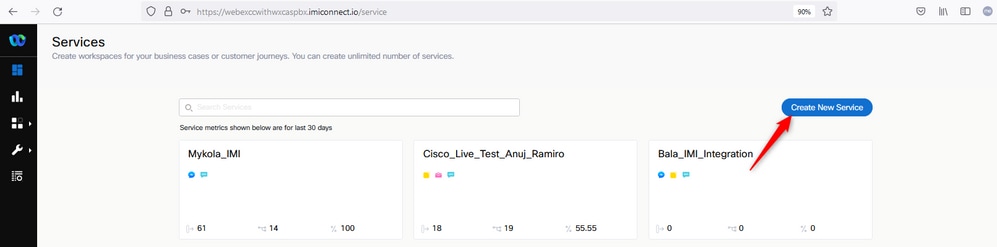
Step 2. Create Service in Webex Connect portal.
If you still do not have any services created for your tenant or if you want to separate all your integrations from other users, please create a new service.
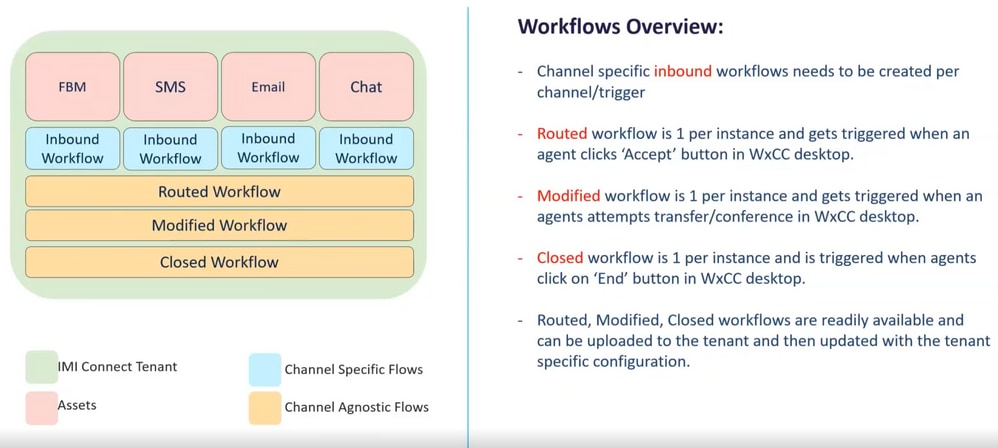
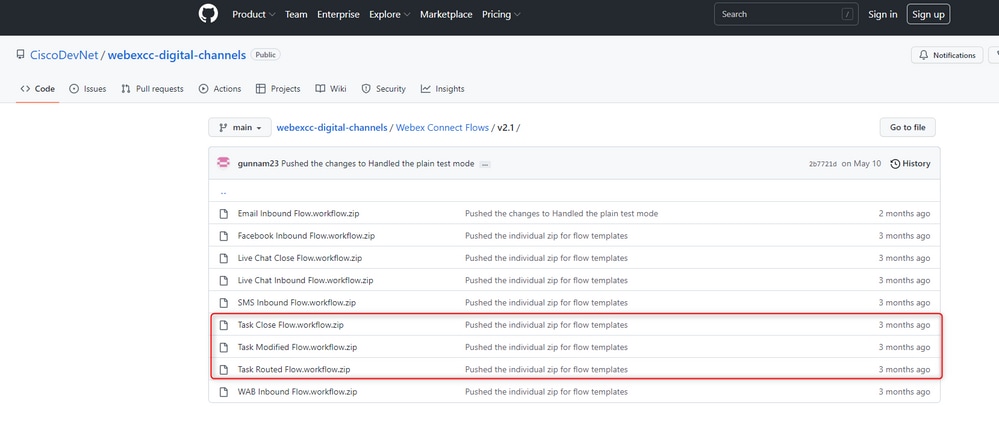
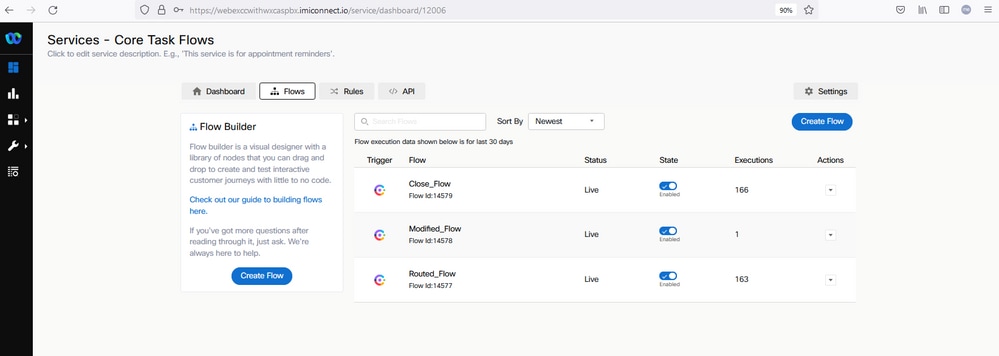
Step 3. Download Core Task Flows.
The tenant must be configured with Core Task Flows, such as Routed, Modified, and Closed Workflows.
Download the Core Workflows from Github: Webex Connect Flows.
It is recommended to create separate Services in Webex Connect portal and host these flows there.
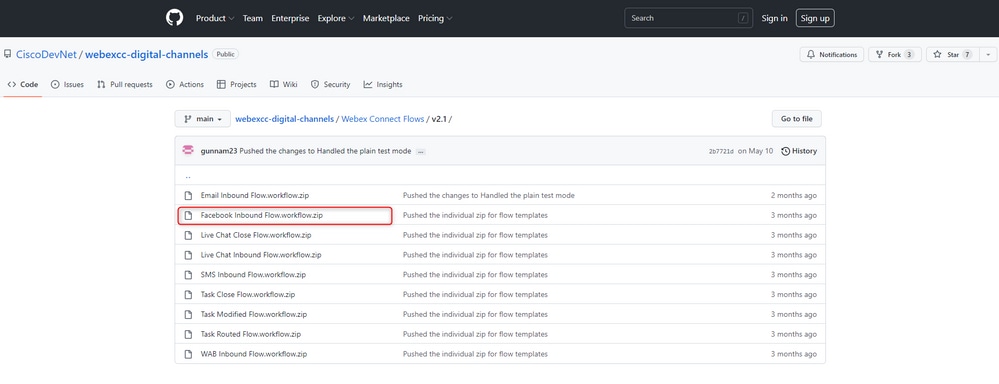
Step 4. Download preconfigured flow from GitHub for Facebook.
You do not have to create the flow from the start. There are some pre-configured flows that you can use. Navigate to Webex Connect Flows.
and download the flow for Facebook integration.
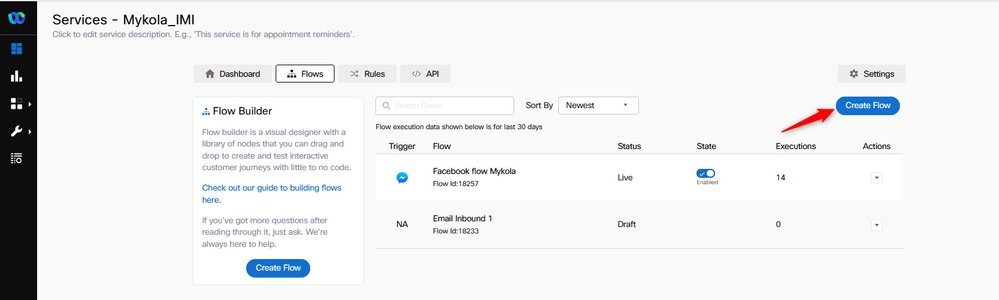
When you have flow on your PC, upload it to the Flows under your Services.
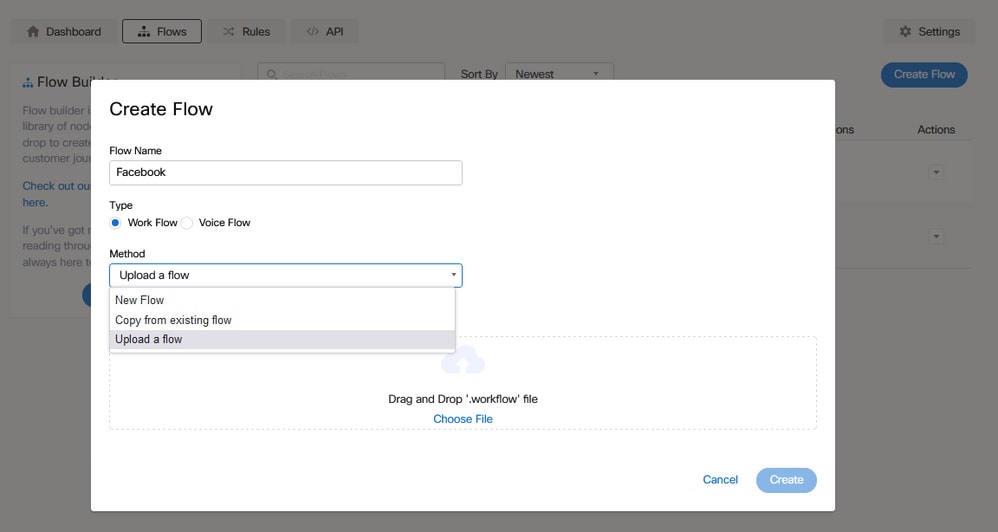
Click Create Flow.
Drag and drop the preconfigured flow in order to upload it to the services.
Step 5. Set up Authorization.
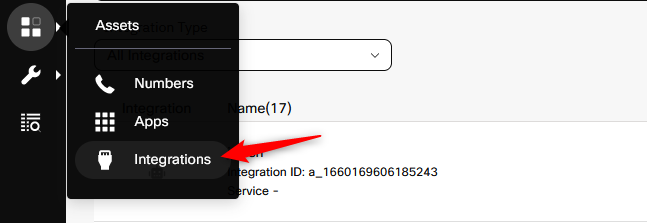
Navigate to Assests and click on Integrations.
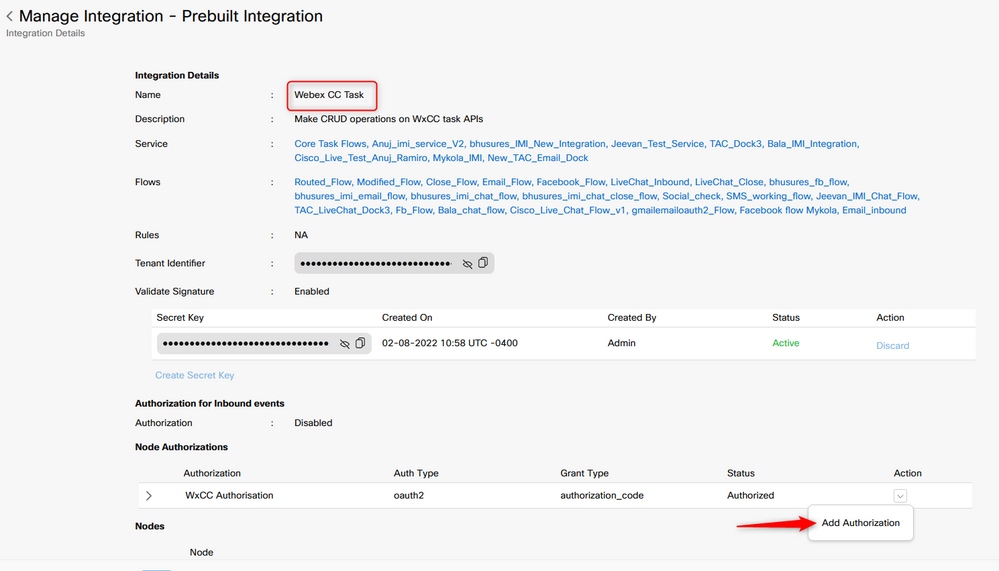
Configure authorization under Webex CC Engage integration.
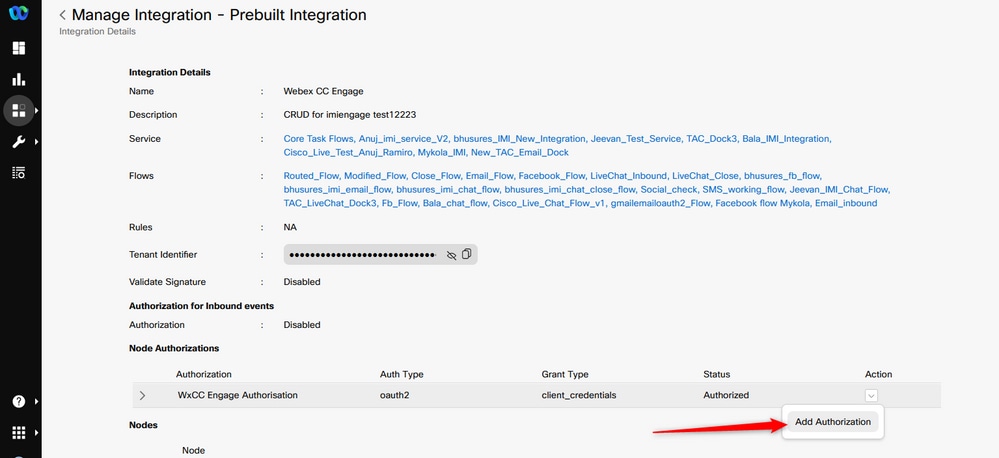
Configure authorization and generate a secret key in Webex CC Task integration.
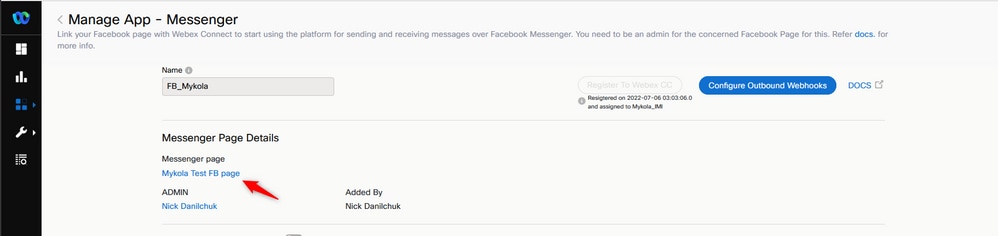
Step 6. Create Facebook App on Webex Connect portal.
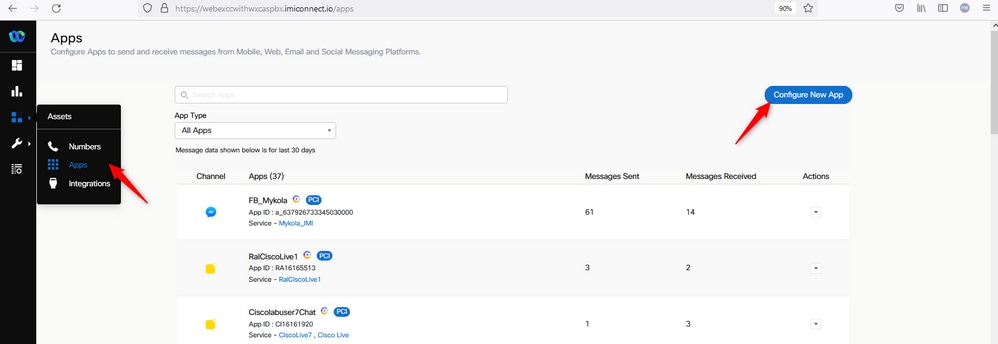
App on the Webex Connect portal is basically the Entry Point. In order to create New App, navigate to Assets and click on Configure New App.
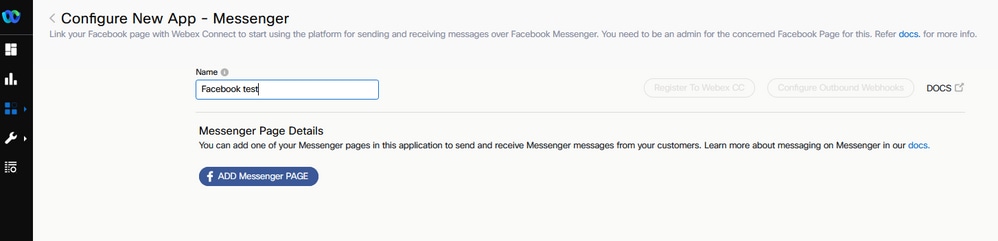
Give your app a name and Add Messenger Page.
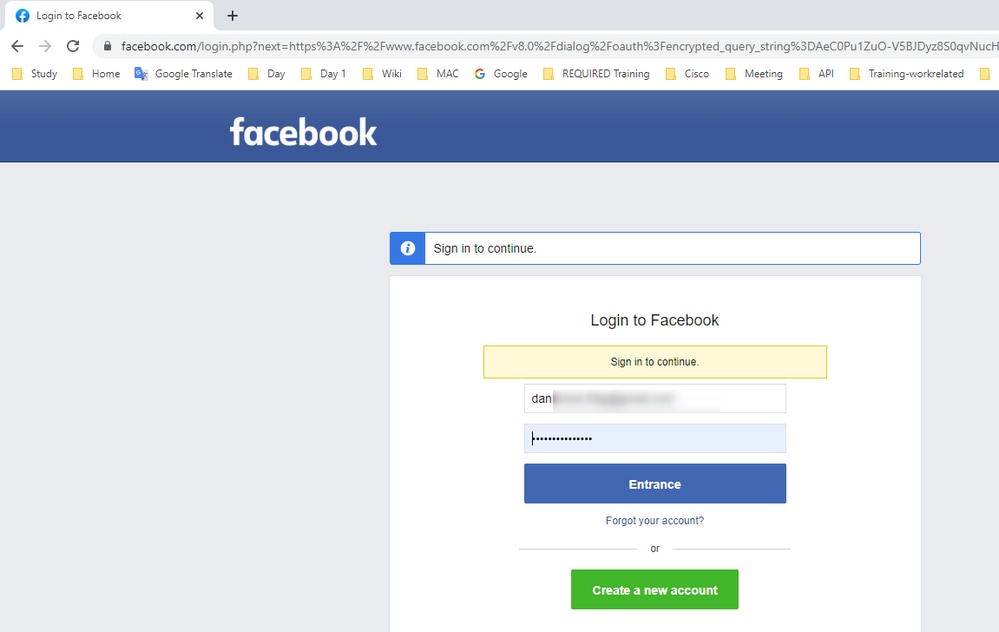
The App can be mapped to a specific Facebook page. Enter the Facebook credentials to map the app to an open Facebook page.
Select which open source page you want to use for this integration.
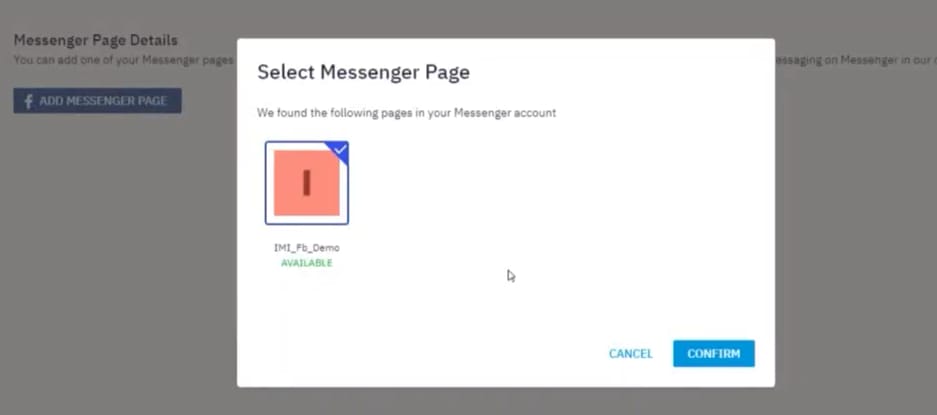
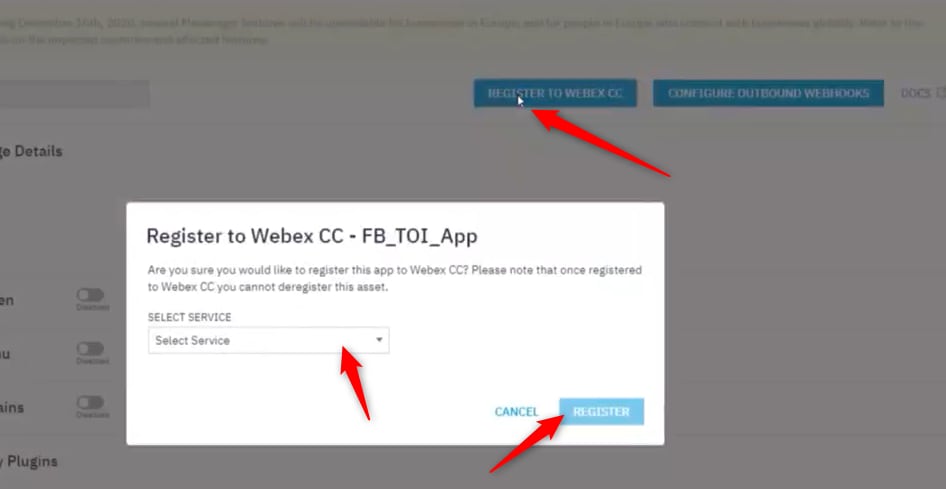
Register the Facebook page with Webex CC in order to see it in the Webex Contact Center admin portal.
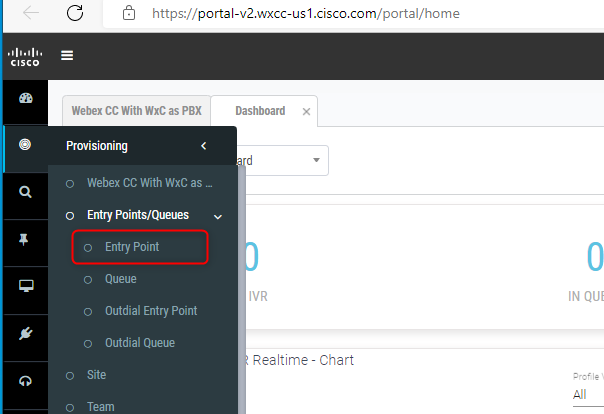
Step 7. Create an Entry Point and Queue in the Webex Contact Center admin portal.
On Webex Contact Center portal, navigate to Provisioning > Entry Point.
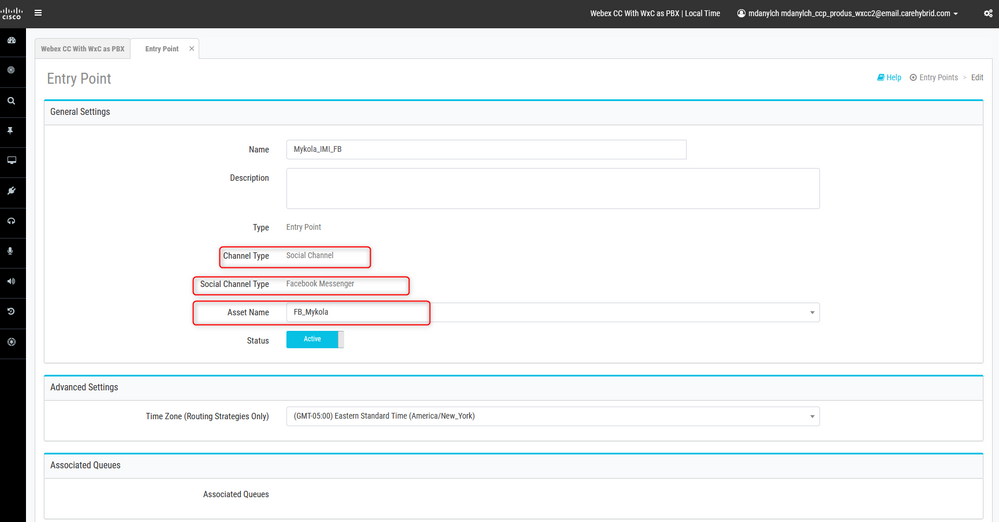
Create Entry point with Channel Type - Social Channel, Social Channel Type - Facebook Messanger and the Asset Name.
You do not have to create any Routing Strategy for the Entry point.
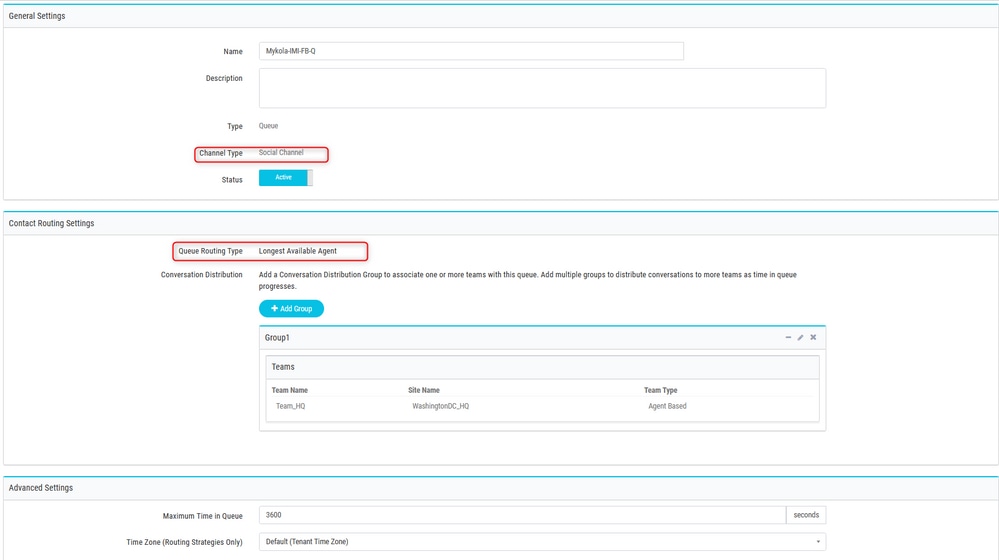
Create queue with Channel Type - Social Channel.
Queue Routing Type could be Longest Available Agent or Best Available Agent.
Add team to the list.
Step 8. Configure Global Variables in the Webex Connect flow.
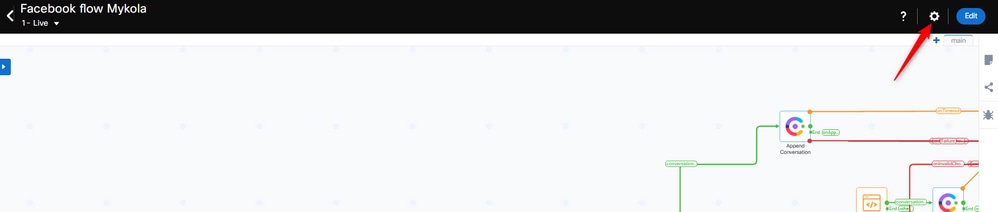
Open up the Facebook flow which you uploaded to the portal earlier.

Click on Settings
Define the Global Variables under the Custom Variables fields.
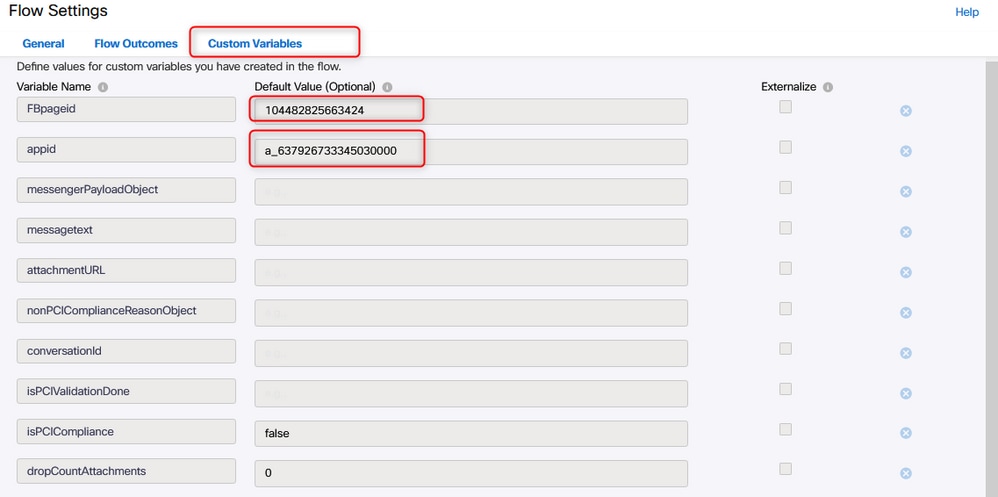
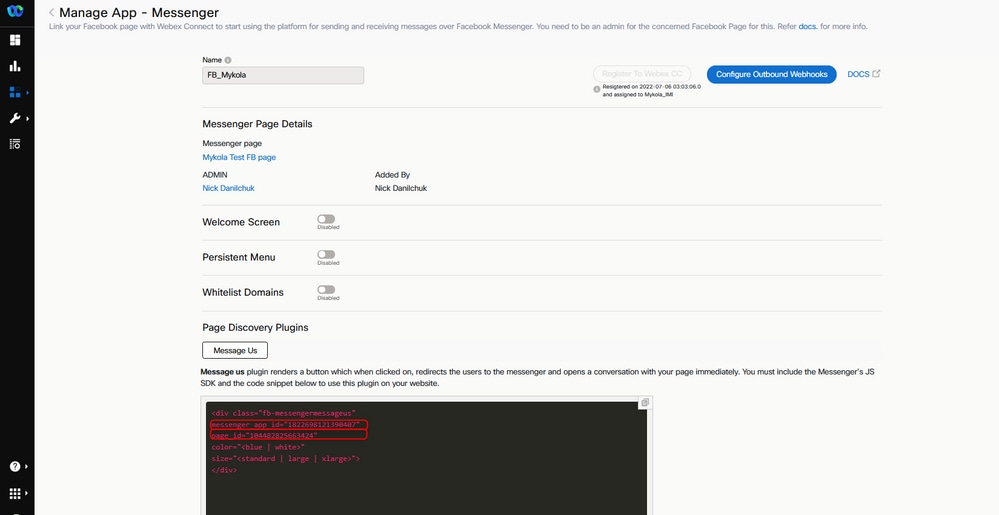
The FBpageid and appid could be found in the App created earlier. Open the Assets and select the App.
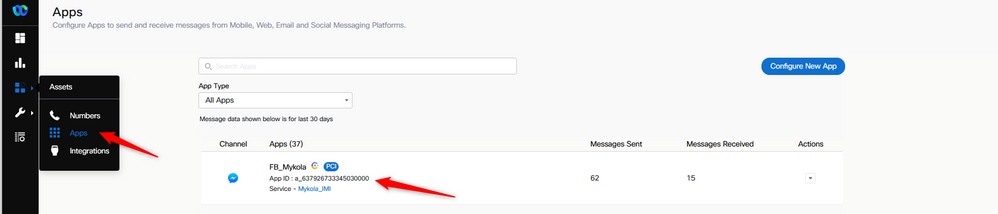
When you open the App, you can see the appid and pageid which you must enter as the values of the Global Variables.
Step 9. Assign the queue from Webex Contact Center portal to the flow in the Webex Connect portal.
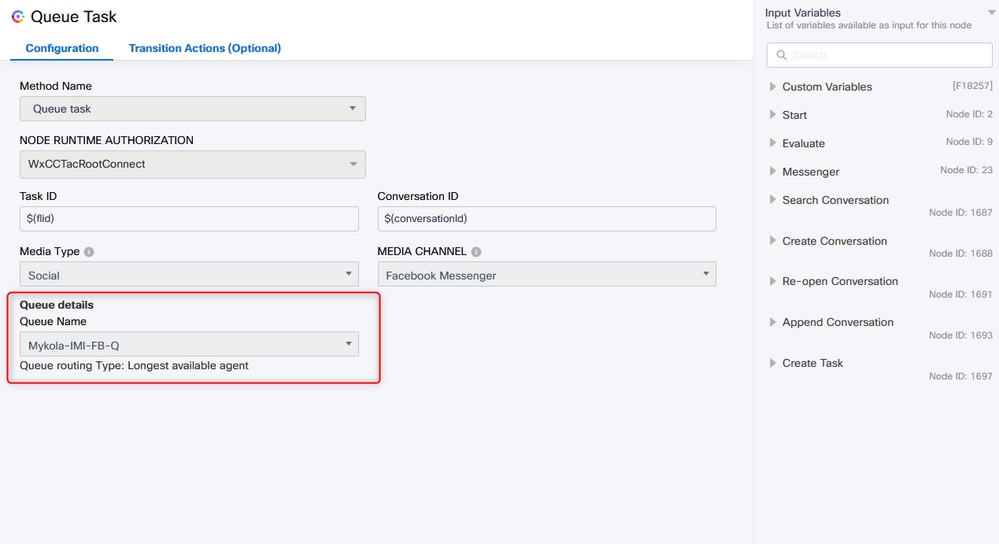
In the Facebook flow, find the Queue Task block
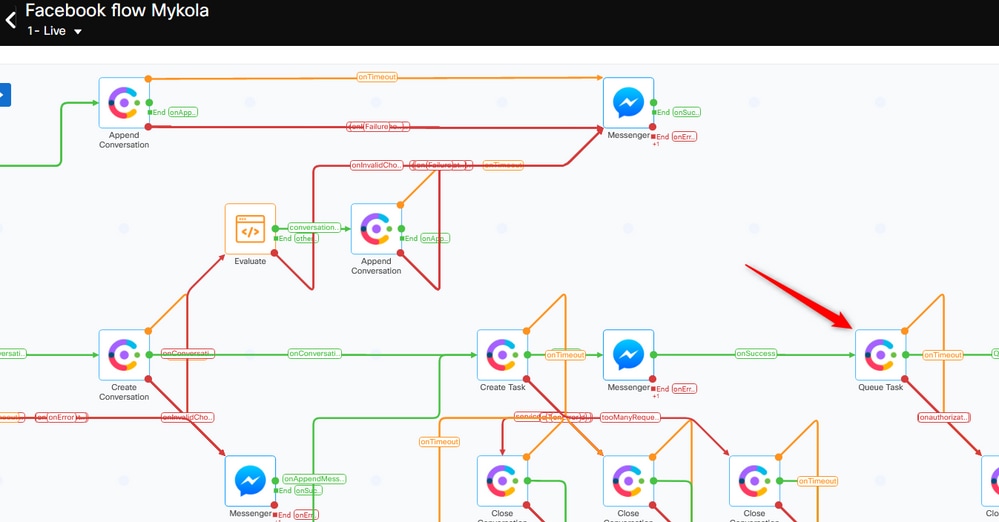
Set up the Queue Name with the one you created earlier in the Webex Contact Center portal.
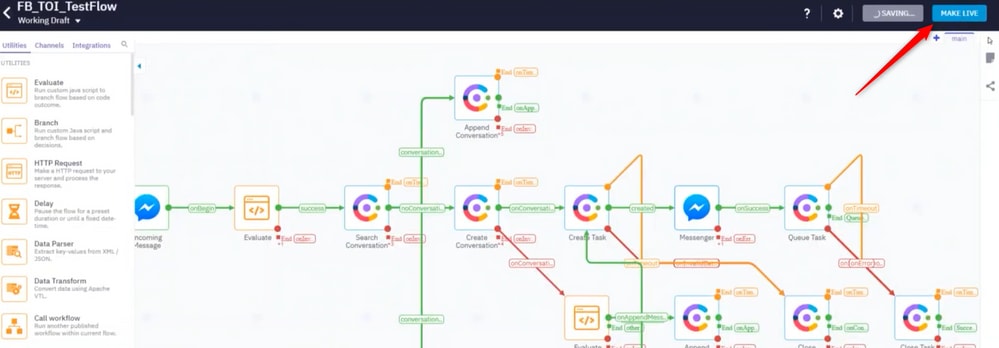
When the flow is configured, click on Make Live so the flow is ready to accept the tasks.
Step 10. Check Facebook message flow functionality.
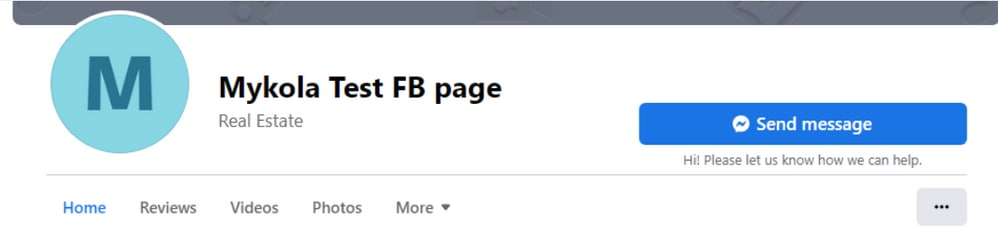
To send a message from the created Facebook page, navigate to Assets and click on the Messenger page
After log in to your Facebook, you can send messages from this Facebook page
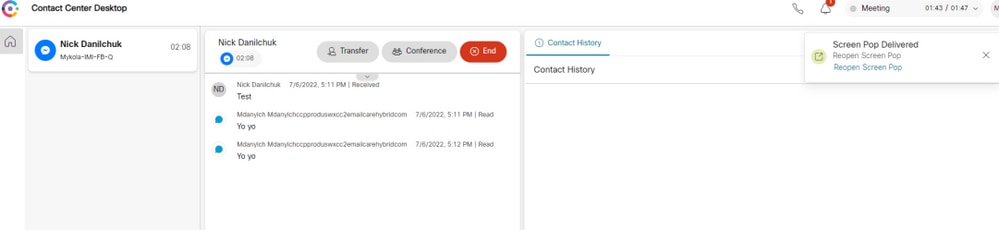
The agent can receive the message on the Agent Desktop.
 Feedback