Introduction
This document describes the configuration of Identity Service (IdS) and Identity Provider (IdP) for Okta cloud based Single Sign On (SSO).
| Product |
Deployment |
| UCCX |
Co-resident |
| PCCE |
Co-resident with CUIC (Cisco Unified Intelligence Center) and LD (Live Data) |
| UCCE |
Co-resident with CUIC and LD for 2k deployments.
Standalone for 4k and 12k deployments.
|
Prerequisites
Requirements
Cisco Recommends you have knowledge of these topics:
- Cisco Unified Contact Center Express, Cisco Unified Contact Center Enterprise (UCCE), or Packaged Contact Center Enterprise (PCCE)
- Security Assertion Markup Language (SAML) 2.0
- Okta
Components Used
The information in this document was created from the devices in a specific lab environment. All of the devices used in this document started with a cleared (default) configuration. If your network is live, make sure that you understand the potential impact of any command.
Configure Okta as Identity Service Provider
Step 1. Log in to the Identity Service (IdS) webpage and navigate to Settings and download the metadata file by clicking Download Metadata File.
Step 2. Log in to the Okta server and select the Admin tab.

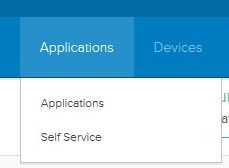
Step 3. From the Okta dashboard, select Applications > Applications.
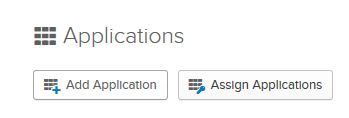
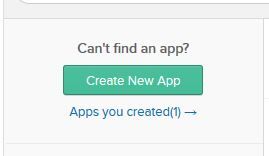
Step 4. Click Create a New App to create a new custom application using the wizard.
Step 5. On the Create a New Application Integration window, for Platform select Web on the drop-down list and select SAML 2.0 as the Sign on method and select create.
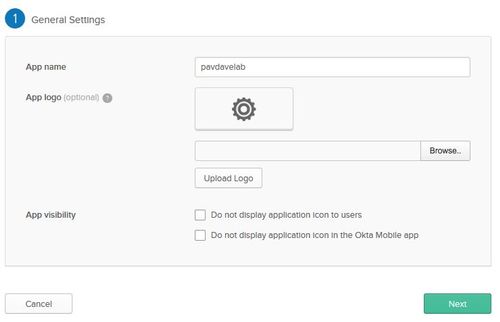
Step 6. Enter the App name and click Next.
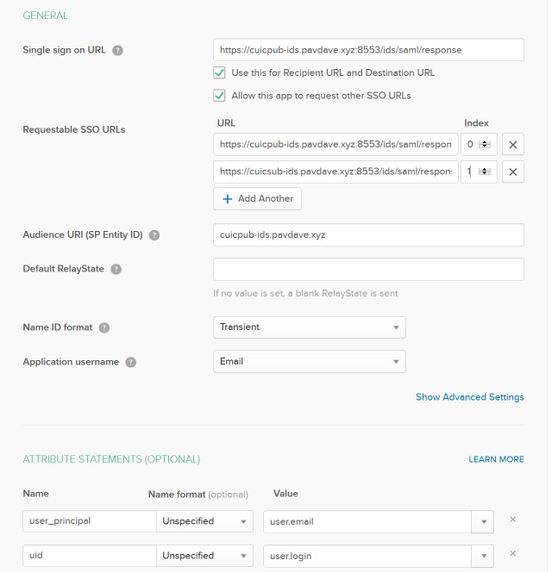
Step 7. On the SAML Integration, Create SAML page enter the details.
- Single sign on URL - From the metadata file, enter the URL specified in as index 0 of AssertionConsumerService.
<AssertionConsumerService Binding="urn:oasis:names:tc:SAML:2.0:bindings:HTTP-POST" Location="https://cuicpub-ids.pavdave.xyz:8553/ids/saml/response" index="0" isDefault="true"/>
Step 8. Add the required attribute statements.
- uid - Identifies the authenticated user in the claim sent to the applications
- user_principal - Identifies the authentication realm of the user in the assertion sent to Cisco Identity Service
.
Step 9. Select Next.
Step 10. Select "I'm a software vendor. I'd like to integrate my app with Okta" and click Finish.
Step 11. On the Sign On tab download the Identity Provider metadata.
Step 12. Open the downloaded metadata file and change the two lines of NameIDFormat to the following and save the file.
<md:NameIDFormat>urn:oasis:names:tc:SAML:2.0:nameid-format:transient</md:NameIDFormat>
Configure the Identity Service
Step 1. Navigate to your Identity Service server.
Step 2. Click Settings.
Step 3. Click Next.
Step 4. Upload metadata file downloaded from Okta and click Next.
Step 5. Click Test SSO Setup. A new window will prompt a login to authenticate to Okta. A successful login will show a checkmark with SSO Configuration is tested successfully on the lower right corner of the screen.

Note: If you are already authenticated to Okta you will not be prompted to log in again but will see a brief pop-up while the IdS verifies credentials.
At this point the configuration of the Identity Service and Identity Providers is complete and should see the nodes in service.

Further Configuration for Single Sign-On
After the Identity Service and Identity Provider are configured, the next step is to set up Single Sign-On for UCCE or UCCX.
Further Reading
