Introduction
This document describes how to configure Cisco Unified Contact Center Express (UCCX) Versions 10.0 and 10.5 in order to add the new Waiting Contacts column to the Supervisor Voice Contact Service Queue (CSQ) Summary Live Data report.
Prerequisites
Requirements
There are no specific requirements for this document.
Components Used
In order to configure the Waiting Contacts field, Cisco Finesse Desktop on UCCX Version 10.0 or 10.5 must be used.
The information in this document was created from the devices in a specific lab environment. All of the devices used in this document started with a cleared (default) configuration. If your network is live, make sure that you understand the potential impact of any command.
Background Information
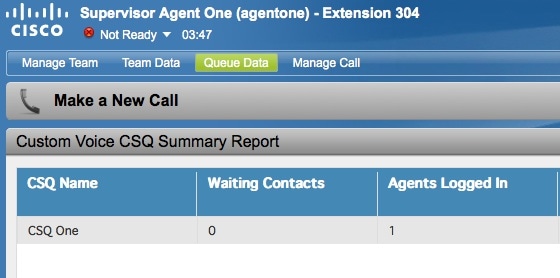
The new Waiting Contacts column is used in order to view the contacts that wait in queue.
Note: This column is a standard addition to the default Supervisor Voice CSQ Summary Live Data report in Cisco UCCX Version 10.6.
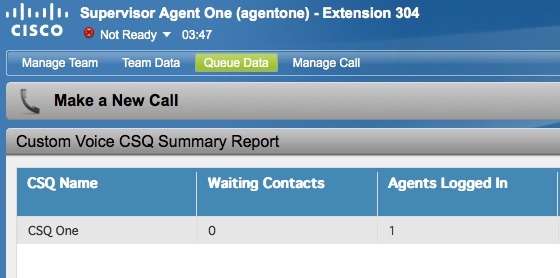
Here is an example that shows this additional column:
Configure
Complete these steps in order to configure Cisco UCCX Versions 10.0 and 10.5 in order to add the Waiting Contacts column to the Supervisor Voice CSQ Summary Live Data report:
- Log into the Cisco Unified Intelligence Center as the Application Administrator that was defined at the time of installation:

- Click Reports in order to expand the Reports tab:
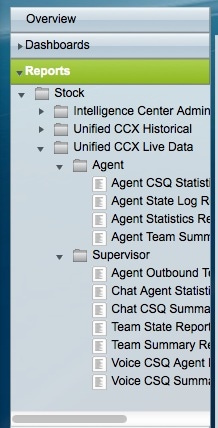
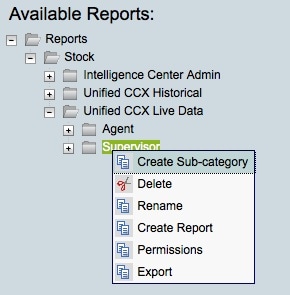
- From the Reports tab, navigate to Stock > Unified CCX Live Data > Supervisor, right-click the Supervisor folder, and click Create Sub-category:
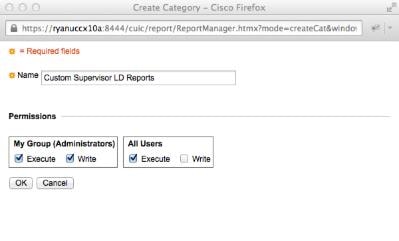
- Navigate to Security > User Permissions:

- Choose Reports from the Permissions For: drop-down menu and select the sub-category that you created under Stock > Unified CCX Live Data > Supervisorin the Reports folder that is located in the left panel:
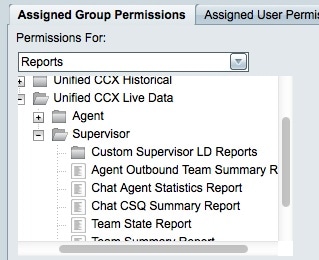
- Click AllUsers.ReportingUsers in the right panel:
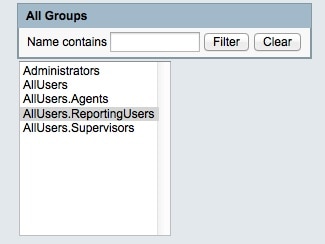
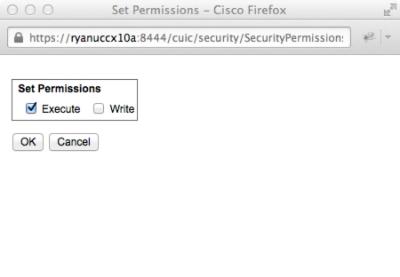
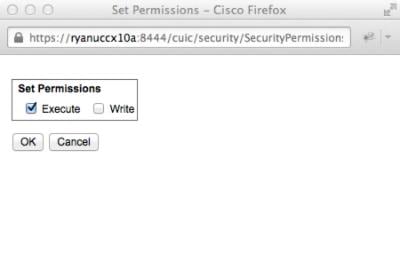
- Click Set Permissions, check the Execute check box that appears in the pop-up window, and then click OK:
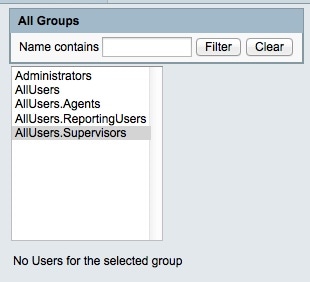
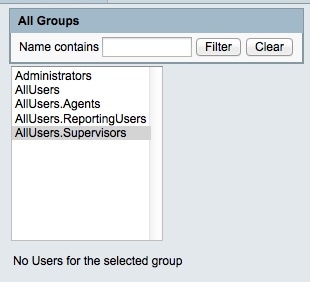
- Click AllUsers.Supervisors in the right panel, click Set Permissions, check the Execute check box that appears in the pop-up window, and then click OK:
- Navigate to Reports > Stock > Unified CCX Live Data > Supervisor, right-click Voice CSQ Summary Report, and click Save As in order to save this report in the sub-category that you created:
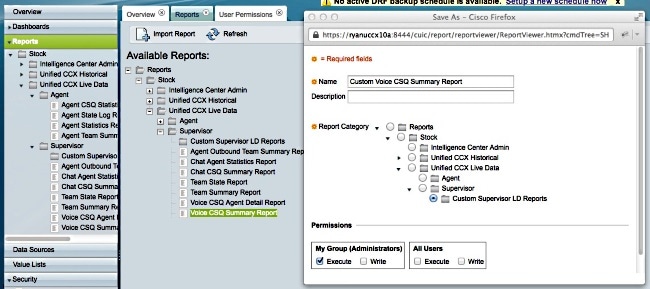
- Click Edit Views in the tab that opens:

- Click the Snapshot radio button when the tab that displays the views opens, and then click Edit:

- Choose Waiting Contacts from the Available Fields list, and move it to the Current Fields list. Set your desired order in the grid, and then click Save:
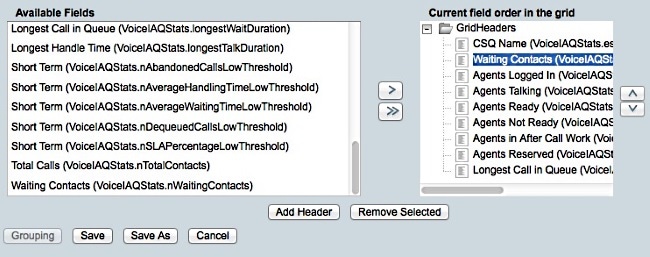
- Navigate to Security > User Permissions and choose Reports from the Permissions For: drop-down menu:

- Navigate to, and then select, the newly generated report in the sub-category that you created under Stock > Unified CCX Live Data > Supervisor in the left panel:
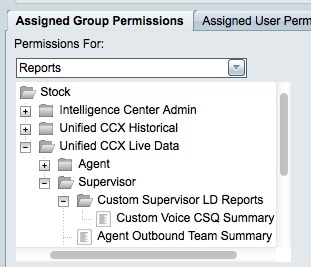
- Click AllUsers.ReportingUsers in the right panel:
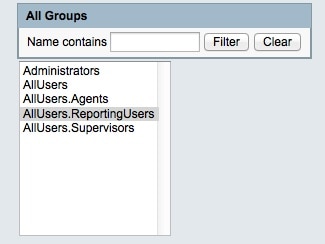
- Click Set Permissions, check the Execute check box that appears in the pop-up window, and then click OK:
- Click AllUsers.Supervisors in the right panel, click Set Permissions, check the Execute check box that appears in the pop-up window, and then click OK:
- Export the new report, extract the ZIP file, and use a text editor to open the XML file with the report name.
- Find and record the new view ID for the Snapshot view. In order to accomplish this, search for <name>Snapshot</name> in the file and record the value for the <id> node under the corresponding <CuicGrid> node.
The next example shows XML data for the Snapshot view. In this case, the bolded value is the new view ID:
-<CuicGrid id="3"><id>3191223510000149000002A20A4E5B35</id><version>3</version>
<parentRpt reference="1" class="CuicReport"/><name>Snapshot</name><description/>
- Log into the Cisco Finesse Administration console:

- Click the Desktop Layout tab:

- Click Finesse Layout XML in order to view the default XML layout.
- In the VoiceIAQStats gadget under the <role>Supervisor</role> layout, replace the view ID with the new one and save the XML.
Here is an example:
<layout><role>Supervisor</role>

...<id>queueData</id><label>finesse.container.tabs.supervisor.queueDataLabel</label>
<columns><column><gadgets><gadget>https://localhost:8444/cuic/gadget/LiveData/
LiveDataGadget.jsp?gadgetHeight=310&viewId=3191223510000149000002A20A4E5B35&
filterId=VoiceIAQStats.esdName=CL</gadget>
Verify
In order to verify your configuration, sign out of the Cisco Finesse Supervisor Desktop and log in again. The Waiting Contacts column should now be displayed in the Voice CSQ Summary Report of the Queue Data tab:
Troubleshoot
There is currently no specific troubleshooting information available for this configuration.


 Feedback