Introduction
This document describes the instalation steps for CVVB.
Contributed by Kabeer Noorudeen, Cisco TAC Engineer.
Prerequisites
Requirements
There are no specific requirements for this document.
Components Used
The information in this document is based on CVVB 11.0 Hosted environment.
The information in this document was created from the devices in a specific lab environment. All of the devices used in this document started with a cleared (default) configuration. If your network is live, make sure that you understand the potential impact of any command.
Installation
These are the steps to install CVVB:
Step 1. Boot from the bootable CD for the CVVB. Select the product to be installed.

Step 2. Confirm for the installation of the CVVB.
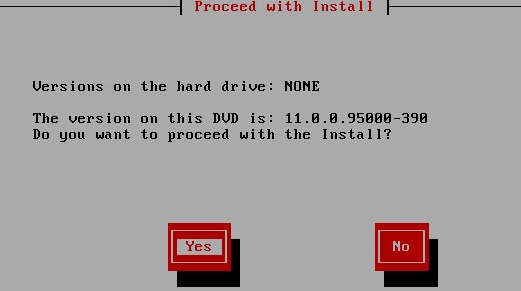
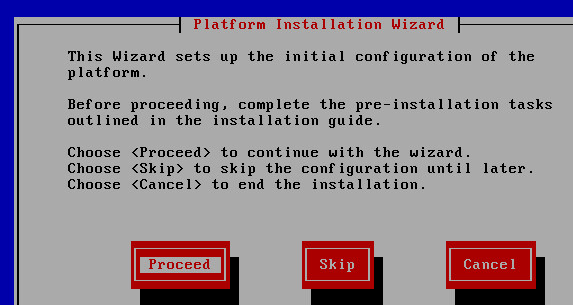
Step 3. Choose Proceed for the platform installation wizard.
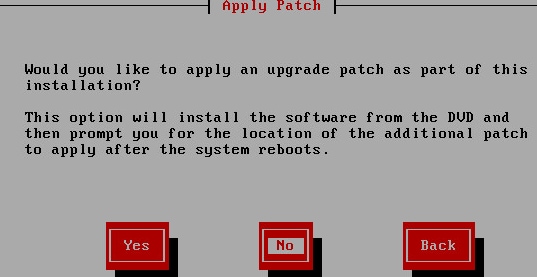
Step 4. Choose the right option for patch install, in this example you do not have a patch installation.
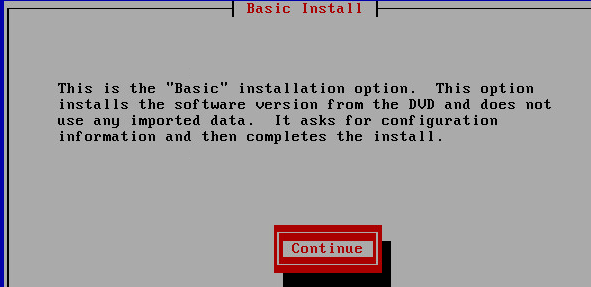
Step 5. Click on Continue to continue the installation.
Step 6. Choose the time zone for installation.
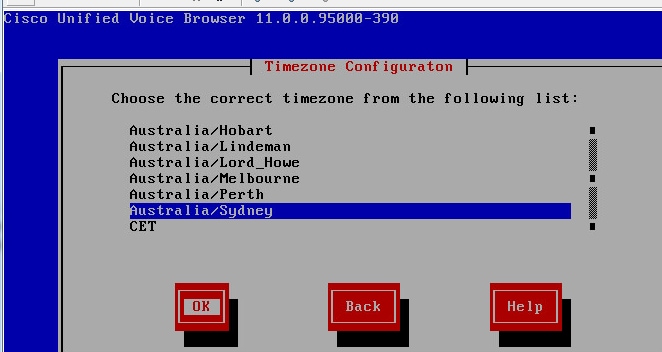
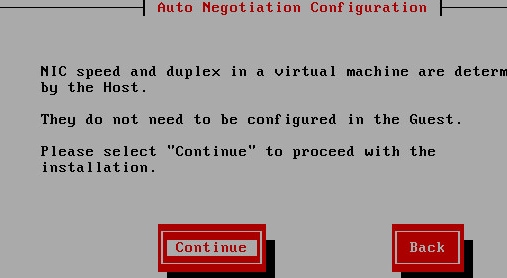
Step 7. Continue with the installation for auto negotiation configuration.
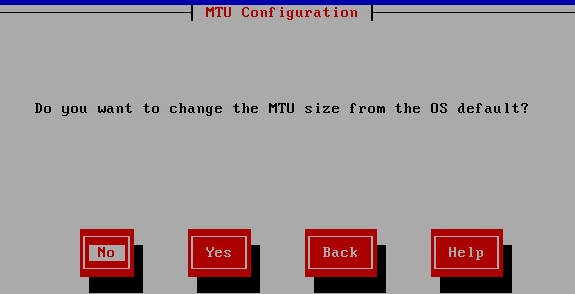
Step 8. Keep the default MTU size.
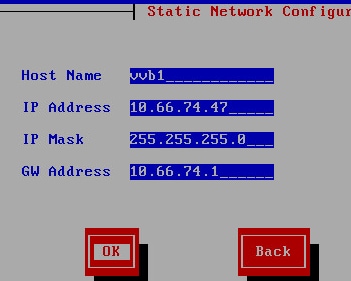
Step 9. Enter the server details.
Step 10. Enter the DNS details of the server.
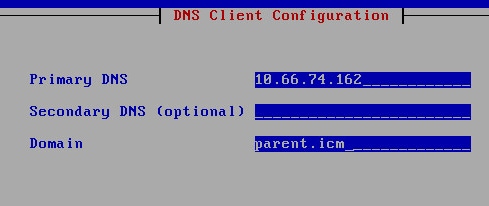
Step 11. Enter the user credentials.
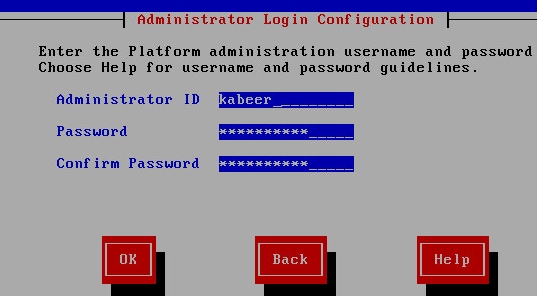
Step 12. Enter the Organization details.
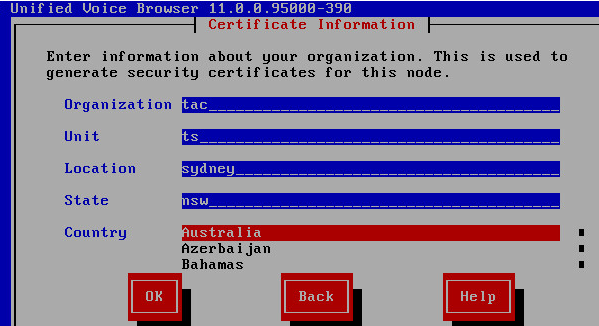
Step 13. Select it as the first node.
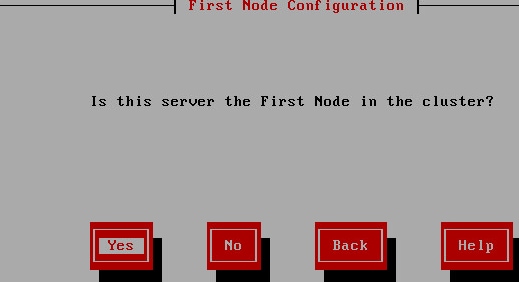
Step 14. Capture the correct NTP address.

Step 15. Provide the security password that would be used for clustering.
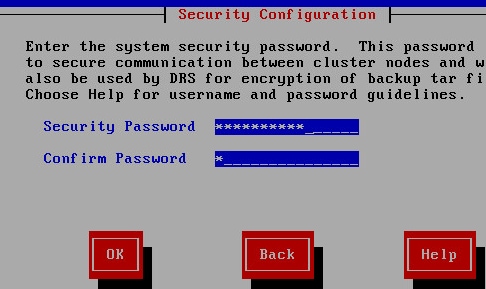
Step 16. Select No if you do not need an SMTP host.

Step 17. Enter the application User Credentials.
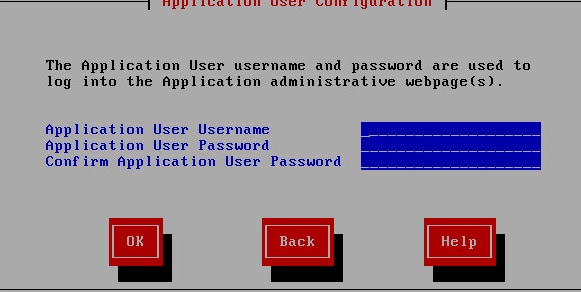
Step 18. Complete the installation steps.

Step 19. Once the installation is completed, open the CVVB app-admin page https://<CVVB>/appadmin

Step 20. Browse the license that has to be deployed. Once the license is deployed successfully, you see the validation completed message.

Step 21. The components get activated on the CVVB.

Step 22. Select the appropriate codec used in the solution.

Step 23. Define the language configuration as per the solution.
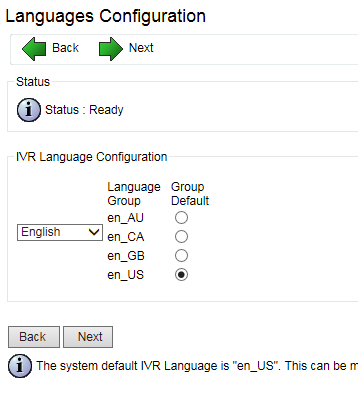
Step 24. Once the configuration is completed successfully, the CVVB restarts.

Step 25. The CVVB is available for configuration.


 Feedback