Introduction
This document describes the steps involved to restore vManage by utilization of a configuration-db backup.
Background Information
This document assumes that a configuration-db backup has been taken periodically and for some reason, the standalone vManage is irrecoverable and needs a software reset or a new install.
This document helps you to recover all the policies, templates, configurations, and Edge device certificates.
Backup Configuration-db
vManage_rcdn01# request nms configuration-db backup path 05_08_20_configdb
Starting backup of configuration-db
config-db backup logs are available in /var/log/nm/neo4j-backup.log file
Successfully saved database to /opt/data/backup/05_08_20_configdb.tar.gz
scp to an external server.
vManage_rcdn01# vshell
vManage_rcdn01:~$ scp /opt/data/backup/05_08_20_configdb.tar.gz user@10.2.3.1://home/ftpuser/ftp/amaugust/
amaugust@10.2.3.1's password:
05_08_20_configdb.tar.gz                                                     100%  484KB  76.6MB/s   00:00
Recover vManage
Simulate a disaster by a reset of the vManage by the command:
vManage_rcdn01# request software reset
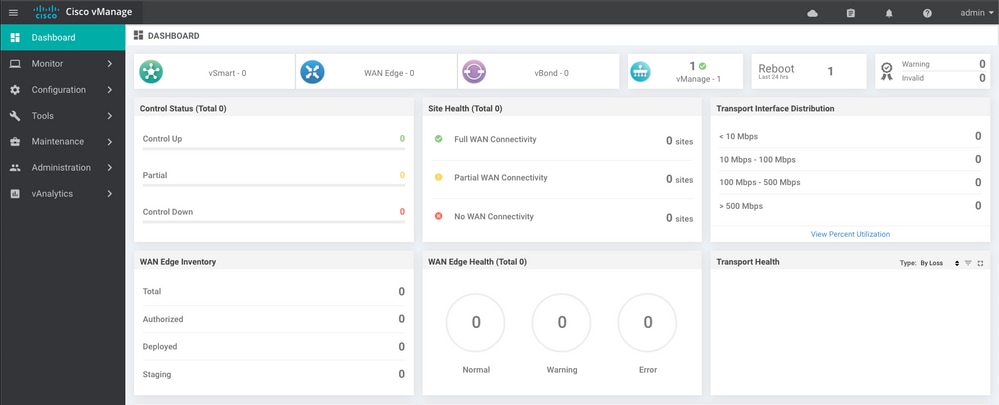
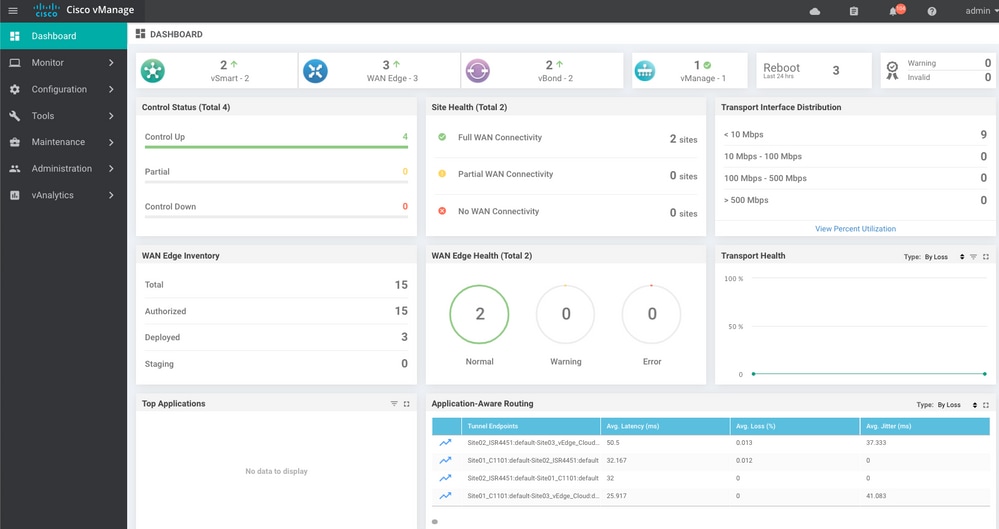
Now that you have a fresh vManage that looks like the one shown, it is advisable to adhere to the recovery process in the correct sequence before you restore the backup.

Step 1. Minimum Configuration on vManage
system
 host-name             vManage_rcdn01
 system-ip             xx.xx.xx.xx
 site-id               100
 organization-name     ****.cisco
 vbond vbond.list
 !
!
vpn 0
 host vbond.list ip 10.2.3.4 10.2.3.5
 interface eth0
  ip address 10.1.3.8/24
  tunnel-interface
  no shutdown
 !
 ip route 0.0.0.0/0 10.1.3.1
!
vpn 512
 interface eth1
  ip address 10.11.3.8/24
  no shutdown
 !
 ip route 0.0.0.0/0 10.1.3.1
!
Step 2. Copy Backup Configuration and Root Certificate
vManage_rcdn01:~$ scp am****@xx.xx.xx.xx://home/ftpuser/ftp/am****/05_08_20_configdb.tar.gz  .
am****@xx.xx.xx.xx's password:
05_08_20_configdb.tar.gz                                                    100%  484KB  76.6MB/s   00:00

Verify
vManage_rcdn01:~$ ls -lh
total 492K
-rw-r--r-- 1 admin admin  394 May  8 15:20 archive_id_rsa.pub
-rwxr-xr-x 1 admin admin 485K May  8 15:3905_08_20_configdb.tar.gz

Copy root certificate from other controller:
vManage_rcdn01:~$ scp admin@vbond://home/admin/root.crt .
viptela 18.4.4
admin@vbond's password:
root.crt                                                                   100% 1380     2.8MB/s   00:00
Step 3. Install Root Certificate
vManage_rcdn01# request root-cert-chain install /home/admin/root.crt
Uploading root-ca-cert-chain via VPN 0
Copying ... /home/admin/root.crt via VPN 0
Updating the root certificate chain..
Successfully installed the root certificate chain
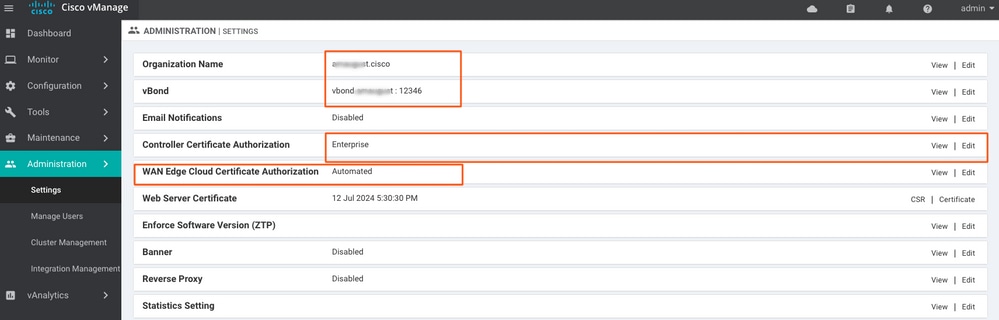
Step 4. Update Basic Information
Navigate to Administration > Settings and configure the basic information for vBond IP, Organization Name, and certificate.
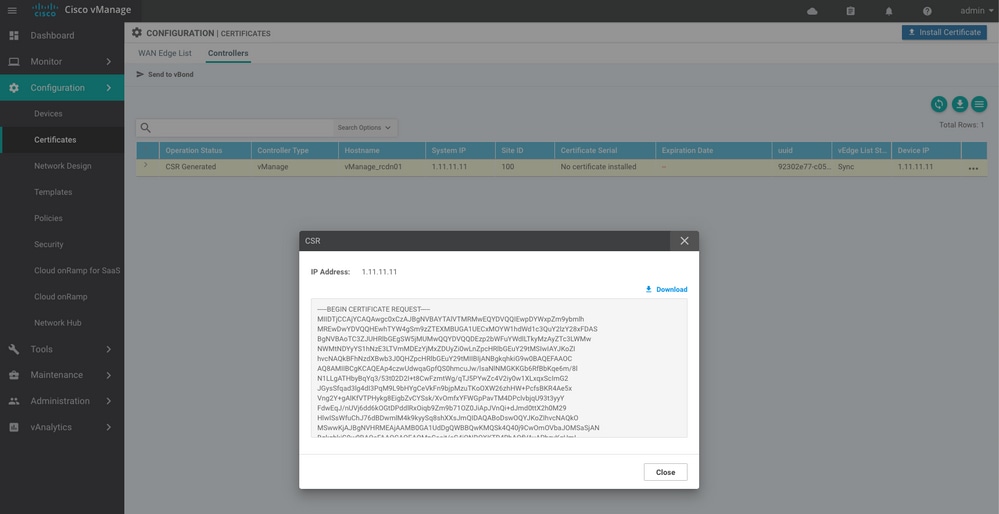
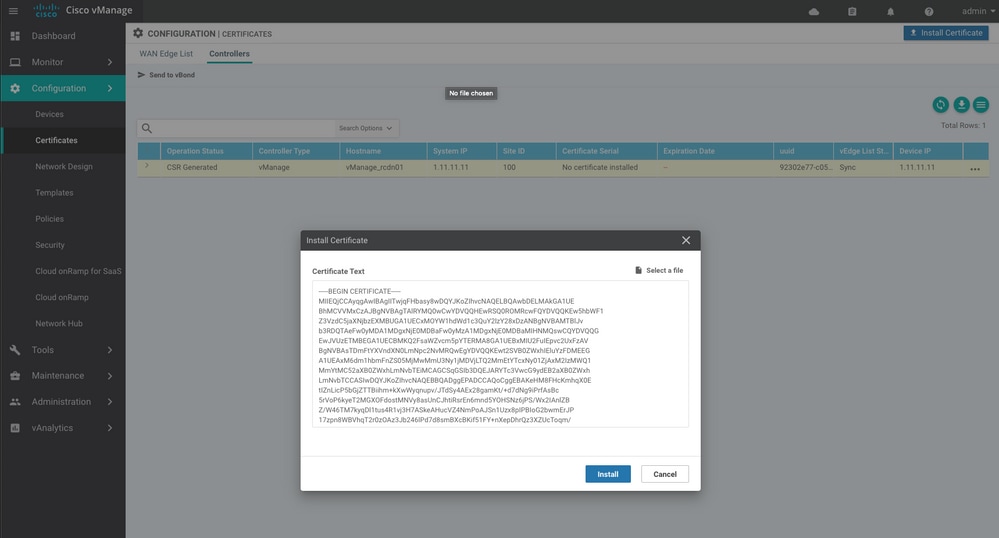
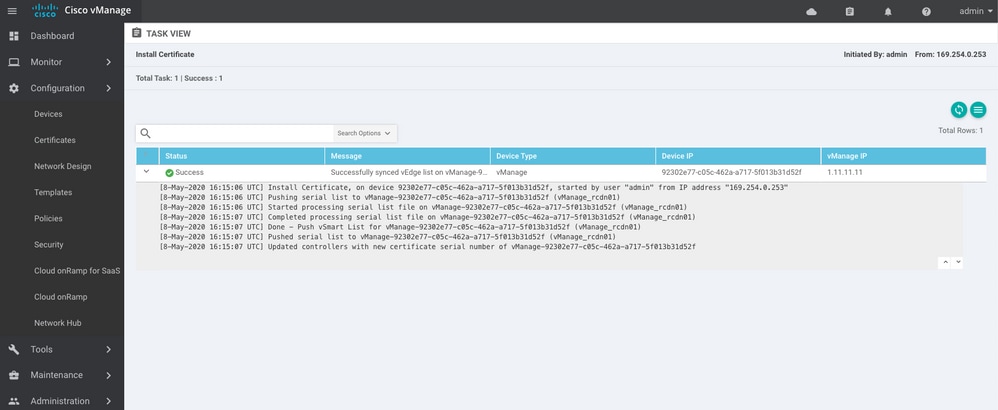
Step 5. Install vManage Certificate
Use the root.crt
Step 6. Restore The Database
vManage_rcdn01# request nms configuration-db restore path /home/admin/05_08_20_configdb.tar.gz
Configuration database is running in a standalone mode
0 [main] INFO com.viptela.vmanage.server.deployment.cluster.ClusterConfigurationFileHandler  - Trying to update existing working copy of server_configs.json file
4 [main] INFO com.viptela.vmanage.server.deployment.cluster.ClusterConfigurationFileHandler  - Working copy of server_configs.json NOT updated due to unmodified configs
Successfully saved cluster configuration for localhost
Starting DB backup from: localhost
Creating directory: local
cmd to backup db: sh /usr/bin/vconfd_script_nms_neo4jwrapper.sh backup localhost /opt/data/backup/local 8g
Finished DB backup from: localhost
Stopping NMS application server on localhost
Stopping NMS configuration database on localhost
Reseting NMS configuration database on localhost
Restoring from DB backup: /opt/data/backup/staging/graph.db-backup
cmd to restore db: sh /usr/bin/vconfd_script_nms_neo4jwrapper.sh  restore /opt/data/backup/staging/graph.db-backup
Successfully restored DB backup: /opt/data/backup/staging/graph.db-backup
Starting NMS configuration database on localhost
Waiting for 10s before starting other instances...
Polling neo4j at: localhost
NMS configuration database on localhost has started.
Updating DB with the saved cluster configuration data
Successfully reinserted cluster meta information
Starting NMS application-server on localhost
Waiting for 120s for the instance to start...
Removed old database directory: /opt/data/backup/local/graph.db-backup
Successfully restored database
This step takes more time and it depends on the backup.
You can verify the process by tailing the logs on vShell.
vManage_rcdn01:~$ tail -fq /var/log/nms/vmanage-server.log /var/log/nms/neo4j-out.log
Step 7. Check Services
vManage_rcdn01# request nms all status
Step 8. Reauthenticate Controllers
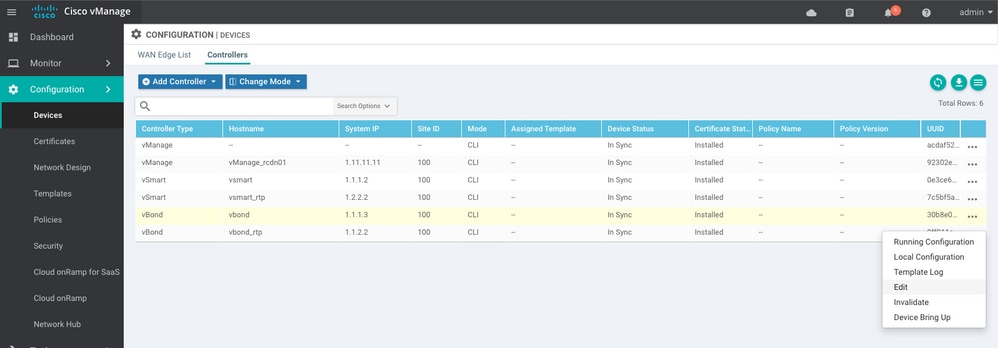
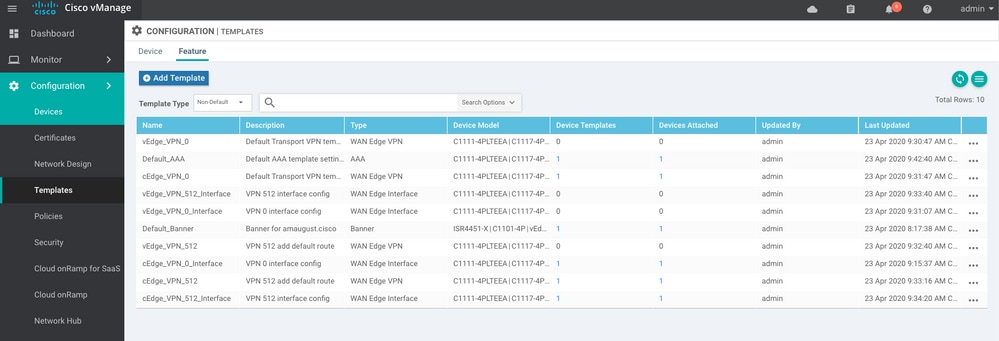
Currently, you can observe that all policies, templates, and configurations have been loaded onto vManage, but all controllers are down.
You need to re-authenticate all the controllers.
Navigate to Configuration > Devices. Edit each controller and fill in the management IP address (management IP can be found in the local configuration) username and password.
Step 9. Send Updates to Controllers
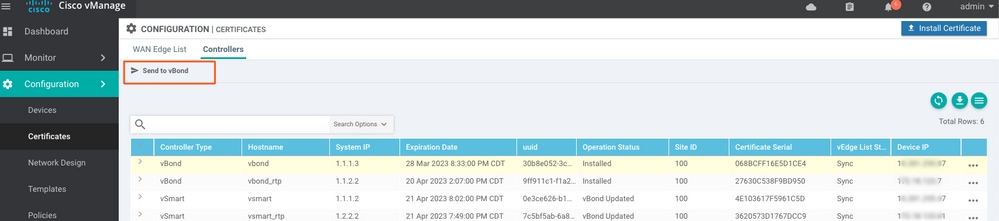

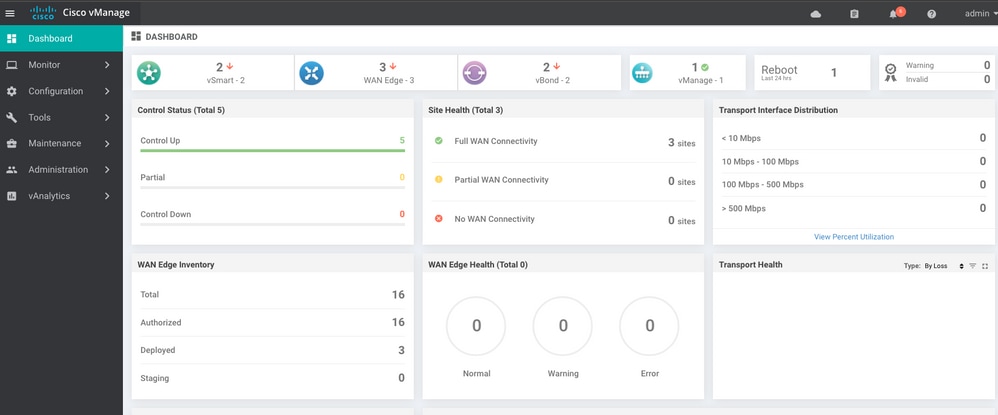
Now, you see all the devices can be managed by vManage.
 Feedback