Introduction
This document describes the steps to integrate Advanced Malware Protection (AMP) for endpoints and Threat Grid (TG) with Web Security Appliance (WSA).
Contributed by Uriel Montero and Edited by Yeraldin Sanchez, Cisco TAC Engineers.
Prerequisites
Requirements
Cisco recommends that you have knowledge of these topics:
- AMP for endpoints access
- TG premium access
- WSA with File Analysis and File Reputation Feature Keys
Components Used
The information in this document is based on these software and hardware versions:
-
AMP Public cloud console
-
WSA GUI
-
TG Console
The information in this document was created from the devices in a specific lab environment. All of the devices used in this document started with a cleared (default) configuration. If your network is live, ensure that you understand the potential impact of any command.
Configure
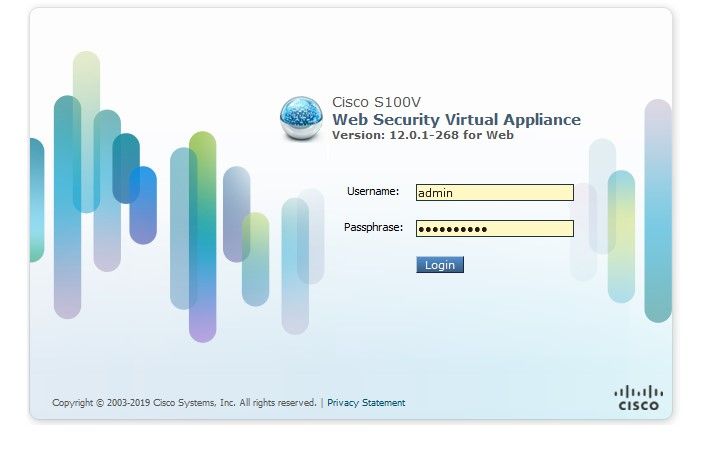
Log in to the WSA console.

Once logged in, navigate to Security Services > Anti-Malware and Reputation, in this section you can find the options to integrate AMP and TG.
AMP integration
On the Anti-Malware Scanning Services section, click on Edit Global Settings, as shown in the image.

Search for the Advanced > Advanced Settings for File Reputation section and expand it, then a series of Cloud servers options are displayed, choose the closest to your location.

Once the Cloud was selected, click on Register Appliance with AMP for Endpoints button.
A pop up appears that redirects to the AMP console, click the Ok button, as shown in the image.

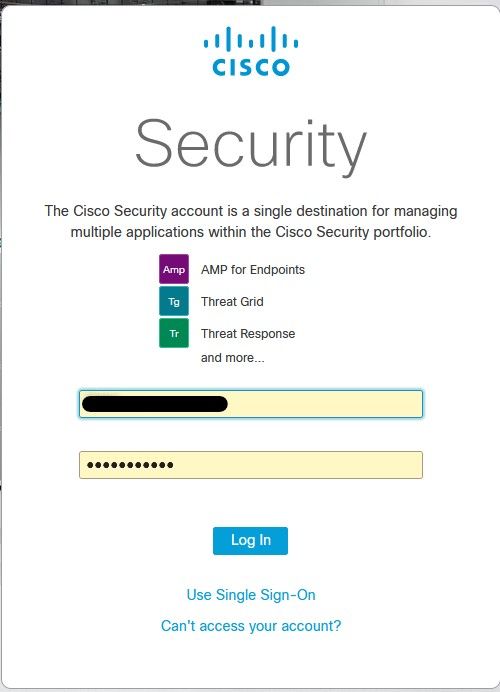
You need to ingress valid AMP Credentials and click on Log in, as shown in the image.

Accept the Device Registration, take note of the Client ID, as it helps to find the WSA later on the console.

Go back to the WSA console, a check appears on the Amp for Endpoints Console Integration section, as shown in the image.

Note: Don't forget to click on Submit and Commit the changes (if prompted), otherwise, the process needs to be done again.
Threat Grid integration
Navigate to Security Services > Anti-Malware and Reputation, then on the Anti-Malware Protection Services, click on the Edit Global Settings button, as shown in the image.

Search for the Advanced> Advanced Settings for File Analysis section and expand it, choose the closest option to your location, as shown in the image.

Click on Submit and Commit the changes.
On the TG portal side, search for the WSA device under the Users tab if the appliance was successfully integrated with AMP/TG.

If you click on Login, you can access the information of said Appliance.
Verify
Use this section to confirm that your configuration works properly.
In order to verify that the integration between AMP and WSA is successful, you can log in to the AMP console and search for your WSA device.
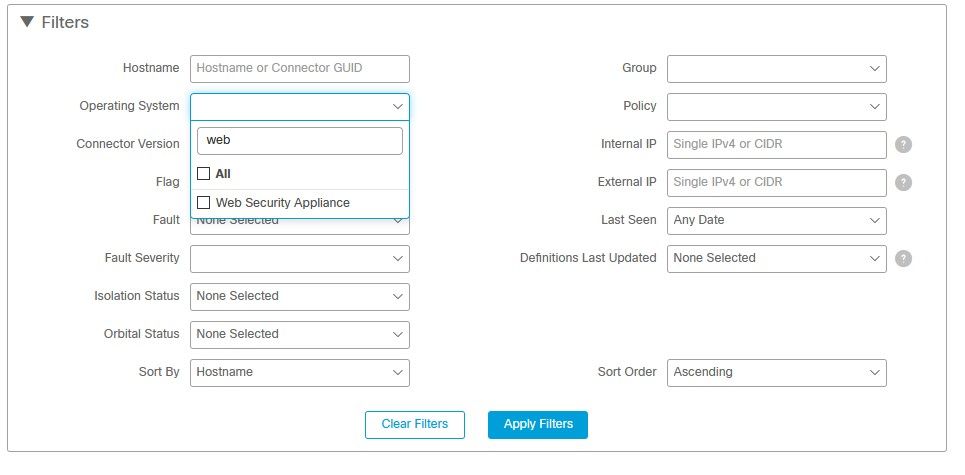
Navigate to Management > Computers, on the filters section, search for Web Security Appliance and apply the filter

If you have multiple WSA devices registered, you can identify them with the File analysis client ID.
If you expand the device, you can see which group it belongs to, the Policy applied and the Device GUID can be used to view the Device Trajectory.

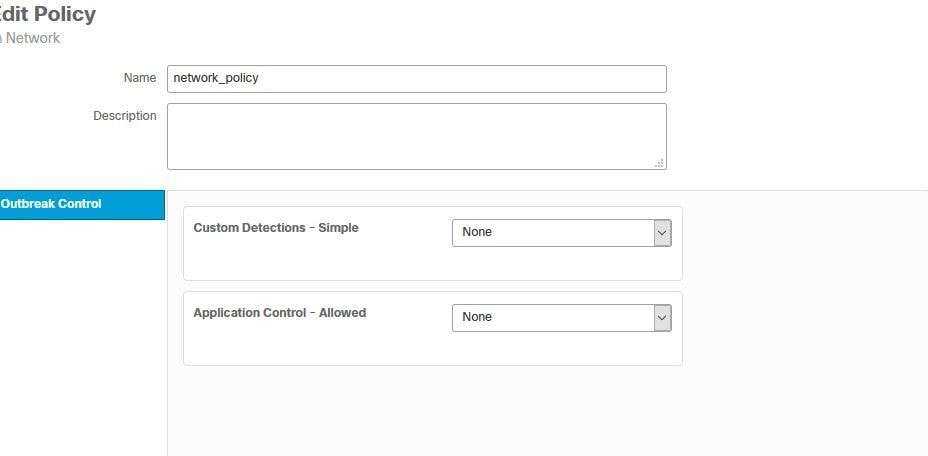
In the policy section, you can configure Simple Custom Detections and Application Control - Allowed that is applied to the device.

There is a trick to view the Device Trajectory section of the WSA, you need to open the Device Trajectory of another computer and use the Device GUID.
The change is applied to the URL, as shown in the images.


For Threat Grid, there is a threshold of 90, if a file gets a score under said number, the file is not poked malicious, however, you can configure a custom Threshold on the WSA.

Troubleshoot
WSA does not redirect to AMP page
- Ensure the Firewall allows the required addresses for AMP, click here.
- Ensure you have selected the proper AMP cloud (avoid choosing Legacy cloud).
WSA does not block the specified SHAs
- Ensure your WSA is in the correct Group.
- Ensure your WSA is using the correct Policy.
- Ensure the SHA is not clean on the cloud, otherwise, WSA would not be able to block it.
WSA does not appear on my TG Organization
- Ensure you selected the proper TG cloud (Americas or Europe).
- Ensure the Firewall allows the required addresses for TG.
- Take note of the File Analysis Client ID.
- Search for it under Users section.
- If you don't find it, please contact Cisco Support so they can help you move it between organizations.
