Introduction
This document describes the Sensor CLI login procedure for both network and hardware sensors of Cisco Cyber Vision.
Hardware Sensor - IC3000
Before Cyber Vision Version 4.3.0

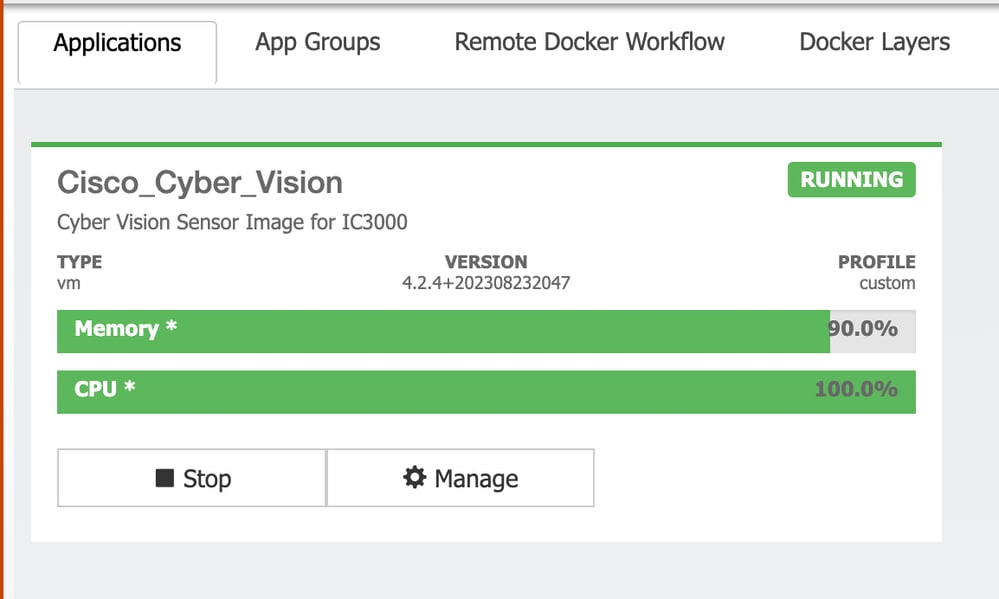
Note: Before the Cyber Vision version 4.3.0, the IC3000 sensor was deployed as a Virtual Machine (VM) in the Cisco IOx ((Cisco IOs + linuX) is an end-to-end application framework that provides application-hosting capabilities for different application types on Cisco network platforms) local manager.
Login to the IC3000 local manager interface (https://ip_address:8443) as an admin user, navigate to applications and then click the manage app option.

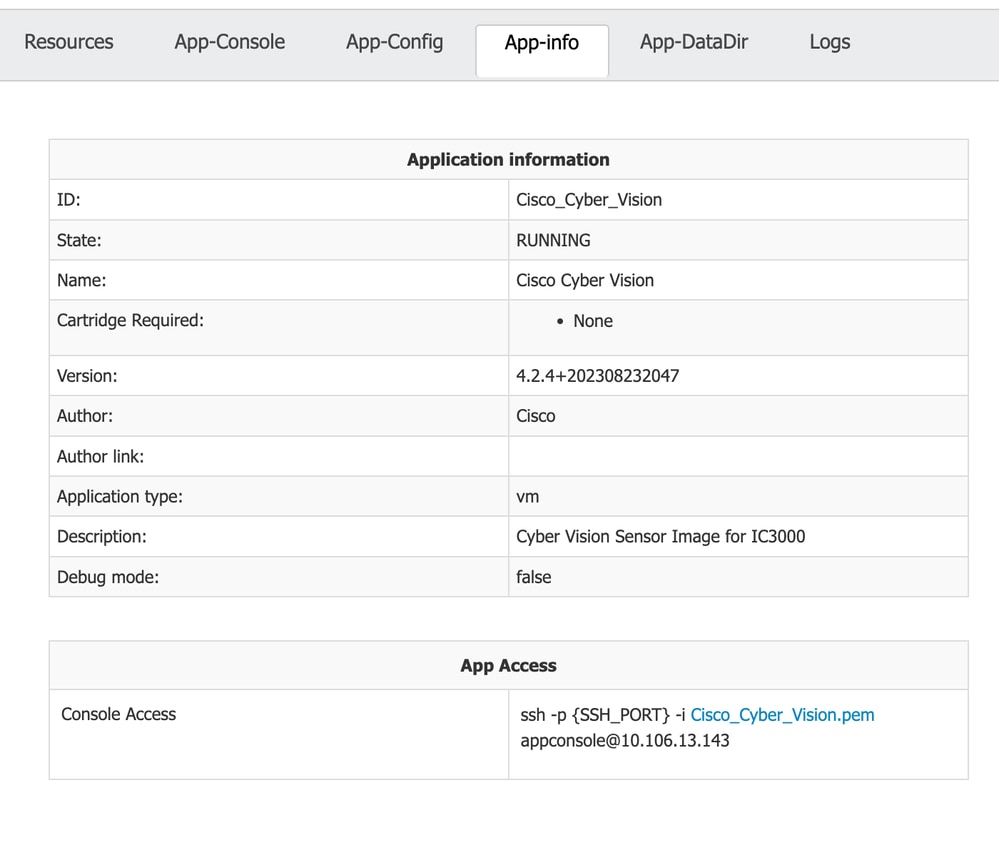
Choose the App-info menu, and click the Cisco_Cyber_Vision.pem option present in the App Access section as shown:

Copy the Rivest-Shamir-Addleman (RSA) key present in the Cisco_Cyber_Vision.pem file.
Now, login to the Cyber Vision Center CLI and then create a new file with the RSA key contents in the file.
Using any Linux editor, for example, vi editor (visual editor) creates a file and pastes the contents of the RSA key file into this file (Cisco_Cyber_Vision.pem is the file name in this example).

Restrict the permissions to the file Cisco_Cyber_Vision.pem, by using the command chmod 400.
Now the IC3000 sensor console can be accessed using:
ssh -p {SSH_PORT} -i file_name appconsole@LocalManagerIP
For example, if the Secure Shell (SSH) port configured in the setup is 22, Cisco_Cyber_Vision.pem is the filename and Local Manager IP address (LMIP) is the IP address of LocalManager, then the result is ssh -p 22 -i Cisco_Cyber_Vision.pem appconsole@LMIP.

Note: The IC3000 certificate changes every time the switch is rebooted and hence this procedure needs to be repeated.
Cyber Vision 4.3.0 Version Onwards
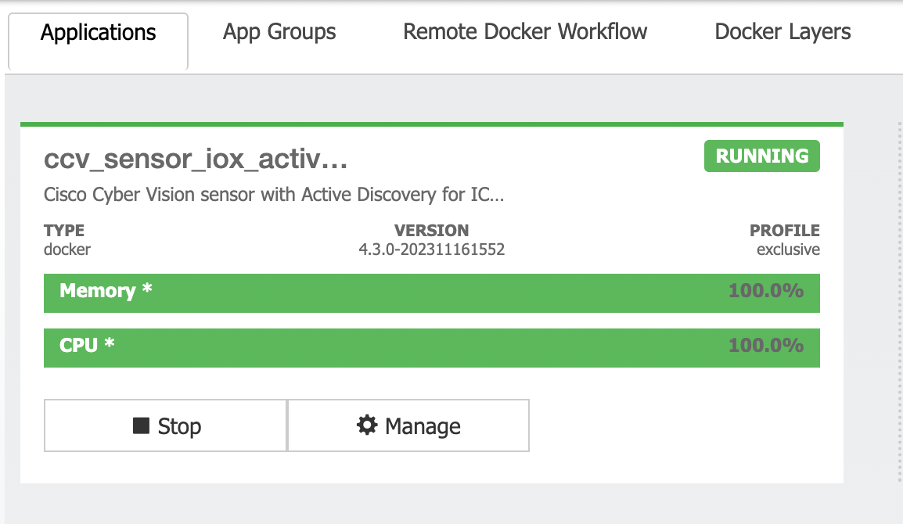
The Cisco Cyber Vision sensor application for IC3000 format changed from VM to Docker in version 4.3.0. For more details regarding the same, refer to Cisco-Cyber-Vision_Release-Notes-4-3-0.pdf.
Login to the IC3000 local manager interface (https://ip_address:8443) as an admin user, navigate to applications and then click the manage app option.

Then navigate to the App-Console tab in order to access the sensor application.

Network Sensors
Login to the respective switch CLI and copy the sensor application ID using this command:
show app-hosting list

Log in to the sensor application using:
app-hosting connect appid sensor_app_name session
For example, in this case, it is app-hosting connect appid ccv_sensor_iox_x86_64 session.

The prompt shown in the screen capture confirms that the sensor login is successful.


 Feedback