Common Concerns About FirePOWER 8000 Series Appliance Rail Kit
Available Languages
Contents
Introduction
This document describes common concerns in regards to the third-party rail kit for rack mounted setups that is shipped along with the Cisco FirePOWER 8000 Series Appliance.
Rail Kit Package
This section describes the rail kit package appearance and the included contents.
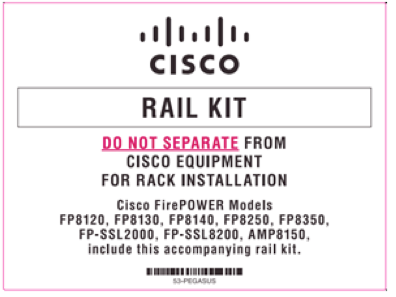
Outer Box Label
This image provides an example of the label that is located on the rail kit package:

Included Accessories
These items are included in the rail kit package:
- One rail kit set
- One bag of screws
- One set of installation instructions
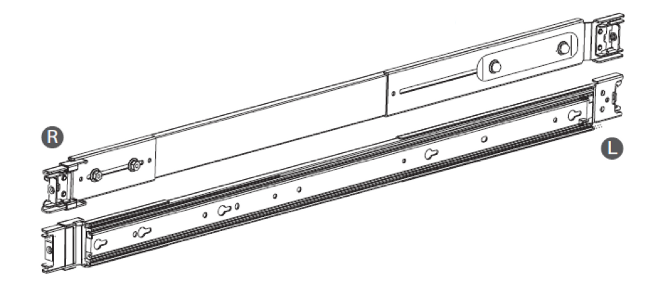
The image shows the items that are included within the rail kit package. Two rails are provided. Inner and outer views of the two rails are shown in this picture:

Common Concerns
This section addresses two of the most common concerns in regards to the use of the rail kit.
Rails are Marked Incorrectly
The rail kit includes two rails; each has an outer rail and an inner channel. The outer rail is marked with a white "L" sticker and the inner channels are stamped with an "LH". Due to these physical rail markings, the Cisco Technical Assistance Center (TAC) has received calls for clarification about whether the incorrect rails have been sent with the FirePOWER appliance. However, while both sets of rails appear to be two sets of left rails, they are the appropriate rails.
The rails are side-agnostic, so each rail can be used for either the left or the right side. The markings on the rails cause confusion, since there are no R or RH rail markings. This image shows the markings on the rails:

In order to use the provided rails on the right side, simply rotate (or flip) one set of rails to work for the right side and follow the rail kit instructions that come with each kit.

Rails are too Long
The supplied rails support a depth range between approximately 29 inches to 34.5 inches. If you think that the rails are too long for your rack, read the rail kit instructions carefully.
When the inner channel slides all of the way into the rail, the green tab on the channel should touch the green tab on the rail. In normal operation, you must flip a trigger on the inside of the rail, or the inner channel does not slide the final 13 inches into the rail. Occasionally, it might require extra pressure in order to push the inner channel into the outer rail for the last inch.

The rail kit installation instructions that are provided with the original package explain how to press the trigger down in order to release the slides from the locked position.
Contact Cisco
- Open a Support Case

- (Requires a Cisco Service Contract)
 Feedback