Introduction
This document describes how to configure the Firepower Management Center (FMC) to authenticate using Single Sign-On (SSO) for management access.
Prerequisites
Requirements
Cisco recommends that you have knowledge of these topics:
- Basic understanding of Single Sign-On and SAML
- Understanding of the configuration on the Identity Provider (iDP)
Components Used
The information in this document is based on these software versions:
- Cisco Firepower Management Center (FMC) version 6.7.0
- Okta as the Identity Provider
Note: The information in this document was created from devices in a specific lab environment. All of the devices used in this document started with a cleared (default) configuration. If your network is live, make sure that you understand the potential impact of any configuration change.
Background Information
Single sign-on (SSO) is a property of identity and access management (IAM) that enables users to securely authenticate with multiple applications and websites by logging in only once with just one set of credentials (username and password). With SSO, the application or website that the user is trying to access relies on a trusted third party to verify that users are who they say they are.
SAML (Security Assertion Markup Language) is an XML-based framework for exchanging authentication and authorization data between security domains. It creates a circle of trust between the user, a service provider (SP), and an Identity Provider (IdP) which allows the user to sign in a single time for multiple services
A Service Provider (SP) is an entity that receives and accepts an authentication assertion issued by an Identity Provider (iDP). As described by their names, service providers provide service while identity providers provide the identity of users (authentication).
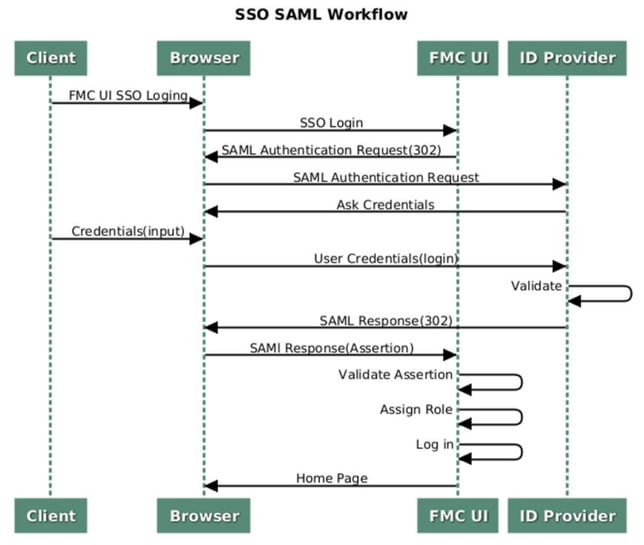
These iDPs are supported and are tested for authentication:
- Okta
- OneLogin
- PingID
- Azure AD
- Others (Any iDP that conforms to SAML 2.0)
Note: No new license requirement. This feature works in licensed as well as evaluation mode.
Limitations and Restrictions
These are known limitations and restrictions for SSO authentication for FMC access:
- SSO can be configured only for the Global Domain
- FMC's in HA Pair requires individual configuration
- Only Local/AD admins can configure SSO on FMC (SSO admin users will not be able to configure/update SSO settings on FMC).
Configuration Steps
Configuration Steps on the Identity Provider (Okta)
Step 1. Login into the Okta portal. Navigate to Applications > Applications, as shown in this image.

Step 2. As shown in this image, click on AddApplication.
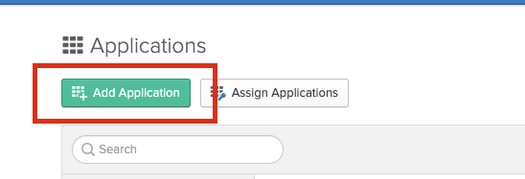
Step 3. As shown in this image, click on Create NewApp.

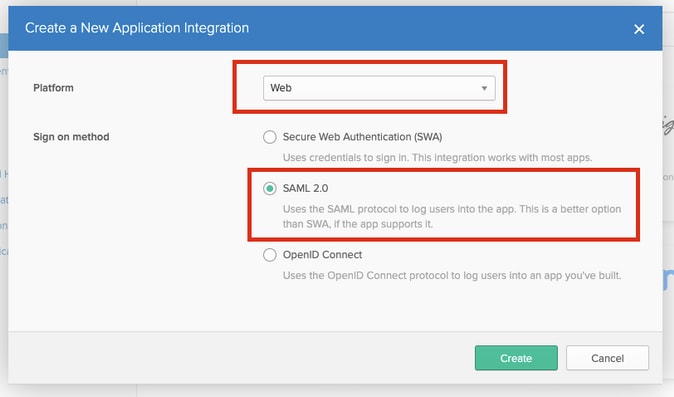
Step 4. Choose the Platform as Web. Choose the Sign On method as SAML 2.0. Click on Create, as shown in this image.
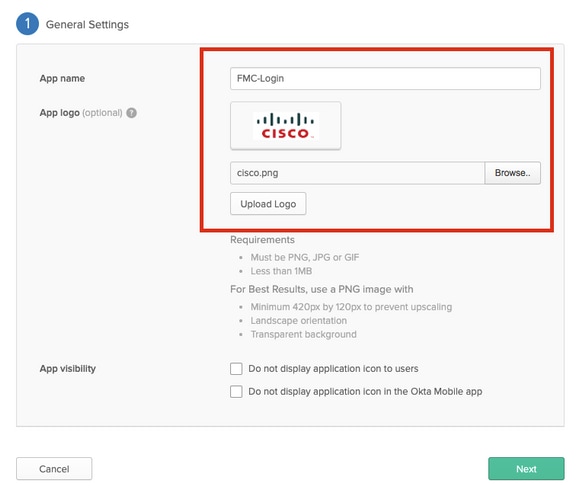
Step 5. Provide an App name, App logo (optional), and click Next, as shown in this image.
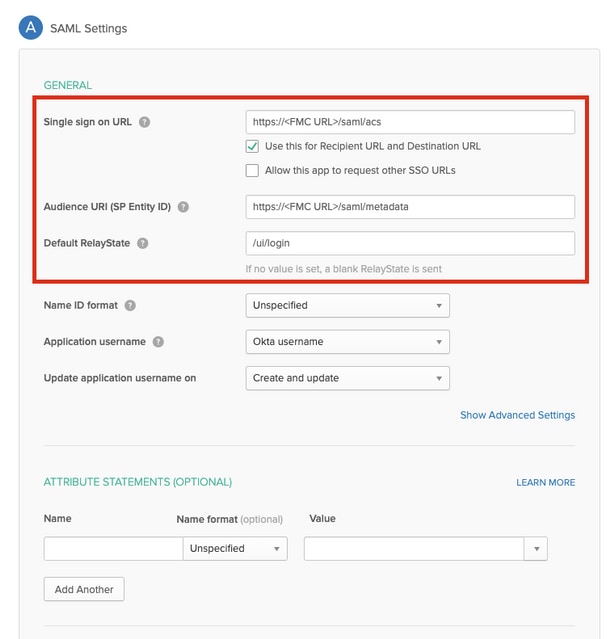
Step 6. Enter the SAML Settings.
Single sign on URL: https://<fmc URL>/saml/acs
Audience URI (SP Entity ID): https://<fmc URL>/saml/metadata
Default RelayState: /ui/login
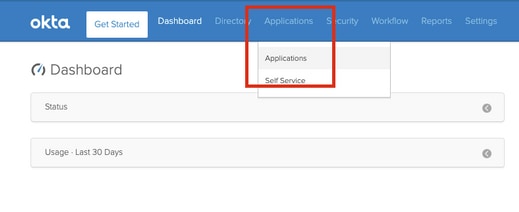
Step 7. Navigate back to Applications > Applications, as shown in this image.
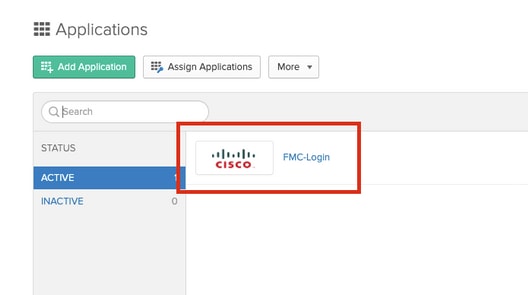
Step 8. Click on the App name that was created.
Step 9. Navigate to Assignments. Click on Assign.
You can choose to assign individual users or groups to the App name created.

Step 10. Navigate to Sign On. Click on View Setup Instructions. Click on Identity Provider metadata to view the metadata of the iDP.
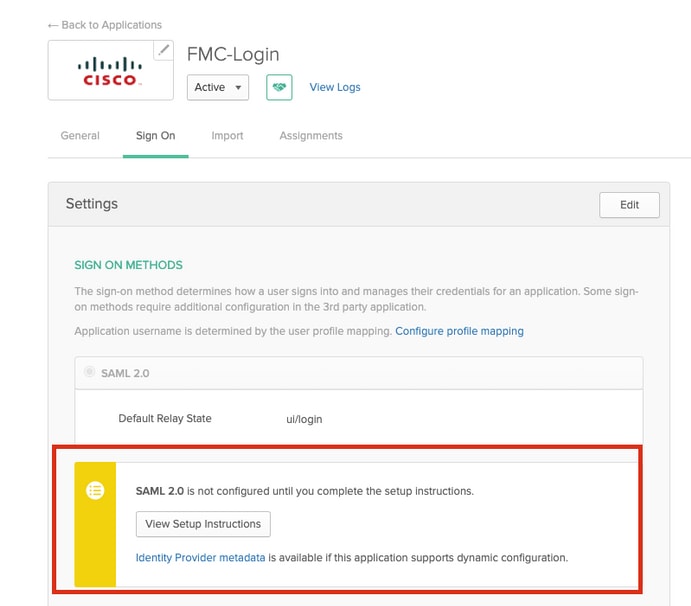
Save the file as a .xml file to be used on the FMC.

Configuration Steps on FMC
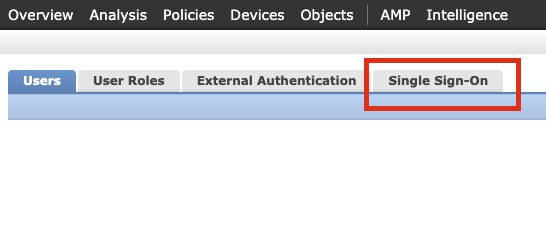
Step 1. Login to the FMC with Admin privileges. Navigate to System >Users.

Step 2. Click on Single Sign-On, as shown in this image.
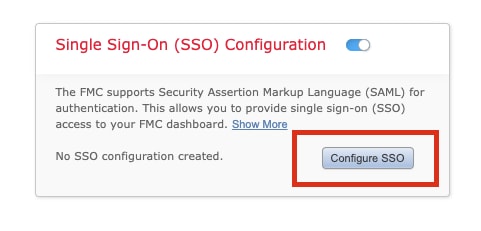
Step 3. Enable the Single Sign-On option (Disabled by default).

Step 4. Click on Configure SSO to begin SSO configuration on FMC.
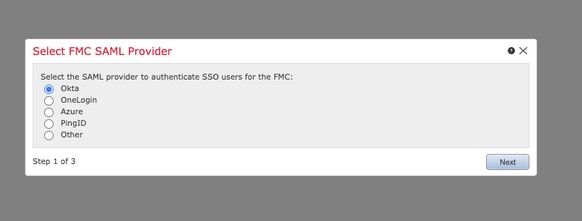
Step 5. Select the FMC SAML Provider. Click Next.
For the purpose of this demonstration, Okta is used.
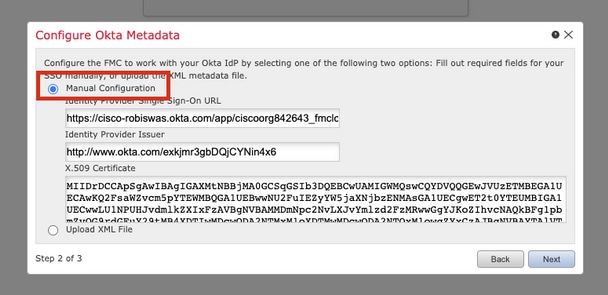
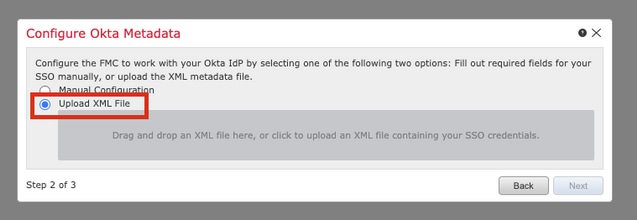
Step 6. You can choose Manual Configuration and enter the iDP data manually. Click Next, as
You can also choose Upload XML file and upload the XML file retrieved in Step 10 of Okta Configuration.
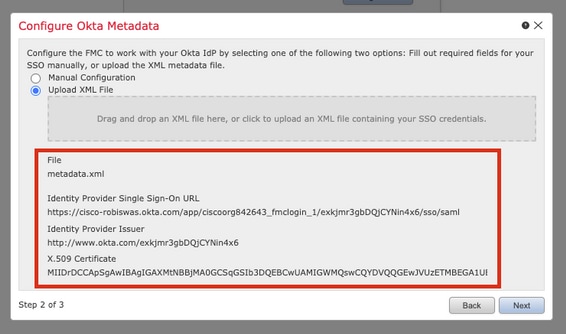
Once the file is uploaded, the FMC displays the metadata. Click Next, as shown in this image.
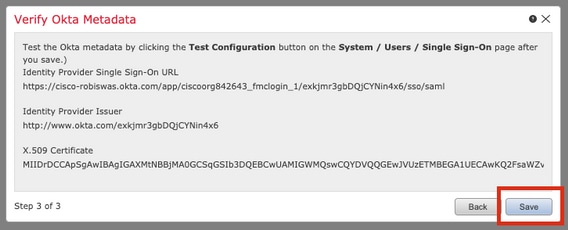
Step 7. Verify the metadata. Click Save, as shown in this image.
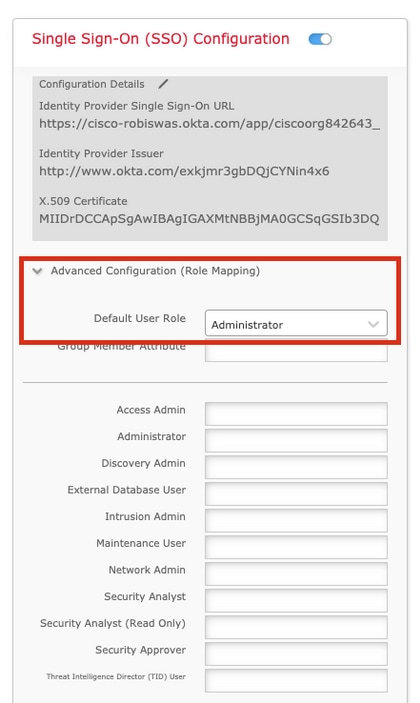
Step 8. Configure the Role Mapping/Default User Role under Advanced Configuration.
Step 9. In order to test the Configuration, click on Test Configuration, as shown in this image.
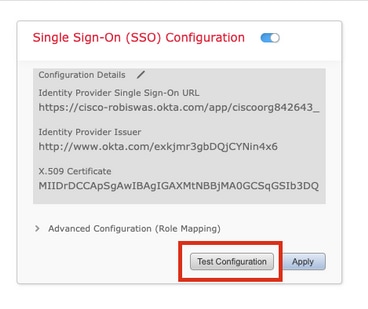
If the test is a success, you should see the page shown in this image, on a new tab on the browser.

Step 10. Click on Apply to save the configuration.
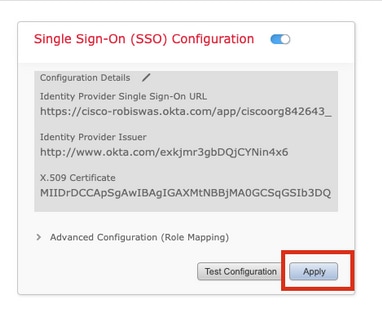
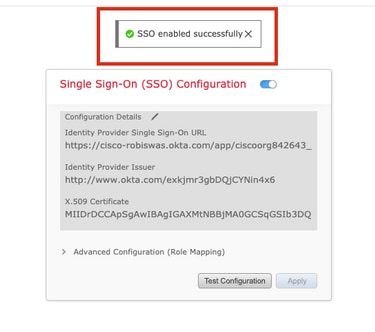
SSO should be enabled successfully.
Verify
Navigate to the FMC URL from your browser: https://<fmc URL>. Click on Single Sign-On.
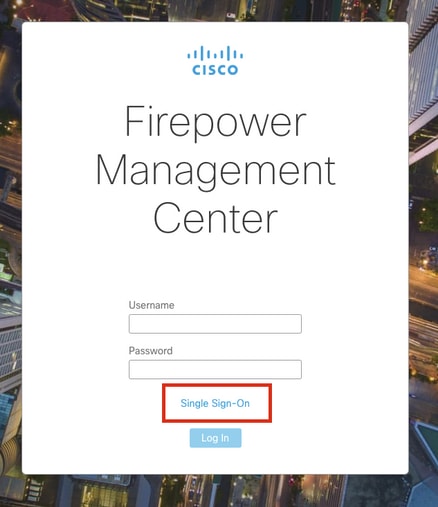
You would be redirected to the iDP (Okta) Login Page. Provide your SSO credentials. Click on Sign in.
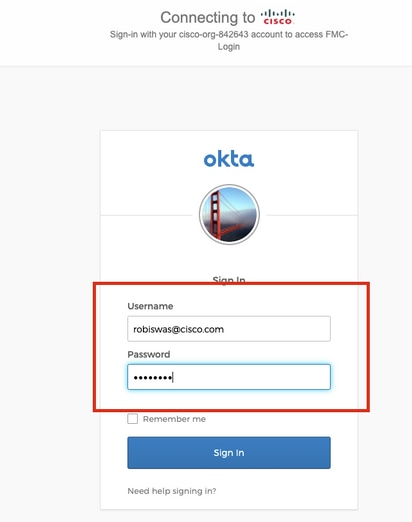
If successful, you should be able to log in and see the FMC default page.
On FMC, navigate to System > Users to see the SSO user added to the database.


 Feedback