Introduction
This document describes the initial setup of a FireSIGHT Management Center (also known as Defense Center) that runs on VMware ESXi. A FireSIGHT Management Center allows you to manage one or more FirePOWER Appliances, Next Generation Intrusion Prevention System (NGIPS) Viirtual Appliances, and Adaptive Security Appliance (ASA) with FirePOWER Services.
Note: This document is a supplement of the FireSIGHT System Installation Guide and User Guide. For an ESXi specific configuration and troubleshooting question, refer to the VMware knowledge base and documentation.
Prerequisites
Components Used
The information on this document is based on these platforms:
- Cisco FireSIGHT Management Center
- Cisco FireSIGHT Management Center Virtual Appliance
- VMware ESXI 5.0
In this document, a "device" refers to these platforms:
- Sourcefire FirePOWER 7000 Series Appliances and 8000 Series Appliances
- Sourcefire NGIPS Virtual Appliances for VMware ESXi
- Cisco ASA 5500-X Series with FirePOWER service
The information in this document was created from the devices in a specific lab environment. All of the devices used in this document started with a cleared (default) configuration. If your network is live, make sure that you understand the potential impact of any command.
Configuration
Deploy an OVF Template
-
Download the Cisco FireSIGHT Management Center Virtual Appliance from the Cisco Support & Downloads site.
-
Extract the contents of the tar.gz file to a local directory.
-
Connect to your ESXi server with a VMware vSphere Client.
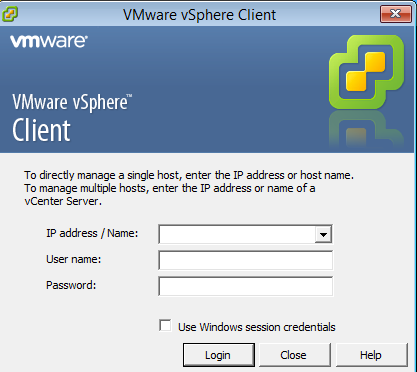
-
Once you log in to the vSphere Client, choose File > Deploy OVF Template.
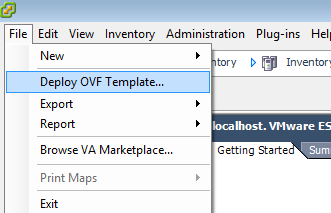
-
Click Browse and locate the files that you extracted in step 2. Choose the OVF file Sourcefire_Defense_Center_Virtual64_VMware-ESXi-X.X.X-xxx.ovf and click Next.
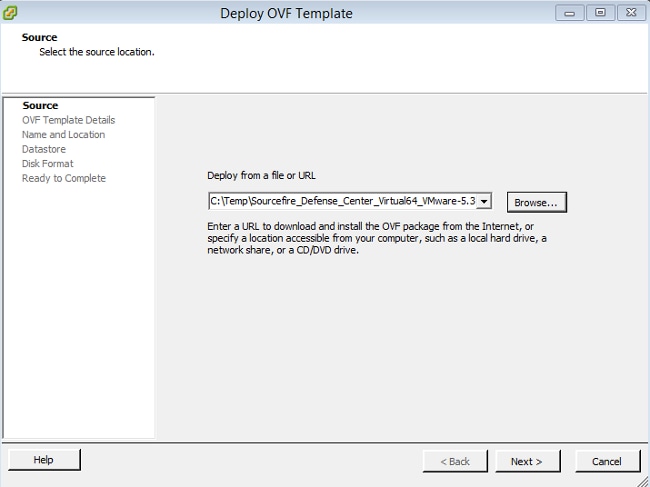
-
On the OVF Template Details screen, click Next in order to accept the default settings.
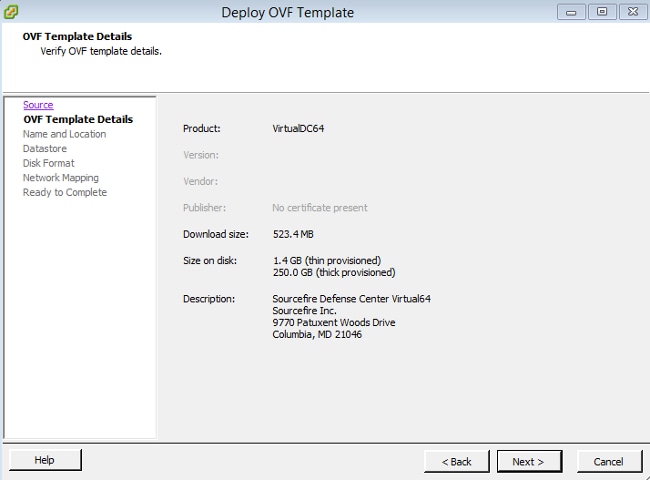
-
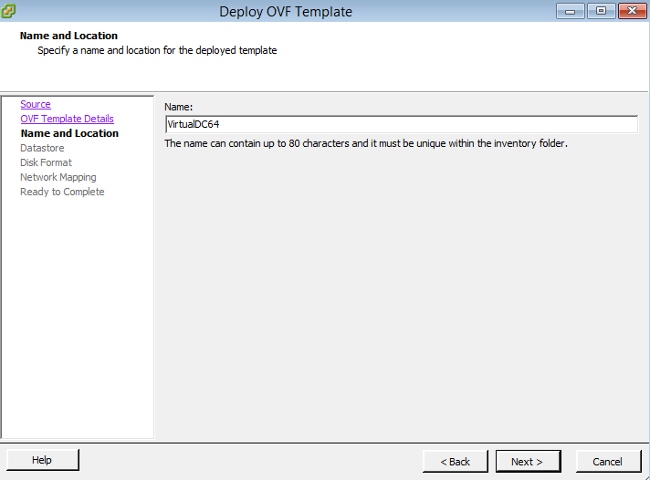
Provide a name for the Management Center and click Next.
-
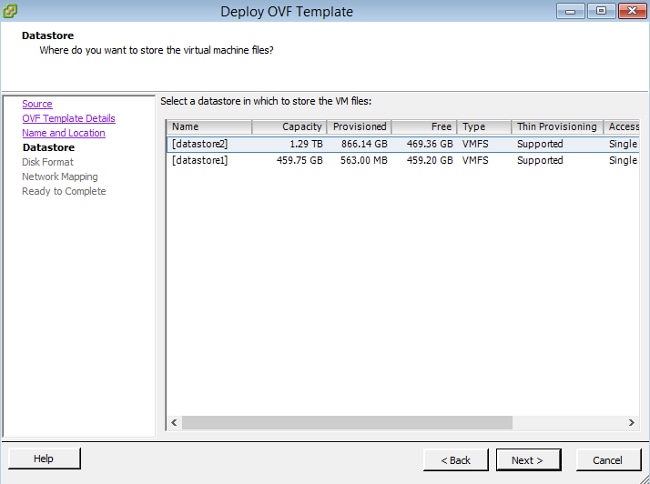
Choose a Datastore on which you want to create the virtual machine and click Next.
-
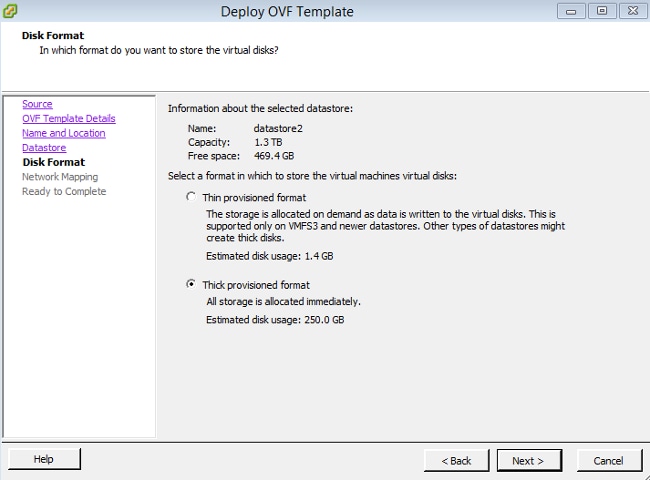
Click the Thick provisioned format radio button for the Disk Format and click Next. Thick provisioning format allocates the necessary disk space at the time of creating a virtual disk, whereas the thin provisioning format uses space on demand.
-
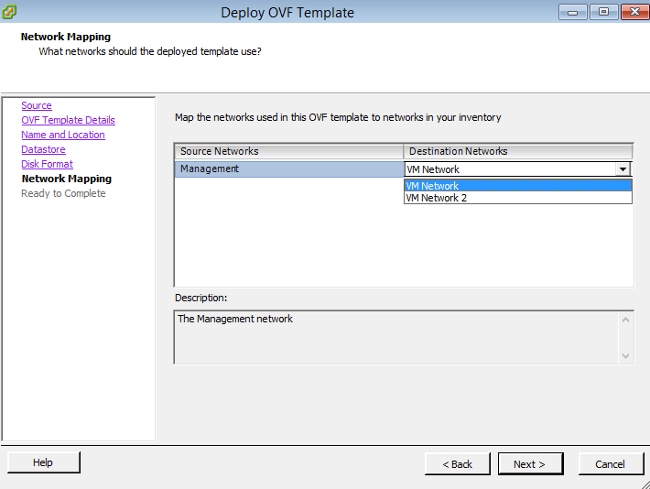
On the Network Mapping section, associate the management interface of the FireSIGHT Management Center to a VMware network and click Next.
-
Click Finish in order to complete the OVF template deployment.
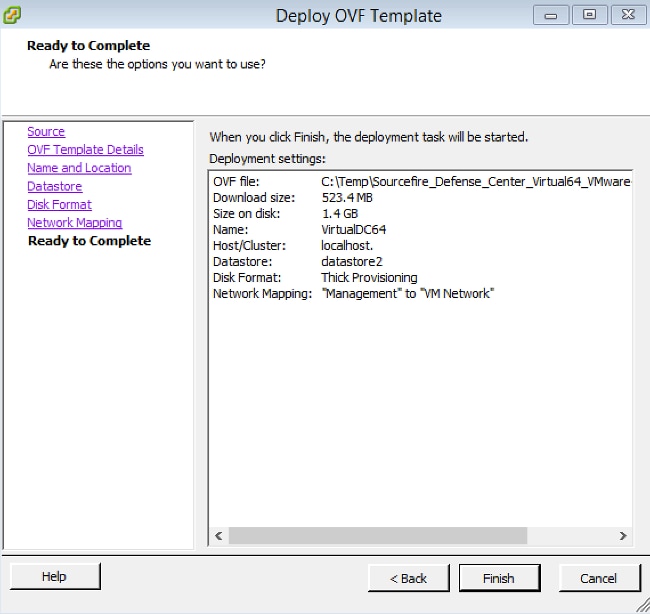
Power On and Complete Initialization
-
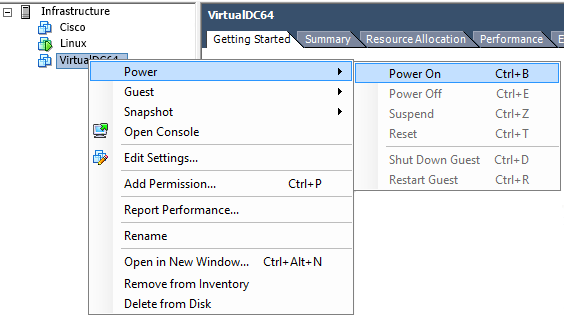
Navigate to the newly created virtual machine. Right-click the server name and choose Power > Power On in order to boot up the server for the first time.
-
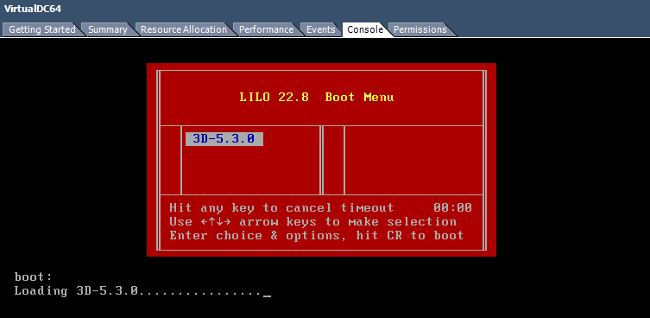
Navigate to the Console tab in order to monitor the server console. The LILO Boot Menu appears.
Once the BIOS data check is successful, the initialization process starts. The first boot might take additional time to complete as the configuration database is initialized for the first time.
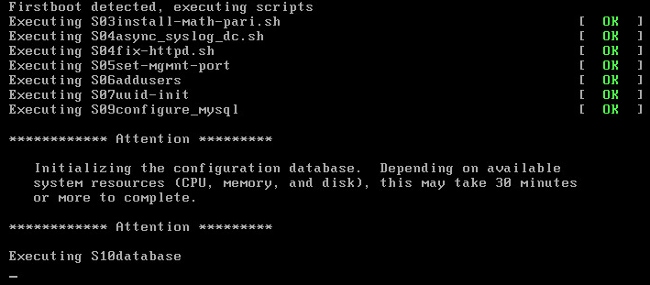
Once complete, you might see a message for No such device.

-
Press Enter in order to get a login prompt.

Note: A message "WRITE SAME failed. Manually zeroing." may appear after the system is booted up for the first time. This does not indicate a defect, it correctly indicates that the VMware storage driver does not support the WRITE SAME command. The system displays this message, and proceeds with a fallback command to perform the same operation.
Configure the Network Settings
- On the Sourcefire3D login prompt, use these credentials to log in:
For version 5.x
- Username: admin
- Password: Sourcefire
For version 6.x and later
- Username: admin
- Password: Admin123
Tip: You will be able to change the default password in the initial setup process in the GUI.
-
Initial configuration of the network is done with a script. You need to run the script as a root user. In order to switch to the root user, enter the sudo su - command along with the password Sourcefire or Admin123 (for 6.x). Exercise caution when logged into the Management Center command line as a root user.
admin@Sourcefire3D:~$ sudo su -
Password:
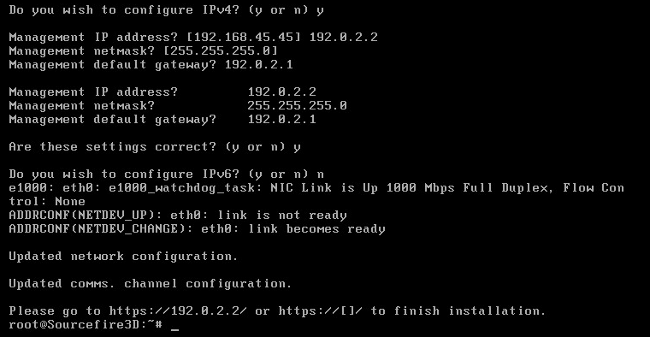
- In order to begin the network configuration, enter the configure-network script as root.

You will be asked to provide a Management IP Address, netmask, and default gateway. Once you confirm the settings, the network service restarts. As a result, the management interface goes down and then comes back.
Perform Initial Setup
-
After the network settings are configured, open a web browser and browse to the configured IP via HTTPS (https://192.0.2.2 in this example). Authenticate the default SSL certificate if prompted. Use these credentials in order to log in:
For version 5.x
- Username: admin
- Password: Sourcefire
For version 6.x and later
- Username: admin
- Password: Admin123
-
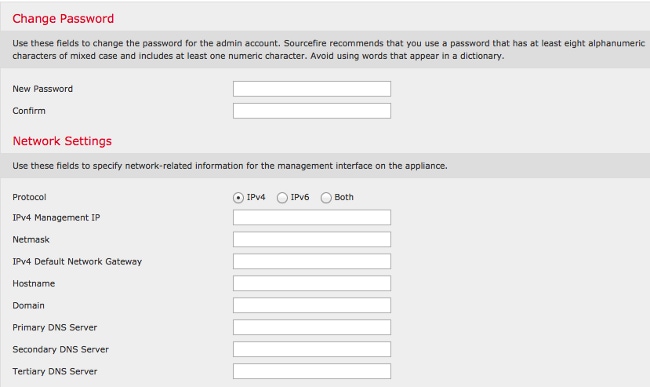
On the screen that follows, all of the GUI configuration sections are optional except for the password change and acceptance of the terms of service. If the information is known, it is recommended to use the setup wizard in order to simplify the initial configuration of the Management Center. Once configured, click Apply in order to apply the configuration to the Management Center and registered devices. A brief overview of the configuration options is as follows:
- Change Password: Allows you to change the password for the default admin account. It is required to change the password.
- Network Settings: Allows you to modify the previously configured IPv4 and IPv6 network settings for the management interface of the appliance or virtual machine.
- Time Settings: It is recommended that you sync the Management Center with a reliable NTP source. The IPS sensors can be configured through system policy to synchronize their time with the Management Center. Optionally, the time and display time zone can be set manually.
- Recurring Rule Update Imports: Enable recurring Snort rule updates and optionally install now during the initial setup.
- Recurring Geolocation Updates: Enable recurring geolocation rule updates and optionally install now during the initial setup.
- Automatic Backups: Schedule automatic configuration backups.
- License Settings: Add the feature license.
- Device Registration: Allows you to add, license, and apply initial access control policies to preregistered devices. The hostname/IP address and registration key should match the IP address and registration key configured on the FirePOWER IPS module.
- End User License Agreement: Acceptance of the EULA is required.
Related Information