Introduction
This document describes how to configure OKTA SSO External Authentication for login to Cisco Advanced Phishing Protection.
Prerequisites
Administrator access to Cisco Advanced Phishing Protection portal.
Administrator access to Okta idP.
Self-Signed or CA Signed (optional) X.509 SSL certificates in PKCS #12 or PEM format.
Background Infrormation
- Cisco Advanced Phishing Protection allows to enable SSO login for administrators using SAML.
- OKTA is an identity manager that provides authentication and authorization services to your applications.
- Cisco Advanced Phishing Protection can be set as an application which is connected to OKTA for authentication and authorization.
- SAML is an XML-based open standard data format that enables administrators to access a defined set of applications seamlessly after signing into one of those applications.
- To learn more about SAML you can access the next link: SAML General Information
Requirements
- Cisco Advanced Phishing Protection portal.
- OKTA administrator account.
Configure
Under Cisco Advanced Phishing Protection Portal:
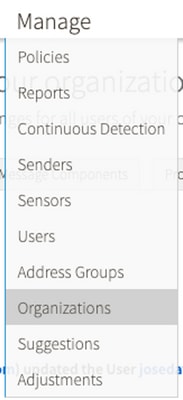
1. Log in to your organization portal, then select Manage > Organizations, as shown in the image:
2. Select your Organization name, Edit Organization, as shown in the image:

3. On the Administrative tab, scroll down to User Account Settings and select Enable under SSO, as shown in the image:

4. The next window provides you with the information to be entered under the OKTA SSO configuration. Paste to a notepad the following information, use it to configure OKTA settings:
- Entity ID: apcc.cisco.com
- Assertion Consumer Service: this data is tailored to your organization.
Select the named format e-mail to use an e-mail address for login, shown in the image:

5. Minimize Cisco Advanced Phishing Protection configuration at this moment, as you need to set first the Application in OKTA before moving to the next steps.
Under Okta.
1. Navigate to Applications portal and select Create App Integration, as shown in the image:

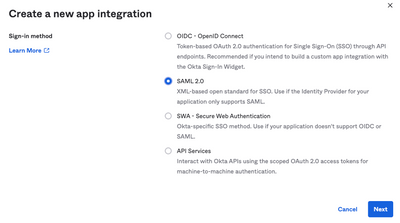
2. Select SAML 2.0 as the application type, as shown in the image:
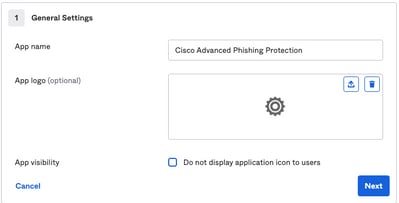
3. Enter the App name Advanced Phishing Protection and select Next, as shown in the image:
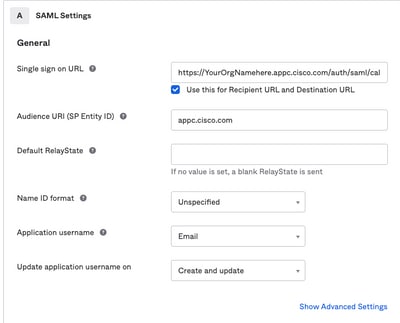
4. Under the SAML settings, fill in the gaps, as shown in the image:
- Single sign on URL: This is the Assertion Consumer Service obtained from Cisco Advanced Phishing Protection.
- Recipient URL: This is the Entity ID obtained from Cisco Advanced Phishing Protection.
- Name ID format: keep it as Unspecified.
- Application username: Email, that prompts user to enter their e-mail address in the authentication process.
- Update application username on: Create and update.
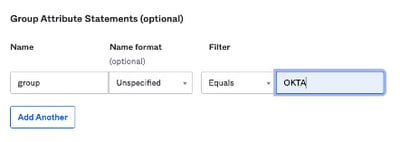
Scroll down to Group Attibute Statements (optional), as shown in the image:
Enter the next attribute statement:
- Name: group
- Name format: Unspecified.
- Filter: "Equals" and "OKTA"
Select Next.
5. When asked to Help Okta to understand how you configured this application, please enter the applciable reason to the current environment, as shown in the image:
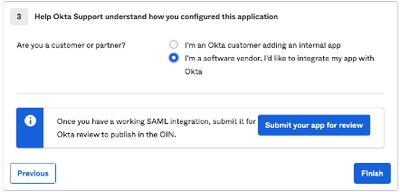
Select Finish to proceed to the next step.
6. Select Assignments tab and then select Assign > Assign to Groups, as shown in the image:
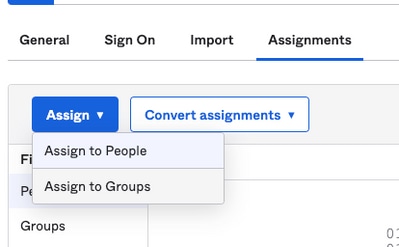
7. Select the OKTA group, which is the group with the authorized users to access the environment
8. Select Sign On, as shown in the image:

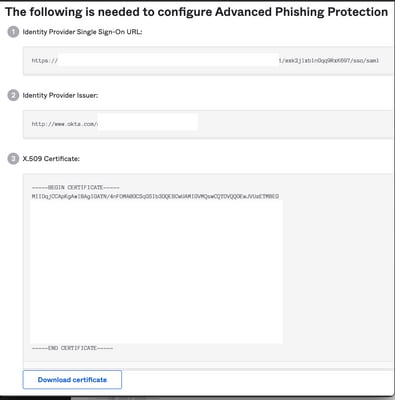
9. Scroll down and to the right corner, enter the View SAML setup instructions option, as shown in the image:
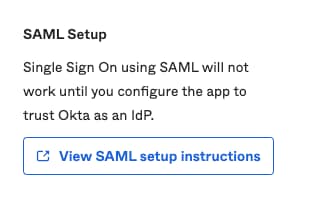
9. Save to a notepad the next information, that is necessary to put into the Cisco Advanced Phishing Protection portal, as shown in the image:
- Identity Provider Single Sing-On URL.
- Identify Provider Issuer (not required for Cisco Advanced Phishing Protection , but mandatory for other applications).
- X.509 Certificate.
10. Once you complete the OKTA configuration, you can go back to Cisco Advanced Phishing Protection
Under Cisco Advanced Phishing Protection Portal:
1. With the Name identifier Format, enter the next information:
- SAML 2.0 Endpoint (HTTP Redirect): The Identify Provider Single Sign-On URL provided by Okta.
- Public Certificate: Enter the X.509 Certificate provided by Okta.
2. Select Test Settings to verify the configuration is correct
If there are no errors in the configuration, you see a Test Successful entry and can now save your settings, as shown in the image:

3. Save settings
Verify
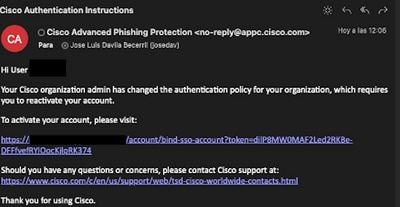
1. For any existing administrators not using SSO, they are notified via e-mail that the authentication policy is changed for the organization and the administrators are asked to activate their account using an external link, as shown in the image:
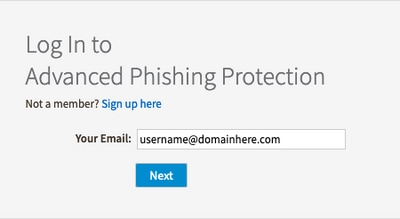
2. Once the account is activated, enter your e-mail address and then it redirects you to the OKTA login website for login, as shown in the image:
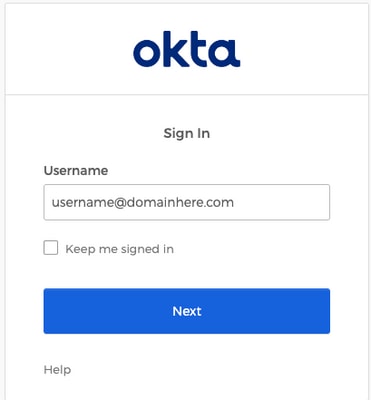
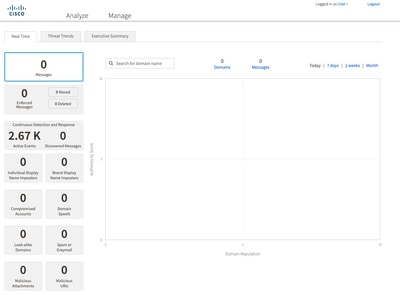
3. Once the OKTA Login process completes, log into the Cisco Advanced Phishing Protection portal, as shown in the image:
Related Information
Cisco Advanced Phishing Protection - Product Information
Cisco Advanced Phishing Protection - End User Guide
OKTA Support


 Feedback