Introduction
This document describes how enable a packet capture in Cisco Email Security Appliance.
Background Information
Packet capture intercepts and analyzes the network traffic that passes through the Cisco Email Security Appliance. It enables administrators to monitor network traffic, detect potential security threats, and troubleshoot network issues. Packet capture can be enabled on Cisco Email Security Appliance through GUI or CLI.
Procedure
In order to configure a packet capture, complete this procedure:
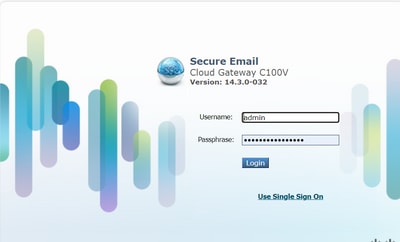
1. Log in to the Cisco Email Security Appliance with administrator credentials.

2. Hover the mouse in the Help And Support settings on the top right corner.

3. Click Packet Capture.

4. Scroll down to Packet Capture Settings and click Edit Settings.

5. Enter the Packet Capture Settings:
- Capture File Size Limit
- Capture Duration
- Interfaces

6. Configure the Packet Capture Filters.


Note: It is recommended to use a Custom Filter, and add the destination ip address with the format of host x.x.x.x.
In case of multiple destination ip addresses, the correct format is host x.x.x.x or host x.x.x.x.
In the case where a specific port is to be captured, use the format host x.x.x.x && port x.
7. Click Submit and Start Capture.
8. Click Stop Capture when needed to stop the capture.

9. Choose the capture from Manage Packet Capture Files menu and click Download File to save it to the local computer.

10. The file is now ready to be checked with a packet analyzer tool.
Conclusion
Packet capture is an essential feature that enables administrators to monitor network traffic and detect potential security threats. This article has provided a step-by-step procedure on how to enable packet capture on the Cisco Email Security Appliance GUI.


 Feedback