Introduction
This document describes the steps to create an Advanced Custom Detection (ACD) in Cisco Secure Endpoint.
Background Information
TALOS Intelligence published a BLOG on January 14th 2020 in response to Microsoft Patch Tuesday Vulnerability Disclosures.
Updated January 15th: Added an ACD signature for AMP that can be used to detect exploitation of CVE-2020-0601 by spoofing certificates masquerading as a Microsoft ECC Code Signing Certificate Authority: https://blog.talosintelligence.com/2020/01/microsoft-patch-tuesday-jan-2020.html.
The signature of the file found in the TALOS BLOG to be used in the ACD:
Prerequisites
Requirements
There are no specific requirements for this document.
Components Used
The information in this document is based on these software and hardware versions:
- Cisco Secure Endpoint Cloud Portal
- ACD
- TALOS Blog
The information in this document was created from devices in a specific lab environment. All devices used started with a cleared (default) configuration. If your network is live, ensure that you understand the potential impact of any command.
Create Advanced Custom Detection List
Now, let's create the ACD to match.
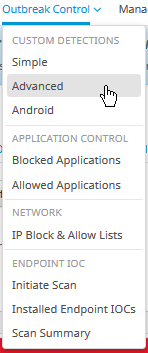
Step 1. Navigate to Secure Endpoint Portal > Outbreak Control > Advanced Custom Detection as shown in the image.

Step 2. Begin with a Name for the Signature Set CVE-2020-0601 as shown in the image.

Step 3. Next, Edit that new Signature Set, and Add Signature. Win.Exploit.CVE_2020_0601:1:*:06072A8648CE3D020106*06072A8648CE3D020130.

Step 4. Select Build Database From Signature Set and the Database has been built.
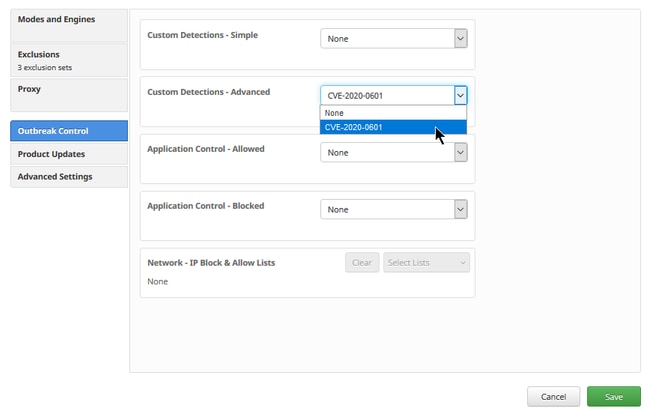
Step 5. Apply the new Signature Set to a Policy, click Edit> Outbreak Control > Custom Detections > Advanced as shown in the image.

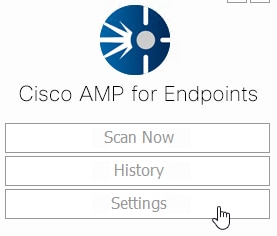
Step 6. Save the Policy and Sync at the connector UI as shown in the image.


Step 7. Search the directory C:\Program Files\Cisco\AMP\ClamAV for a new Signature folder created that day as shown in the image.


Related Information


 Feedback