Introduction
This document describes the procedure to migrate Cisco Adaptive Security Appliance (ASA) to Cisco Firepower Threat Device .
Prerequisites
Requirements
Cisco recommends that you have knowledge of Cisco Firewall Threat Defense (FTD) and Adaptive Security Appliance (ASA).
Components Used
The information in this document is based on these software and hardware versions:
- Mac OS with Firepower Migration Tool (FMT) v7.0.1
- Adaptive Security Appliance (ASA) v9.16(1)
- Secure Firewall Management Center (FMCv) v7.4.2
- Secure Firewall Threat Defense Virtual (FTDv) v7.4.1
The information in this document was created from the devices in a specific lab environment. All of the devices used in this document started with a cleared (default) configuration. If your network is live, ensure that you understand the potential impact of any command.
Overview
Specific requirements for this document include:
- Cisco Adaptive Security Appliance (ASA) Version 8.4 or later
- Secure Firewall Management Center (FMCv) Version 6.2.3 or later
The Firewall Migration Tool supports this list of devices:
- Cisco ASA (8.4+)
- Cisco ASA (9.2.2+) with FPS
- Cisco Secure Firewall Device Manager (7.2+)
- Check Point (r75-r77)
- Check Point (r80)
- Fortinet (5.0+)
• • Palo Alto Networks (6.1+)
Background Information
Before you migrate your ASA configuration, execute these activities:
Obtain the ASA Configuration File
To migrate an ASA device, use the show running-config for single context, or show tech-support for multi-context mode to obtain the configuration, save it as a .cfg or .txt file, and transfer it to the computer with the Secure Firewall migration tool.
Export PKI Certificate from ASA and Import into Management Center
Use this command to export the PKI certificate through the CLI from the source ASA config with the keys to a PKCS12 file:
ASA(config)#crypto ca export <trust-point-name> pkcs12 <passphrase>
Then, import the PKI certificate into a management center (Object Management PKI Objects). For more information, see PKI Objects in the Firepower Management Center Configuration Guide.
Retrieve AnyConnect Packages and Profiles
AnyConnect profiles are optional and can be uploaded through the management center or Secure Firewall migration tool.
Use this command to copy the required package from the source ASA to an FTP or TFTP server:
Copy <source file location:/source file name> <destination>
ASA# copy disk0:/anyconnect-win-4.10.02086-webdeploy-k9.pkg tftp://1.1.1.1 <----- Example of copying Anyconnect Package.
ASA# copy disk0:/ external-sso- 4.10.04071-webdeploy-k9.zip tftp://1.1.1.1 <----- Example of copying External Browser Package.
ASA# copy disk0:/ hostscan_4.10.04071-k9.pkg tftp://1.1.1.1 <----- Example of copying Hostscan Package.
ASA# copy disk0:/ dap.xml tftp://1.1.1.1. <----- Example of copying Dap.xml
ASA# copy disk0:/ sdesktop/data.xml tftp://1.1.1.1 <----- Example of copying Data.xml
ASA# copy disk0:/ VPN_Profile.xml tftp://1.1.1.1 <----- Example of copying Anyconnect Profile.
Import the downloaded packages to management center (Object Management > VPN > AnyConnect File).
a-Dap.xml and Data.xml must be uploaded to the management center from the Secure Firewall migration tool in the Review and Validate > Remote Access VPN > AnyConnect File section.
b-AnyConnect profiles can be uploaded directly to the management center or through the Secure Firewall migration tool in the Review and Validate > Remote Access VPN > AnyConnect File section.
Configure
Configuration Steps :
1.Download the most recent Firepower Migration Tool from Cisco Software Central:
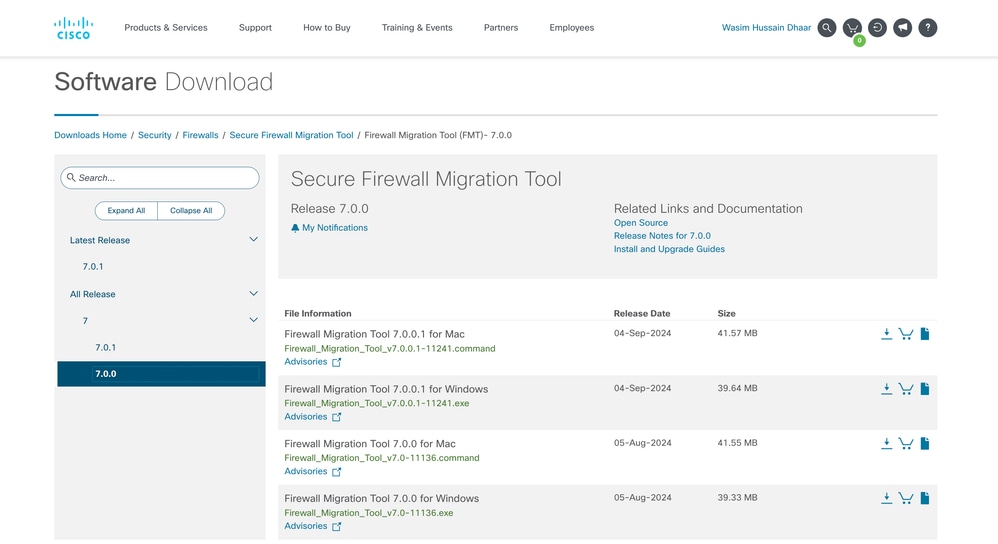 Software Download
- Click the file you previously downloaded to your computer.
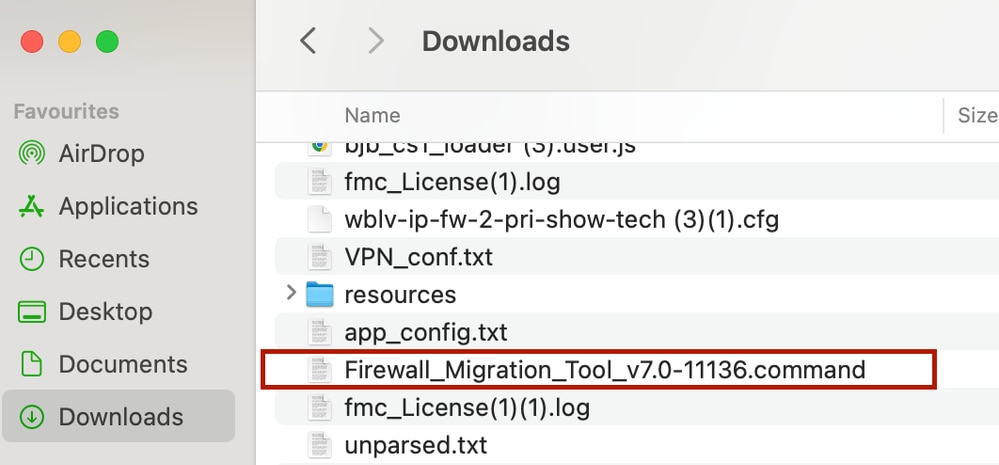 The File
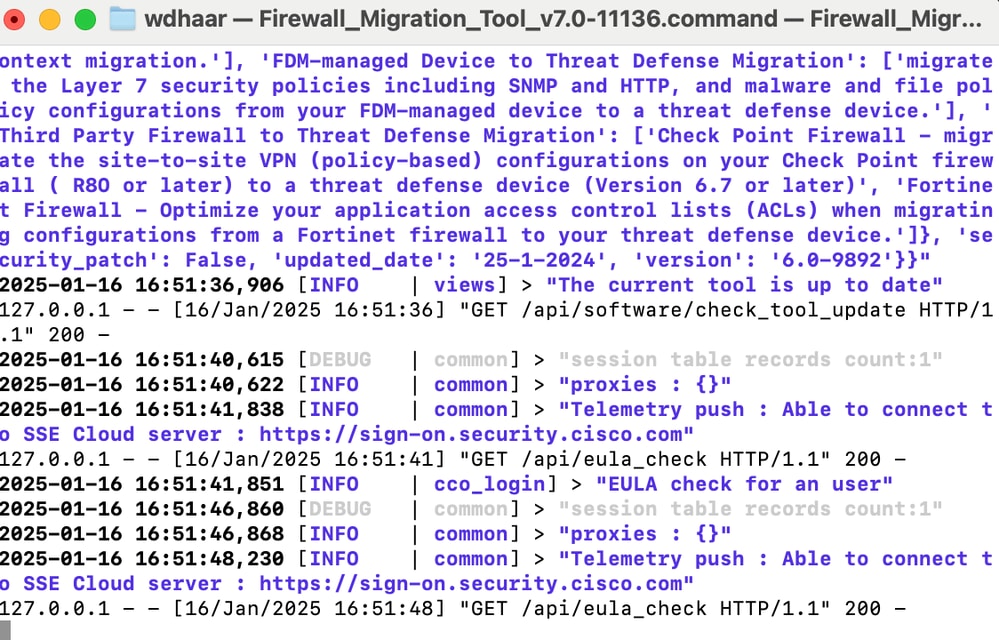 Console Logs

Note: The program opens up automatically and a console auto generates content on the directory where you ran the file.
- After you run the program, it opens up a web browser that displays the “End User License Agreement”.
- Mark the check box to accept terms and conditions.
- Click Proceed.
 EULA
EULA
- Log in using a valid CCO account and the FMT GUI interface appears on the web browser.
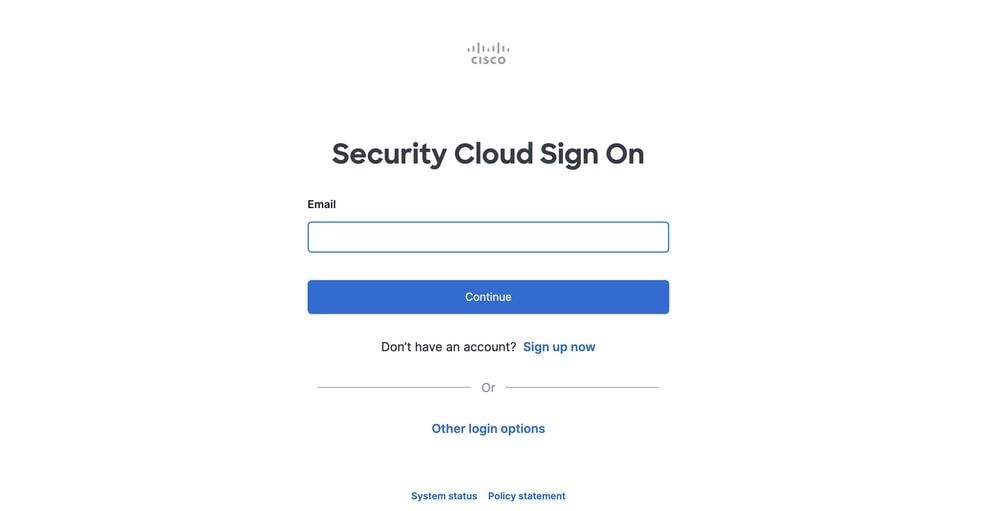 FMT Login
- Select the Source Firewall to migrate.
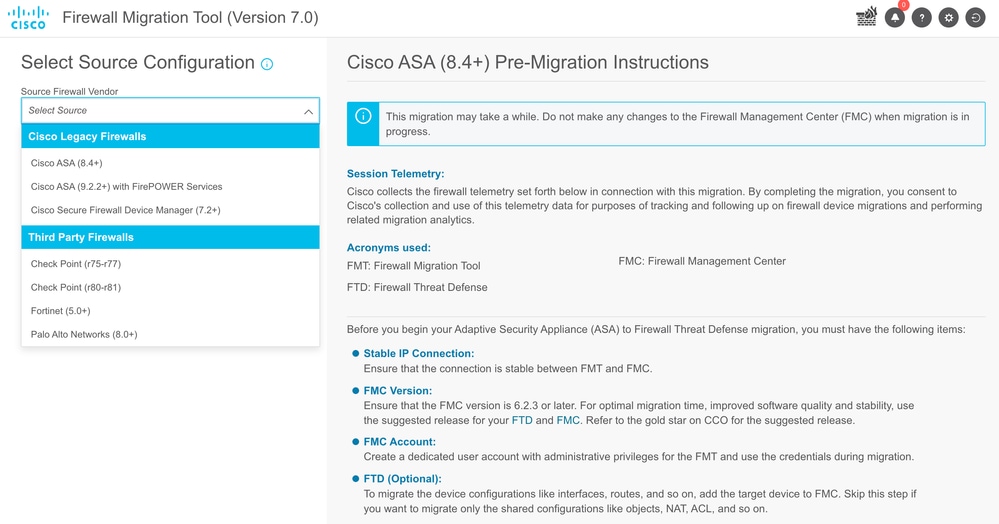 Source Firewall
- Select the extraction method to be used to get the configuration.
- Manual Upload requires you to upload the
Running Config file of the ASA in “.cfg” or “.txt” format.
- Connect to the ASA to extract configurations directly from the firewall.
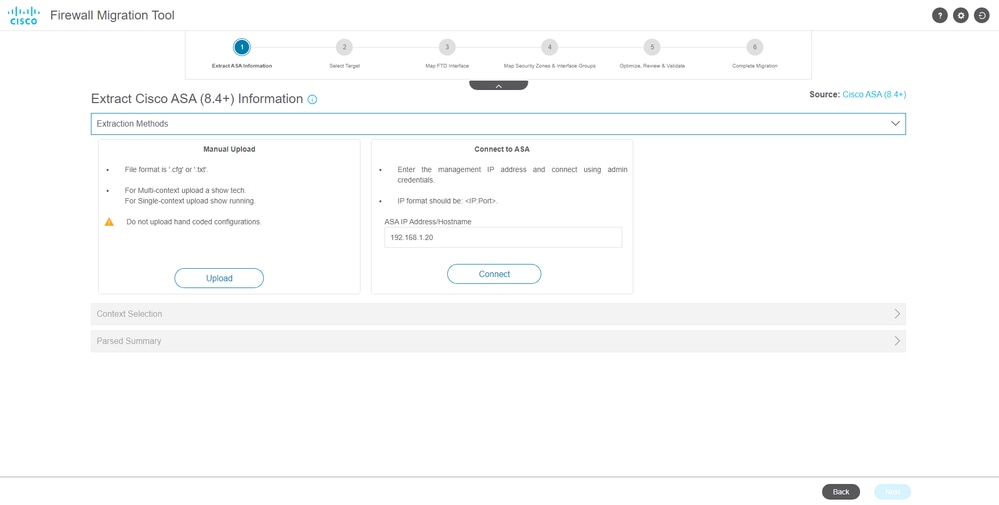 Extraction
Note: For this example, connect directly to the ASA.
- A summary of the configuration found on the firewall is displayed as a dashboard, please click Next.
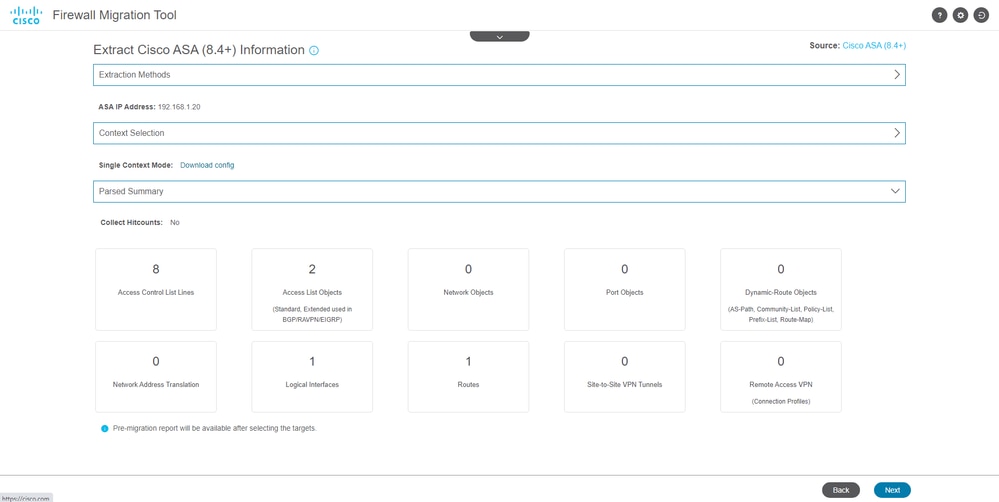 Summary
8. Select the target FMC to use on the migration.
Provide the IP of the FMC.It opens a pop-up window where it prompts you for the log in credentials of the FMC.
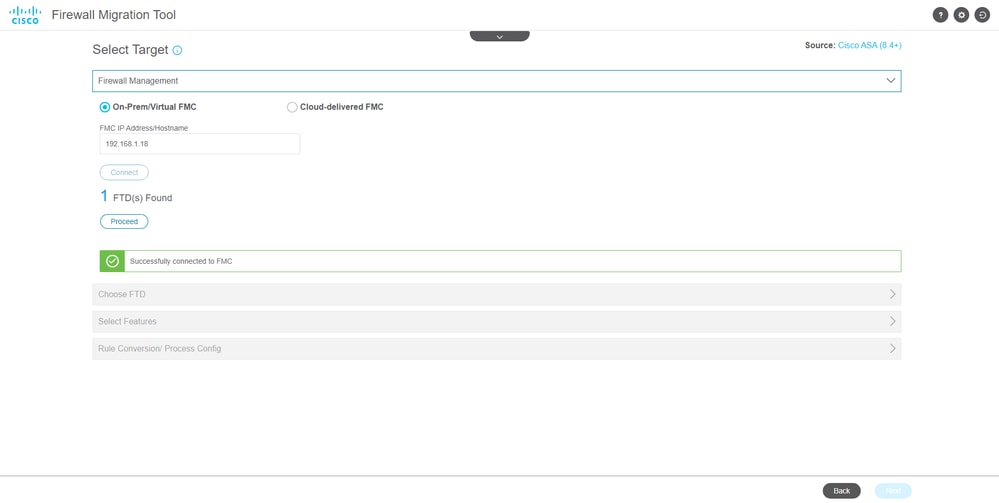 FMC IP
- (Optional)Select the Target FTD you want to use.
- If you choose to migrate to an FTD, select the FTD you want to use.
- If you do not want to use an FTD you can fill the check box
Proceed without FTD
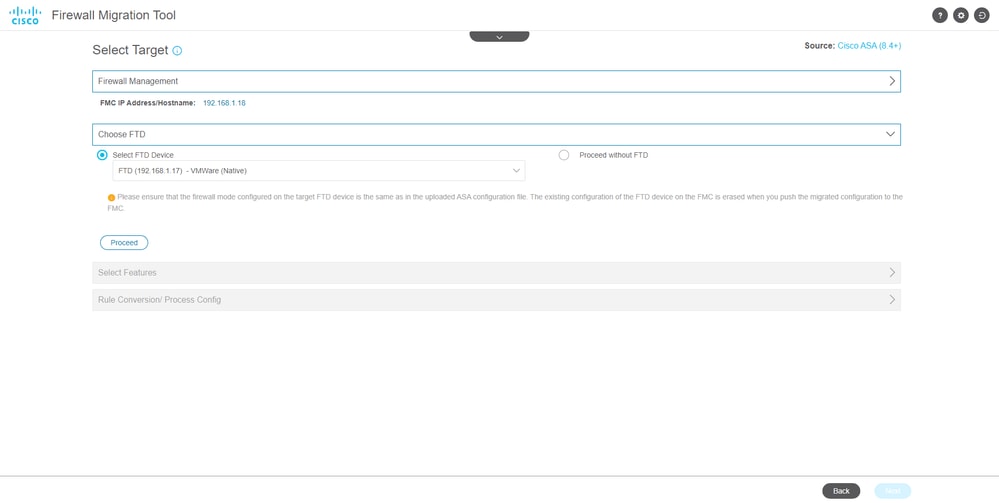 Target FTD
- Select the configurations you want to migrate, options are displayed on the screenshots.
 Configurations
11. Start the conversion of the configurations from ASA to FTD.
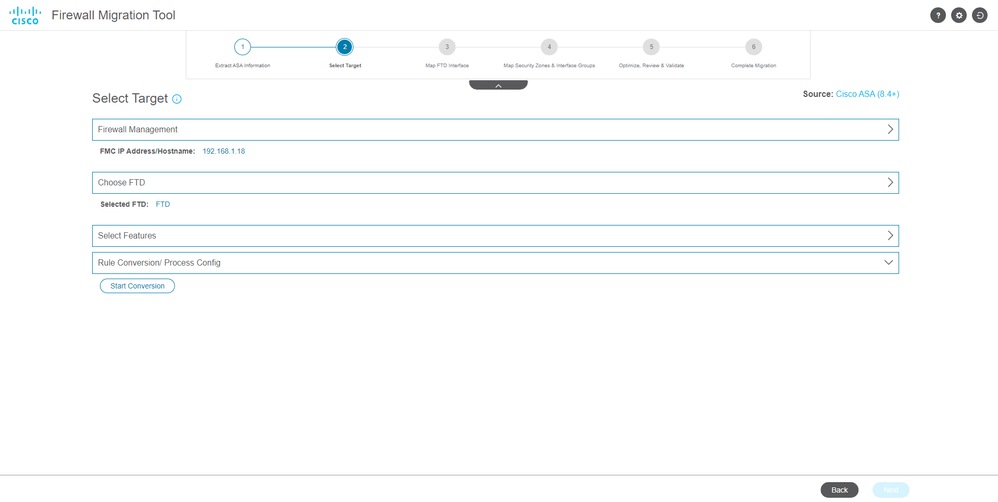 Start Conversion
- Once the conversion finishes, it displays a dashboard with the summary of the objects to be migrated (restricted to compatibility).
- You can optionally click
Download Report to receive a summary of the configurations to be migrated.
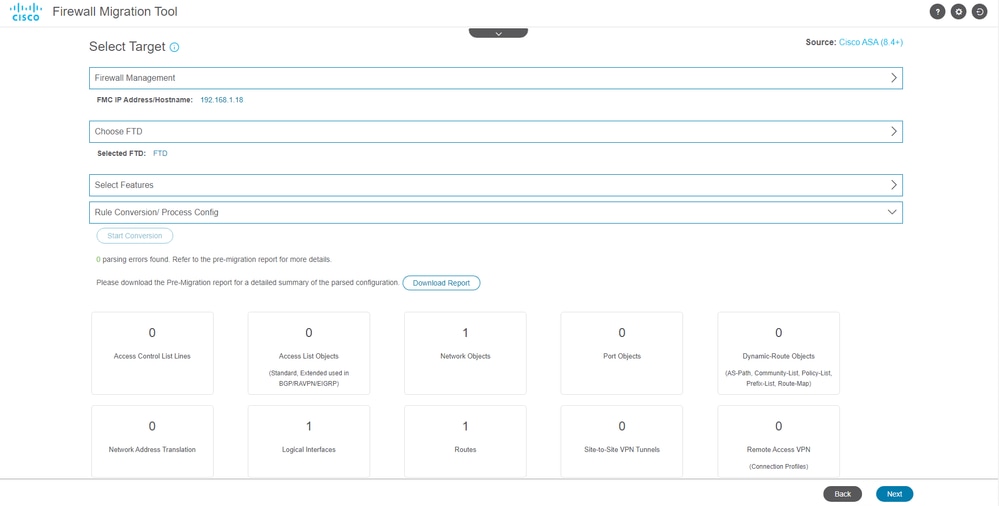 Download Report
Pre-Migration report example, as shown in the image:
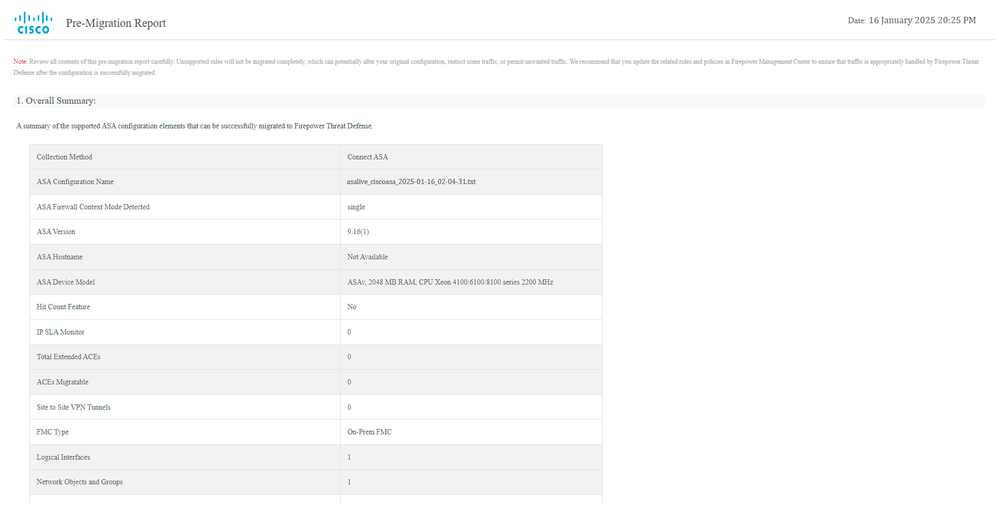 Pre-Migration Report
13. Map the ASA interfaces with the FTD interfaces on the Migration Tool.
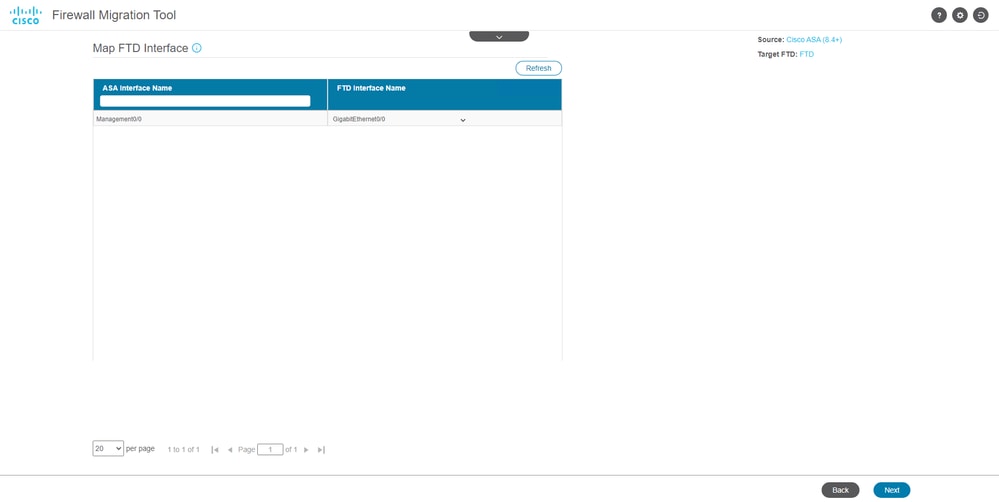 Map interfaces
- Create the Security Zones and Interface Groups for the interfaces on the FTD
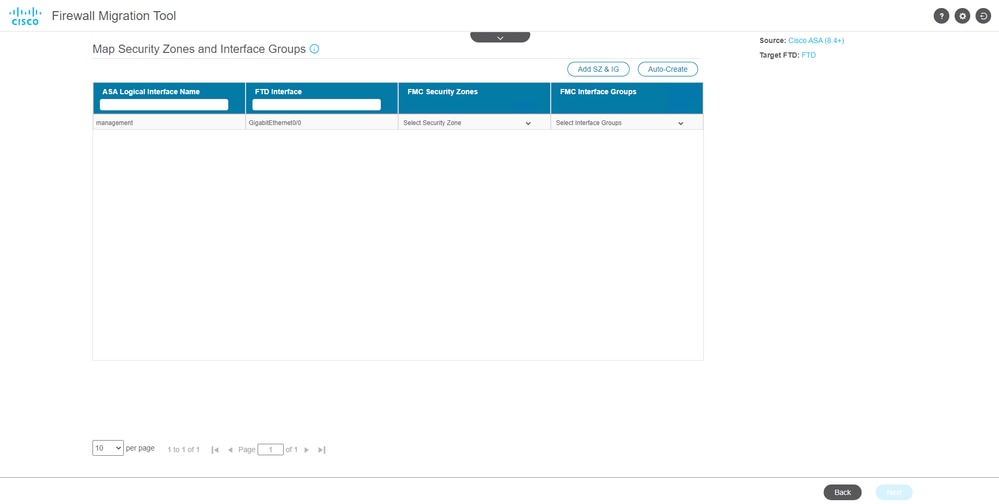 Security Zones & Interface Groups
Security Zones (SZ) and Interface Groups (IG) are auto-created by the tool, as shown in the image:
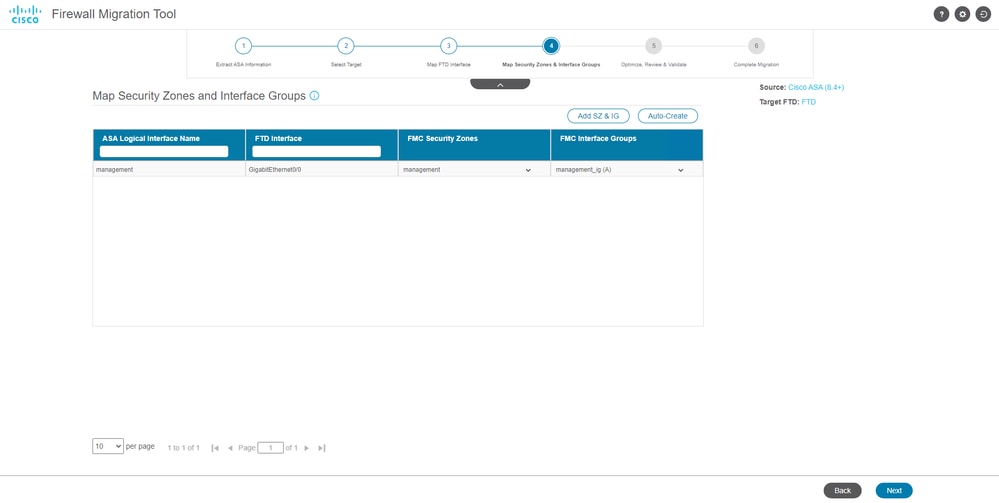 Auto-Create tool
- Review and validate the configurations to be migrated on the Migration Tool.
- If you have already finished the review and optimization of the configurations, click
Validate.
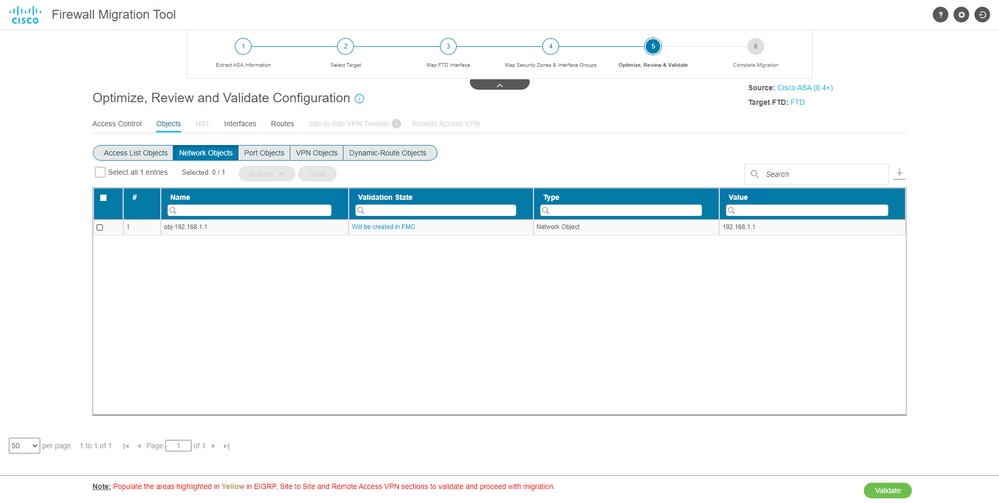 Review and validate
- If the validation status is successful, push the configurations to the target devices.
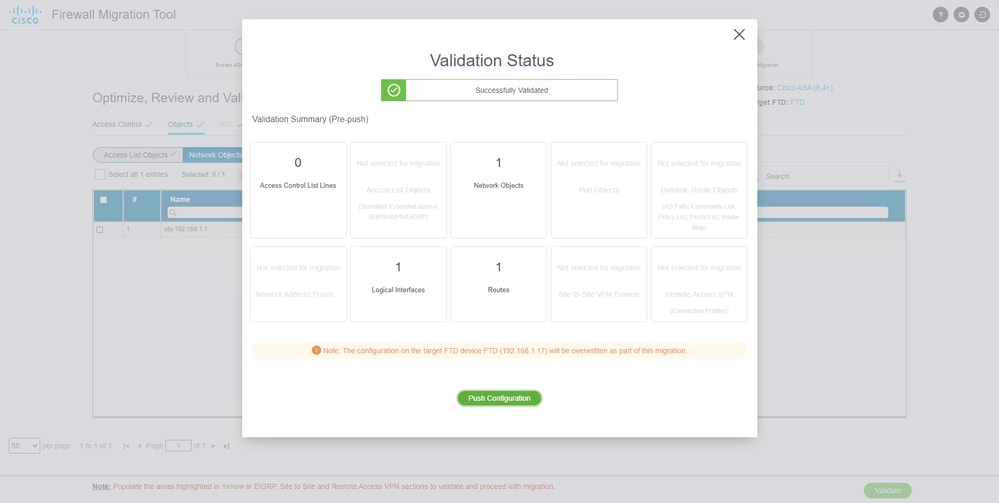 Validation
Example of configuration pushed through the migration tool, as shown in the image:
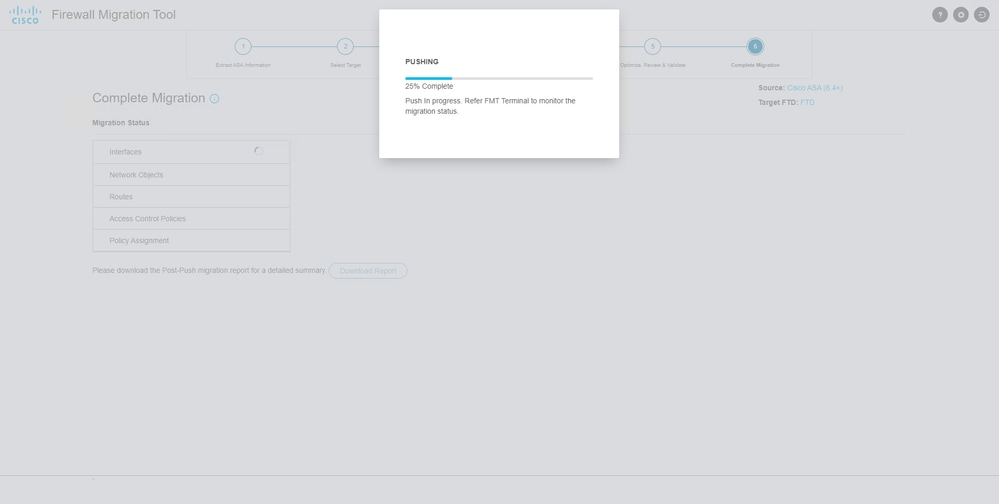 Push
Push
Example of a successful migration, as shown in the image:
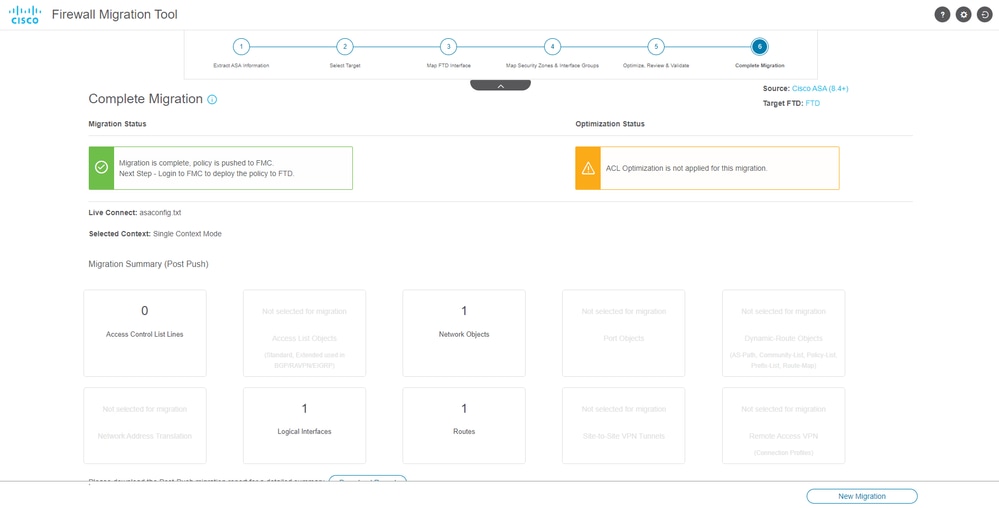 Successful migration
(Optional) If you selected to migrate the configuration to an FTD, it requires a deployment to push the available configuration from the FMC to the firewall.
In order to deploy the configuration:
- Log in to the FMC GUI.
- Navigate to the
Deploy tab.
- Select the deployment to push configuration to the firewall.
- Click
Deploy.
Troubleshoot
Troubleshooting Secure Firewall Migration Tool
- Common migration failures:
- Unknown or invalid characters in the ASA config file.
- Missing or incomplete configuration elements.
- Network connectivity issues or latency.
- Issues during ASA config file upload or pushing config to the management center.
- Common problems include:
- Using the Support Bundle for troubleshooting:
- On the "Complete Migration" screen, click the Support button.
- Select Support Bundle and choose the configuration files to download.
- Log and DB files are selected by default.
- Click Download to get a .zip file.
- Extract the .zip to view logs, DB, and config files.
- Click Email us to send failure details to the technical team.
- Attach the support bundle in your email.
- Click Visit TAC page to create a Cisco TAC case for assistance.
- The tool allows you to download a support bundle for log files, database, and configuration files.
- Steps to download:
- For further support:
 Feedback