Introduction
This document describes a configuration example of High Availability (HA) on a Firewall Management Center (FMC).
Prerequisites
Requirements
There are no specific requirements for this document.
Components Used
The information in this document is based on the Secure FMC for VMware v7.2.5.
The information in this document was created from the devices in a specific lab environment. All of the devices used in this document started with a cleared (default) configuration. If your network is live, ensure that you understand the potential impact of any command.
Background Information
Specific requirements for this document include:
- Both FMC peers are required to be on the same software version, intrusion rule update, vulnerability database, and Lightweight Security Package
- Both FMC peers are required to have the same capacity or hardware version
- Both FMCs require a separate license
For a full set of requirements, you can visit the Administration Guide.

Warning: If there is a mismatch in the requirements listed, you cannot configure HA.
This procedure is supported on all hardware appliances.
Before You Begin
- Ensure administrator access to both FMCs
- Ensure connectivity between management interfaces
- Take a moment to review software versions and ensure that all the necessary upgrades are done
Configure
Configure Secondary FMC
Step 1. Log in to the Graphical User Interface (GUI) of the device of the FMC that is going to take the role of Secondary/Standby.
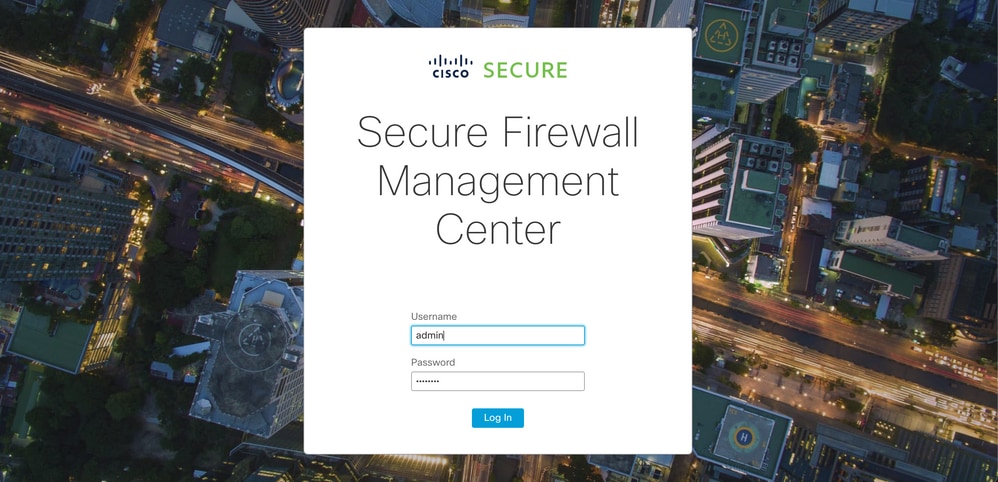 Log in to FMC
Step 2. Navigate to Integration tab.
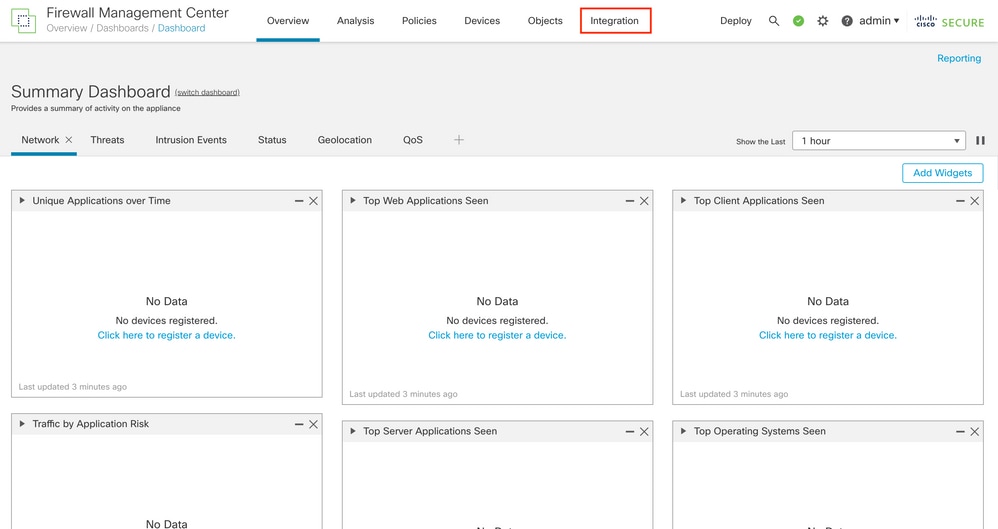 Navigate to integration
Step 3. Click Other Integrations.
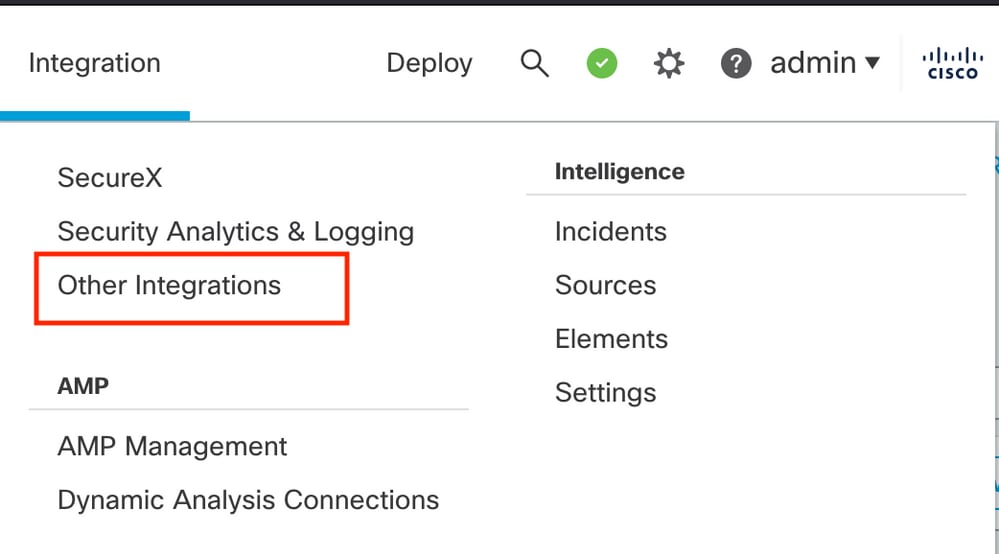 Navigate to Other Integration
Step 4. Navigate to the High Availability tab.
 Navigate to High Availability
Step 5. Click Secondary.
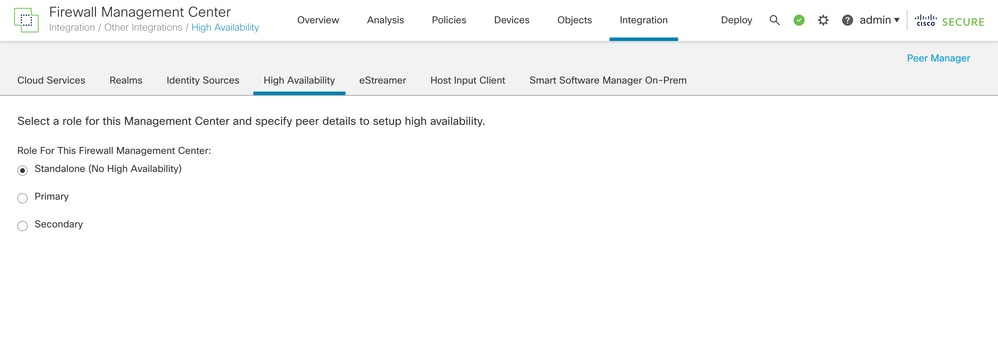 Input information and select desired role for current FMC
Step 6. Enter information of the Primary/Active peer and click Register.
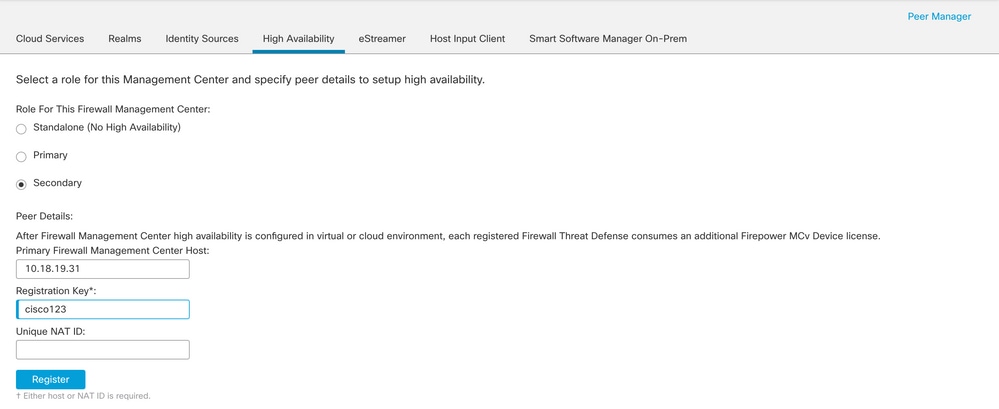

Note: Take note of the registration key, since it is going to be used on the active FMC.
Step 7. This warning asks you to confirm, click Yes.


Note: Ensure there is no other task running as while HA is being created, the GUI restarts.
Step 8. Confirm that you want to register the primary peer.
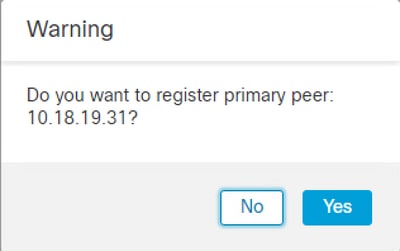

Warning: All information on the Devices/Policy/Configuration is going to get removed from Secondary FMC once HA is created.
Step 9. Verify that the Secondary FMC status is pending.

Configure Primary FMC
Repeat Steps 1 - 4 on the Primary/Active FMC.
Step 5. Click Primary.
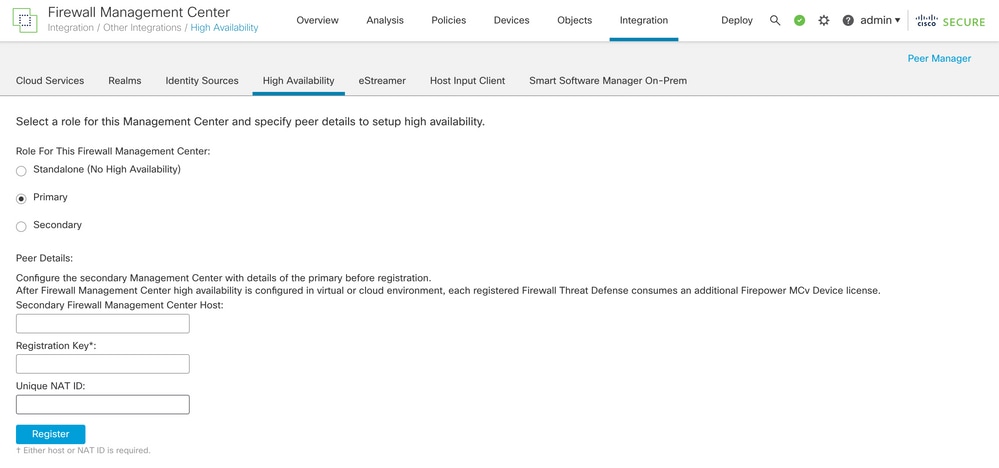
Step 6. Enter the information about Secondary FMC and click Register.
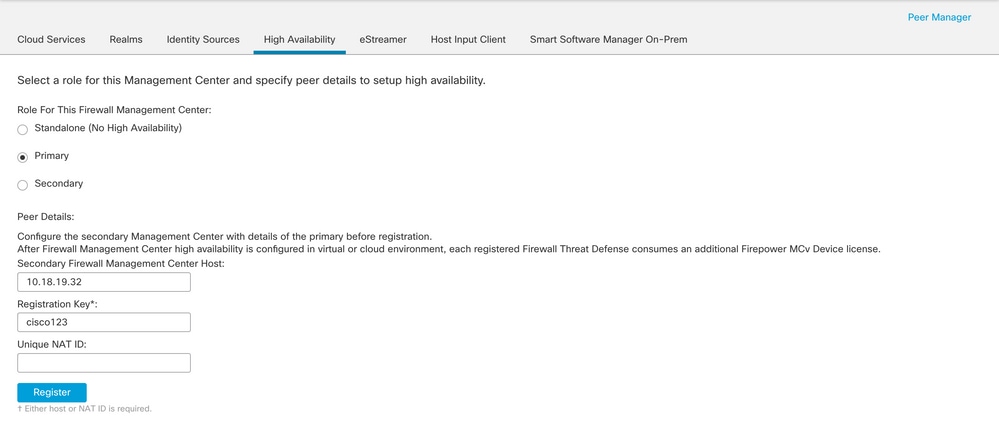

Note: Use the same Registration Key used as Secondary FMC.
Step 7. This warning asks you to confirm, click Yes.


Note: Ensure there is no other task running.
Step 8. Confirm that you want to register for Secondary FMC.
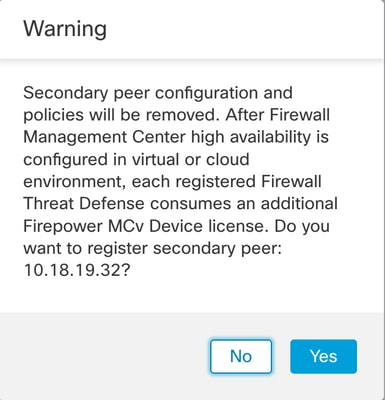

Note: Ensure there is no critical information on the Secondary FMC, as accepting this prompt removes all the configurations from the FMC.
Synchronization between Primary and Secondary starts; the duration depends on configuration and devices. This process can be monitored from both units.
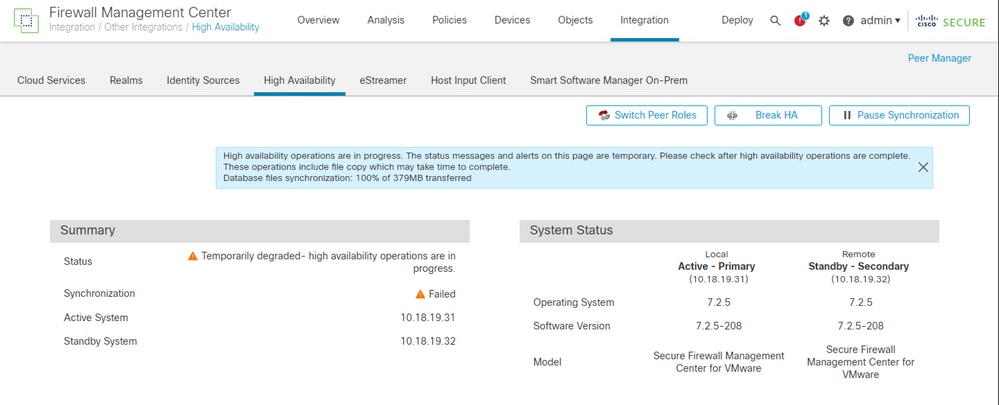

Note: While synchronization is taking place, expect to see the status as Failed and Temporary degraded. This status shows until the process is completed.
Verification
Once the synchronization is completed, the expected output is Status Healthy and Synchronization OK.
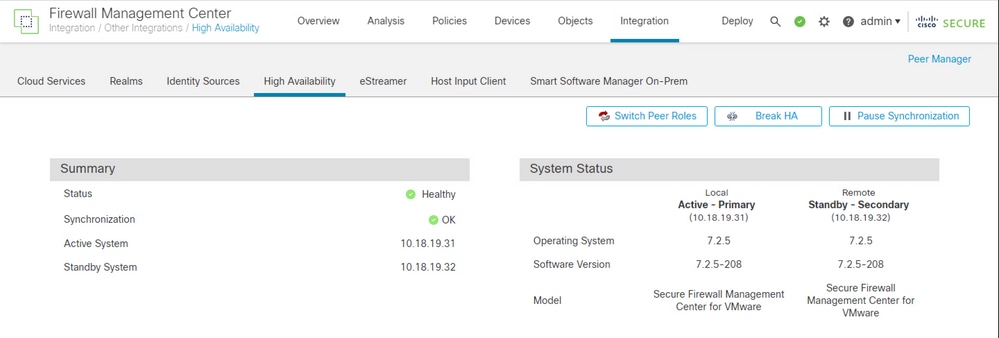
The Primary and Secondary keep synchronizing; this is normal.

Take a moment to review that your devices are showing correctly on both Primary and Secondary.


 Feedback