Introduction
This document describes the procedure to create and use third party certificates on Unified Computing System (UCS) for secure communication.
Prerequisites
Requirements
Cisco recommends that you have knowledge of these topics:
- Access to CA Authority
- UCSM 3.1
Components Used
The information in this document was created from the devices in a specific lab environment. All of the devices used in this document started with a cleared (default) configuration. If your network is live, ensure that you understand the potential impact of any command.
Steps to Configure
Configure Trust Point
Step 1
- Download the certificate chain from the CA authority to create Trust-Point. Refer to http://localhost/certsrv/Default.asp within the Cert Server.
- Make sure encoding is set to Base 64.
 Download Certificate chain from CA Authority
Step 2
- The downloaded certificate-chain is in PB7 format.

- Convert the .pb7 file to PEM format with OpenSSL tool.
- For example, in Linux, you can run this command in terminal to perform the conversion- openssl pkcs7 -print_certs -in <cert_name>.p7b -out <cert_name>.pem.
Step 3
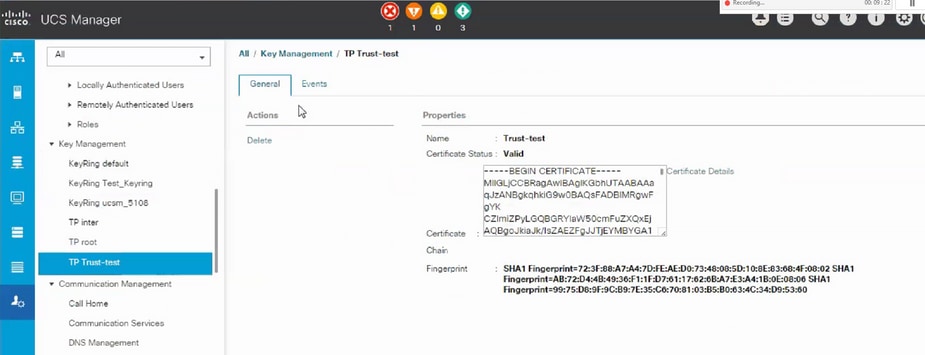
- Create a Trust-Point on UCSM.
- Navigate to Admin > Key Management > Trustpoint.
- When you create the Trust-point, paste the complete contents of the .PEM file created in step 2 of this section in the certificate details space.

Create Keyring and CSR
Step 1
- Navigate to UCSM > Admin > Key Management > Keyring.
- Choose the Modulus which is needed for the third party certificate.

Step 2
- Click create certificate request and fill in the requested details.
- Copy the contents of the request field.

Step 3
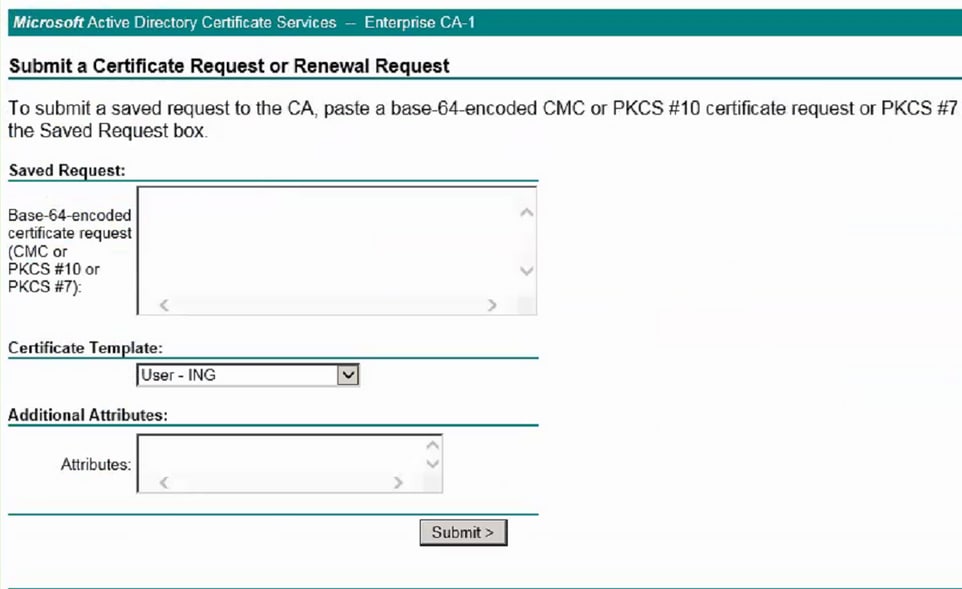
To generate the certificate, paste the copied request from step 2 in the space shown below:

Step 4
- Once submitted, a new certificate is generated. Open the file and copy all the contents of newly generated certificate in the certificate field on keyring created in step 1 of this section.

- Choose the trust-point from the dropdown created in step 3 of Create Keyring and CSR.
Apply the Keyring
Step 1
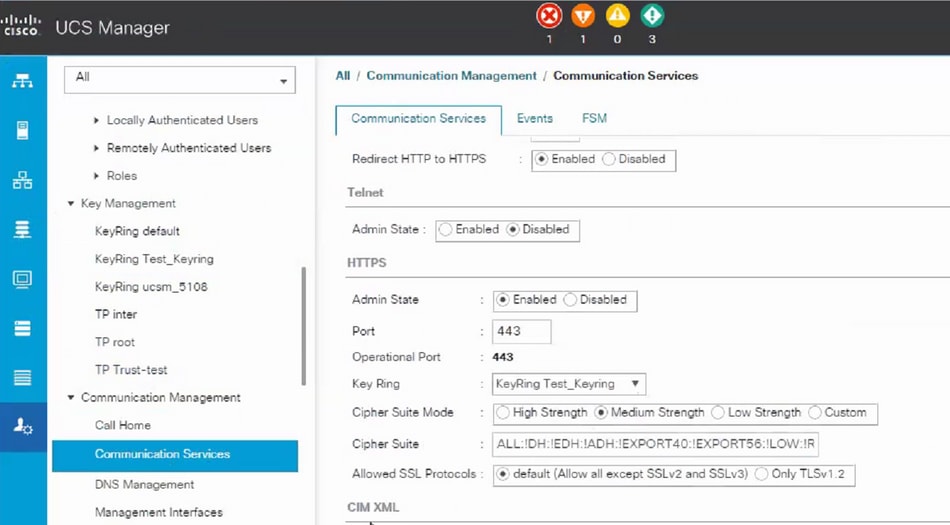
Choose the created keyring in the communication services as shown below:

After the change in keyring, HTTPS connection to the UCSM shows up as secure in your web browser.

Note: This requires the local desktop to also use the certificate from the same CA authority as the UCSM.

Related Information


 Feedback