Plug and Play Configuration Templates
Available Languages
Objective
The objective of this article is to explain about the Plug and Play (PnP) configuration templates and how to use them.
Applicable Devices | Software Version
- Cisco Business Dashboard | 2.2.0
- Cisco 250, 350 and 550 series switches | Firmware version 2.5.5.x or higher
- Cisco 250, 350 and 550 series switches | Firmware version 2.5.5.x or higher
- Cisco RV34x series routers | Firmware version 1.0.02.x or higher
- Cisco RV260 series routers | Firmware version 1.0.00.x or higher
- Cisco RV160 series routers | Firmware version 1.0.00.x or higher
Introduction
Network PnP is a service that operates for Network PnP compatible devices so that the firmware and configuration can be centrally controlled, and zero-touch deployment of new network devices. When installed, a device enabled for Network PnP will identify the Network PnP server via one of the manual configurations, Dynamic Host Configuration Protocol (DHCP), Domain Name System (DNS), or the PnP Connect service. PnP Connect is a new service that acts as a discovery mechanism for a network device to discover its controller
Table of Contents
- What are PnP configuration templates?
- Why do I want to use configuration templates?
- What can I configure in PnP Template?
- Sample Template
- Limitations of the PnP Template
- How to upload the template into Cisco Business Dashboard
- Creating configuration templates
- Network PnP - Status
- Device Graphical User Interface (GUI) shows the variable configuration data once applied
- Conclusion
- Where to get more information
What are PnP configuration templates?
A template for PnP configuration is similar to a regular device configuration, but it contains placeholders and associated metadata to allow the same configuration file to be used with multiple devices, while still allowing for unique parameters to be set on a device by device basis. When a PnP device is defined, appropriate values are specified for each of the placeholders. At the time the configuration is sent to the device, the placeholder values are merged with the configuration template to create the actual device configuration.
Why do I want to use configuration templates?
Configuration templates can be used when several devices have very similar configuration requirements, but there are a small number of parameters that need to be device specific. For instance, a network may use the same configuration for all switches, except that each switch has a unique hostname and management IP address. Configuration templates allow you to have a single configuration file with all the common configuration, with placeholders for the configuration elements that must be unique.
What can I configure in PnP Template?
A configuration template has two sections – the configuration itself, and the metadata that controls how the placeholders are presented in the user interface when a device record is being created.
Configurations are created as Mustache templates which allows a variety of placeholders, referred to as tags in the Mustache documentation that includes:
- Simple variables, where the placeholder is replaced with the value specified in the device record. A simple variable has the form {{name}}.
- Sections, where the placeholder encloses a block of configuration – optionally including other placeholders. The content of the section may be excluded from the final configuration, included once, or repeated several times. The behavior of this type of placeholder is defined by the metadata in the template and the values that the user provides when creating a device record. A section has the form {{#name}}…{{/name}} where the first tag marks the beginning of the block and the second tag marks the end.
- Comments that may be used to document the configuration template. A comment has the form {{! This is a comment}}.
Sample Template
Following is an example of a simple template:
!
hostname {{hostname}}
!
{{! Insert a list of VLANs}}
{{#vlans}}
interface vlan {{vlan-id}}
name {{vlan-name}}
!
{{/vlans}}
In this example, there are several different placeholders:
- {{hostname}} is a simple variable. It will be replaced by the value set for the hostname in the device record.
- There is a comment placed just after the hostname configuration. The comment will not be included in the configuration sent to the device.
- {{#vlans}}…{{/vlans}} is a section that is used in this example to hold a list of individual VLANs. For each VLAN defined in the device record, a copy of the contents of this container will be created in the device configuration.
- {{vlan-id}} and {{vlan-name}} are both simple variables, but they are contained within the {{#vlans}} list. When the device record is created, you may specify multiple values for {{vlan-id}} and {{vlan-name}} and they will be used to generate the configuration required to create each of those VLANs.
For more details on the Mustache syntax, consult the Mustache main page.
Limitations of the PnP Template
Currently PnP configuration templates are created following Mustache Template which is a ‘Logic-less templates’, so it does not allow for any if-then-else type structures.
How to upload the template into Cisco Business Dashboard
You can upload both a configuration template that was generated from another system or obtained from the support community, and you can also upload raw device configuration files. If you upload a raw configuration file, it will automatically be converted to a template that just has no placeholders defined.
To upload a configuration template, please follow the below mentioned steps.
Step 1
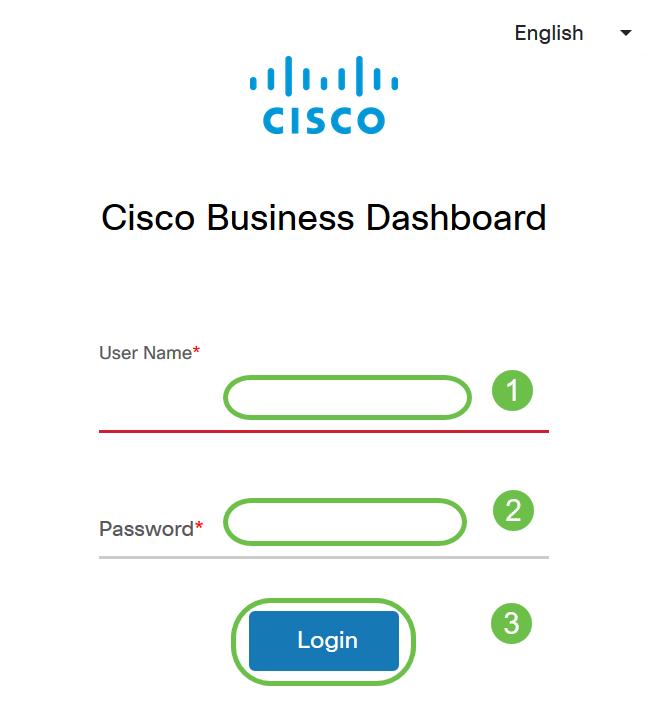
Login to the Cisco Business Dashboard using a User Name and Password. Click Login.
Step 2
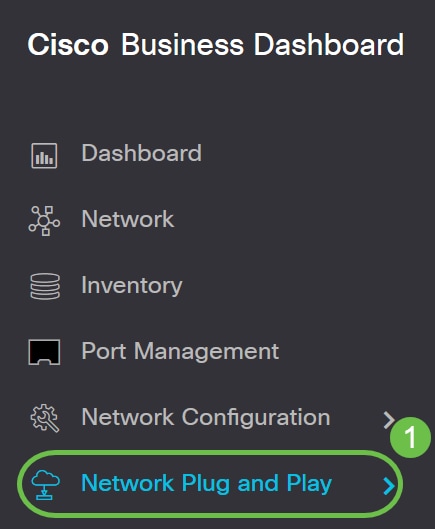
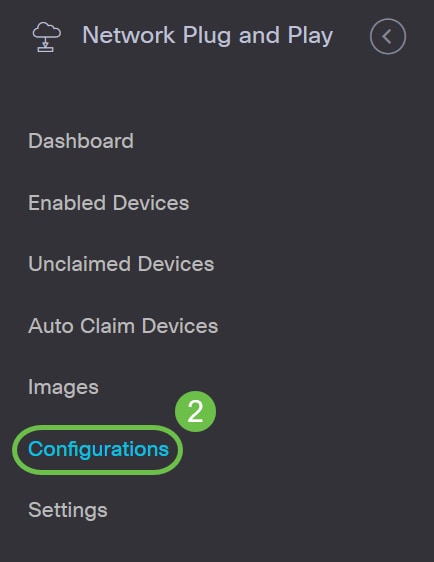
Navigate to Network Plug and Play >> Configurations, then click on the Upload icon.

Step 3
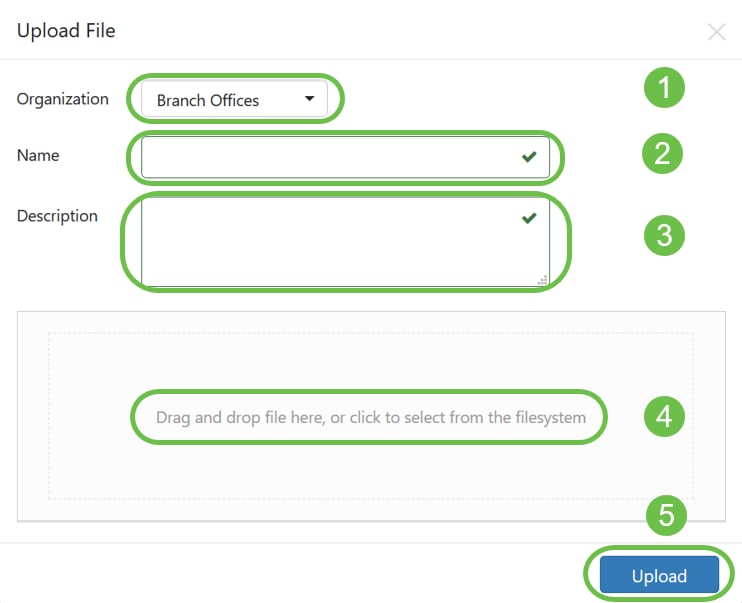
On the Upload File page, fill the details for Organization, Name and Description. Using the Drag and drop file here or click to select from the filesystem option browse the file to be uploaded. Click Upload.
Creating configuration templates
The suggested approach for creating configuration templates is to start by configuring an acceptable type of network system with the desired settings, then take backup of the device configuration and upload it to the manager to use as a starting point.
Alternatively, you may create a copy of an existing template using the ‘Copy As’ function.
Either way, starting from an existing configuration can help reduce the time it takes to create a template and also to reduce the number of revisions required to achieve the desired result.
When creating a new template, you will need to specify an organization that the template will belong to and the Product IDs (PIDs) that the template may be used with. The PIDs may contain a *'s and ?'s as wildcard characters.
Once you have your starting configuration created, you may update it using the following process:
Step 1
Navigate to Network Plug and Play > Configurations, and then open your starting configuration in the template editor by clicking on the configuration name hyperlink.

Step 2
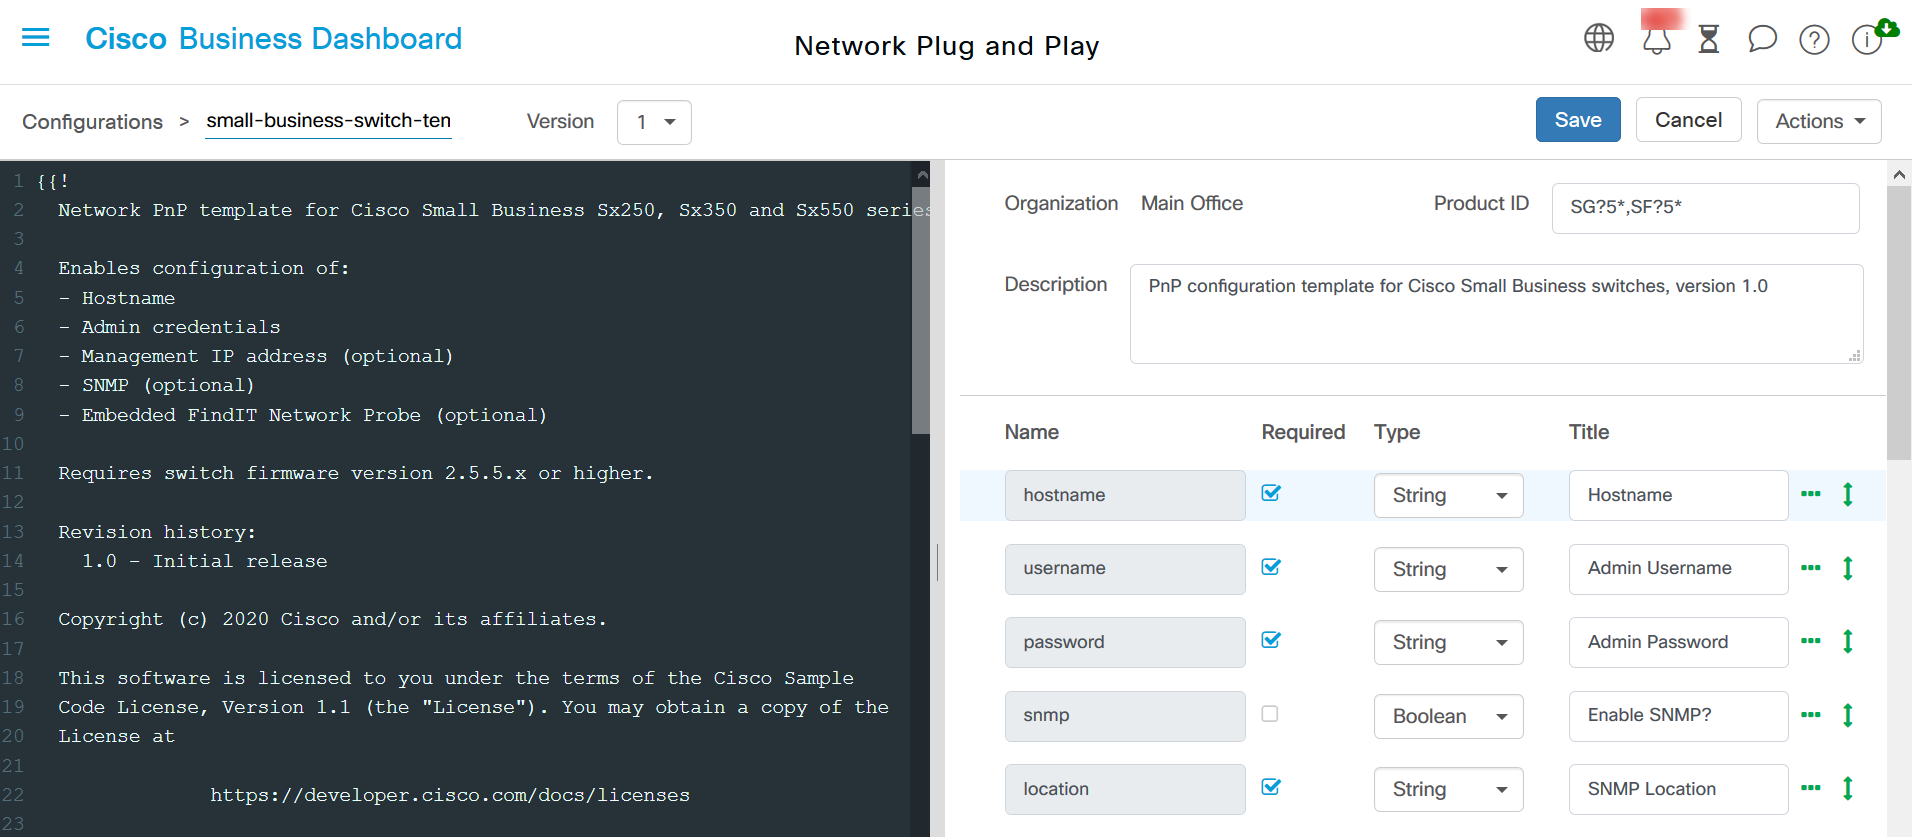
The template editor is displayed with the initial configuration file displayed on the left in a text editor window. The text editor supports many common editing functions including search, replace, and several cursor manipulation key sequences. For a list of common editor functions and commands, refer to the Table at the end of this step.
Modify the configuration by inserting placeholders. Each time a new placeholder is inserted, a corresponding entry is added to the form on the right.
Common Editor Commands
| Functions | Description | Key Bindings | |
|---|---|---|---|
| PC | MAC | ||
| Select All | Select the whole content of the editor | Ctrl-A | Cmd-A |
| Kill Line | Deletes the part of the line after the cursor. If that consists only of whitespace, the newline at the end of the line is also deleted. |
Ctrl-K | |
| Delete Line | Deletes the whole line under the cursor, including newline at the end | Ctrl-D | Cmd-D |
| Undo | Undo the last change | Ctrl-Z | Cmd-Z |
| Redo | Redo the last undone change | Ctrl-Y | Shift-Cmd-Z Cmd-Y |
| Go Doc Start | Move the cursor to the start of the document | Ctrl-Home | Cmd-Up Cmd-Home |
| Go Doc End | Move the cursor to the end of the document | Ctrl-End | Cmd-End Cmd-Down |
| Go Line Start | Move the cursor to the start of the line | Alt-Left | Ctrl-A |
| Go Line End | Move the cursor to the end of the line | Alt-Right | Ctrl-E |
| Indent More | Indent the current line or selection | Ctrl-] | Cmd-] |
| Indent Less | Outdent the current line or selection | Ctrl-[ | Cmd-[ |
| Find | Ctrl-F | Cmd-F | |
| Find Next | Ctrl-G | Cmd-G | |
| Find Prev | Shift-Ctrl-G | Shift-Cmd-G | |
| Replace | Shift-Ctrl-F | Cmd-Alt-F | |
| Replace All | Shift-Ctrl-R | Shift-Cmd-Alt-F |
Step 3
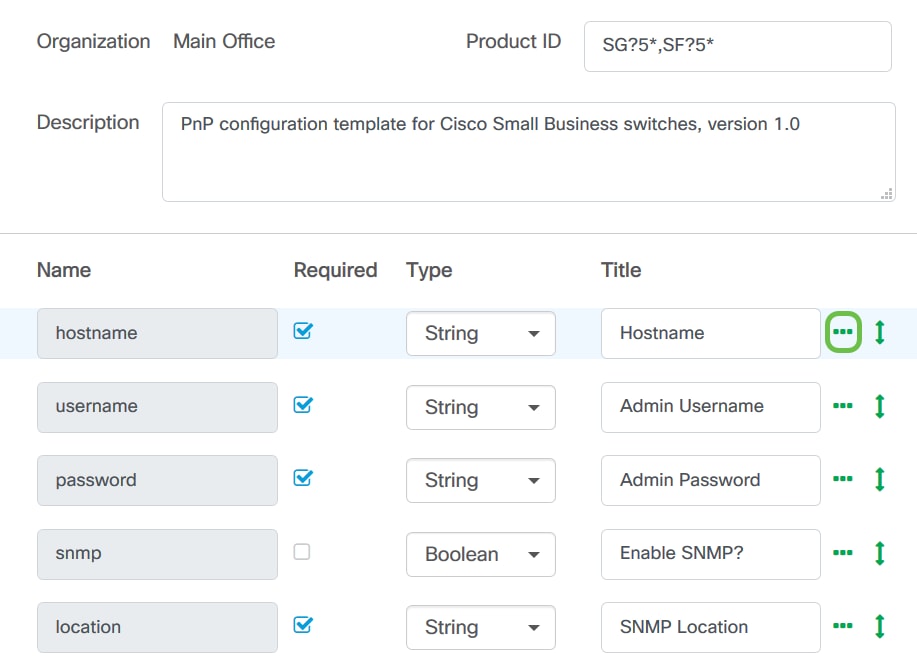
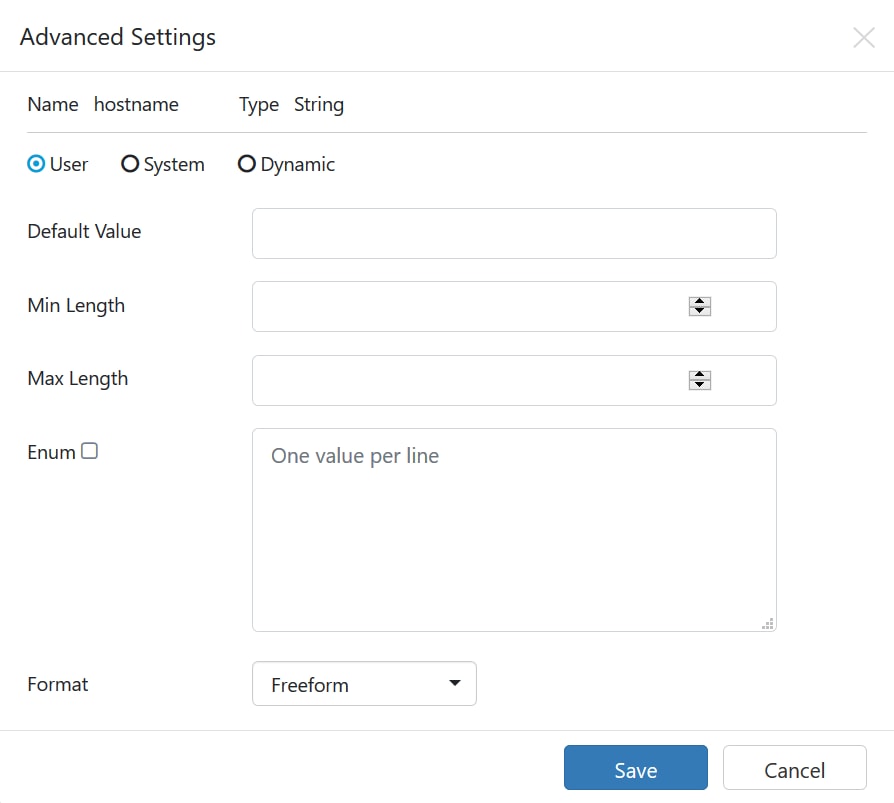
Modify the metadata associated with each placeholder using the form on the right to ensure that the placeholder is presented to the user in the most appropriate way.
Step 4
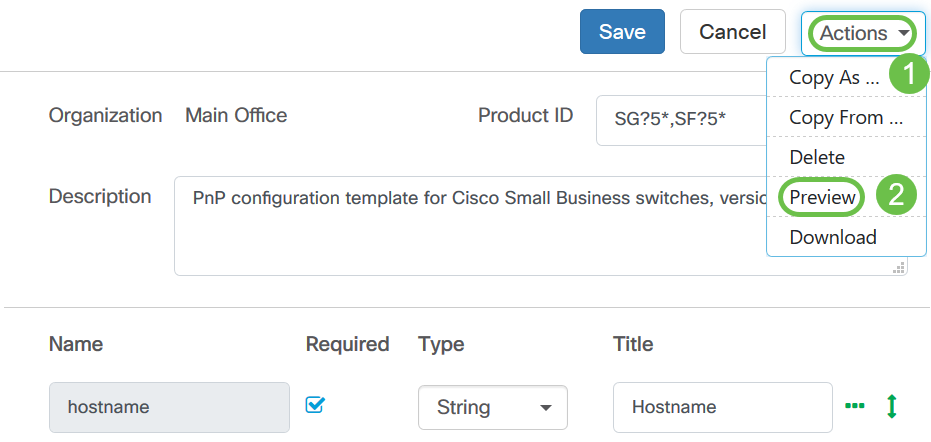
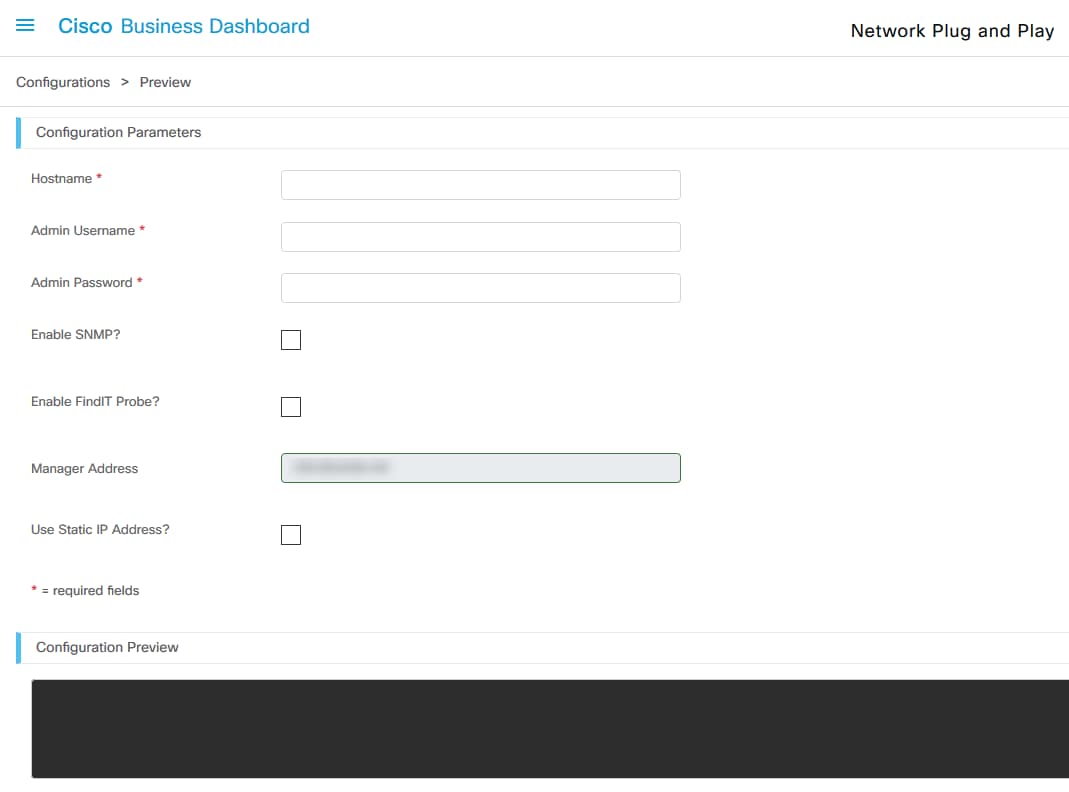
(Optional) You may navigate to Actions > Preview to see how the form will be presented to the user when a device record is being created.
The preview page will open as follows…
Step 5
Repeat steps 2 and 3 until you have created placeholders for all of the configuration parameters that should vary between devices.
Step 6
Once the template has been completed to your satisfaction, click Save.

Network PnP - Status
Every device registered to the Network PnP service is displayed on either the Enabled Devices page or the Unclaimed Devices page with a displayed status. This status may also be viewed on the Inventory page by enabling the display of the PnP Status column. The status field displays the device's current state and will include one of the values mentioned in the table below.
Table: Network Plug and Play – Device Status
| Status | Description |
|---|---|
| PENDING | Device is defined but has not made contact with the service. |
| PROVISIONING | The device has made the initial connection to the service. |
| PROVISIONING_IMAGE | A firmware image is being applied by the device. |
| PROVISIONED_IMAGE_REBOOTING | The device is rebooting to run the new firmware. |
| PROVISIONED_IMAGE | New firmware has been applied successfully. |
| PROVISIONING_CONFIG | A configuration file is being applied to the device. |
| PROVISIONED_CONFIG | The configuration file has been successfully applied to the device. Depending on the type of device, it may reboot to apply the configuration. |
| ERROR | An error has occurred. Check log files for more details. |
| PROVISIONED | The provisioning process for the device is complete. |
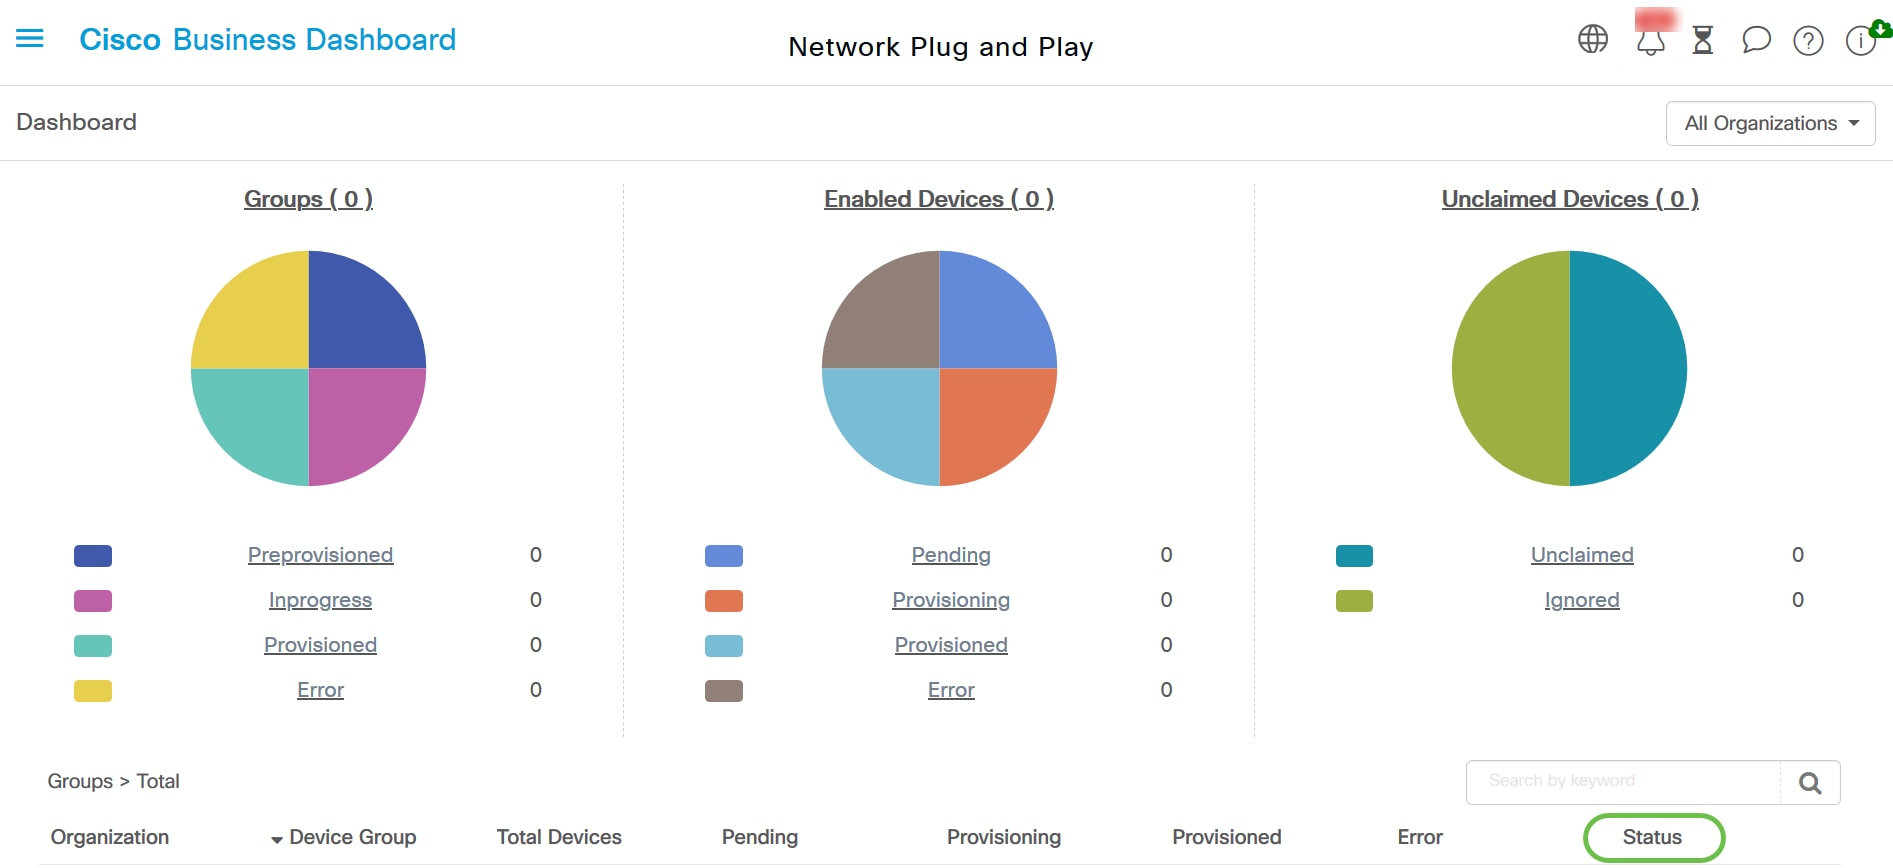
By clicking on the status field, you can see more details, including history of the status changes for this device over time.
Device Graphical User Interface (GUI) shows the variable configuration data once applied
Once the values get updated on the device using the PnP configuration template it reflects on the device GUI as follows…

Conclusion
You are now familiar with how to configure the PnP template and use this feature available in Cisco Business Dashboard. You can now apply it with ease to optimize your Cisco Business Network.