Troubleshooting: FindIT v. 2.1.1 Probe Software for the Raspberry Pi
Available Languages
Objective
This article shows the steps for a successful fresh install of FindIT v. 2.1.1 Probe Software with the Raspberry Pi OS Buster version.
Applicable Devices | Software Version
FindIT | 2.1.1
Introduction
Let’s talk about FindIT 2.1.1 Probe Software when using a Raspberry Pi and the Raspberry Pi OS Buster version.
Are you about to do a fresh install, or have you tried to do a fresh install and received error messages and a failed download? Are you using a Raspberry Pi as a FindIT probe?
For most installations with Raspberry Pi and FindIT, you simply flash a software image onto a micro SD card, put it into the Pi, and run the installer. Upgrades are snap as well.
Unfortunately, there is a little bump in the road when you do a fresh install of FindIT v. 2.1.1 with the Raspberry Pi OS Buster version.
Whether this is your first attempt or you had a failed installation, you must follow these instructions. If your installation failed, the permissions changed so you essentially have to start over. I know, it’s a bummer, but just follow these steps for success.
Download and Flash the Image
Step 1
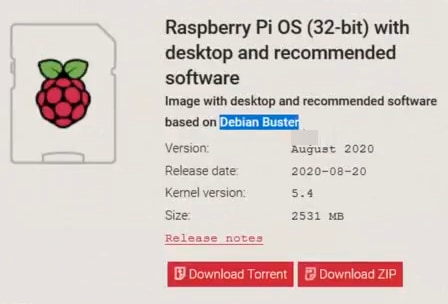
Navigate to Rapberry Pi Downloads and download the appropriate version for your operating system. Open the download and unzip if needed. Flash the image to the micro SD card of the Raspberry Pi using a utility such as etcher.
If you already have this installed, you do not need to install this a second time, but you should confirm you have the correct software.
Step 2
Download FindIT Network Probe 2.1.1 all languages installer for Raspberry Pi (Debian Buster).

Step 3
Put the micro SD card into the Raspberry Pi and power it up.
Step 4
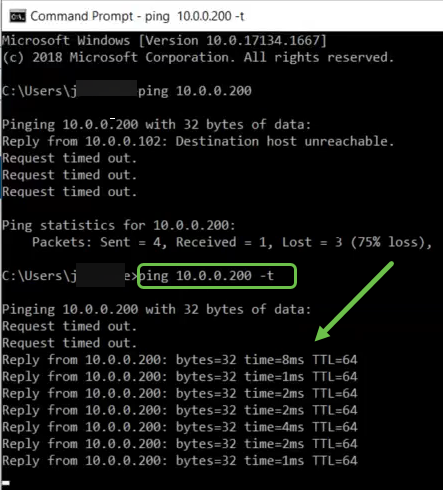
Open the command prompt on your computer. Ping the IP address of the Pi to test for connectivity. When you see the reply messages, you can proceed.
Step 5
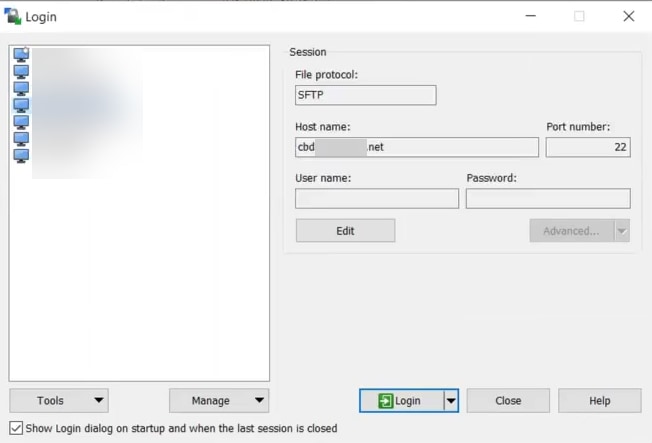
Use an STFP client, such as WinSCP, to access the Raspberry Pi. The default password is raspberry.
Step 6
Enter the following command. Keep in mind that it takes some time between each of these steps. Be patient, it’s worth it!
pi@raspberrypi:~$sudo apt-get install nmap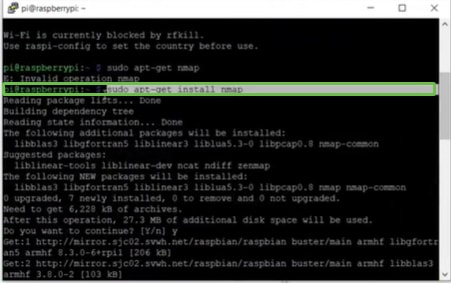
Step 7
Enter the following command.
pi@raspberrypi:~$sudo apt-get install arp-scan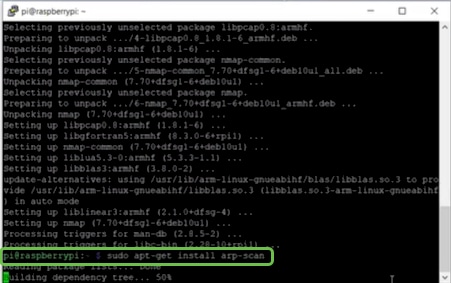
Step 8 (Optional)
Enter the following command if you would like to see a list of the files in the current directory. If you know the file name, you can skip to Step 9.
pi@raspberrypi:~$is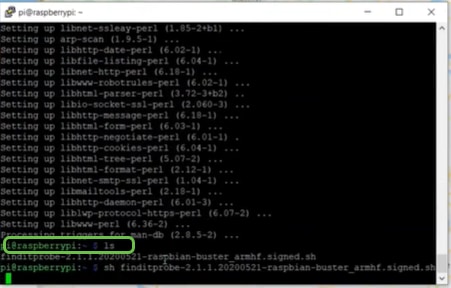
Step 9
Enter the following command.
pi@raspberrypi:~$sh finditprobe-2.1.1.20200521-raspbian-buster_armhf.signed.sh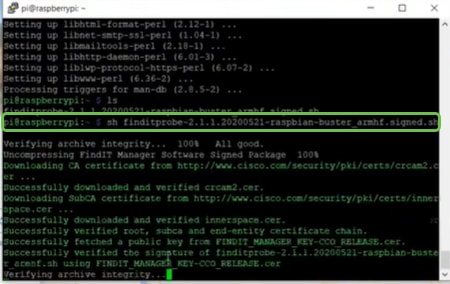
Step 10
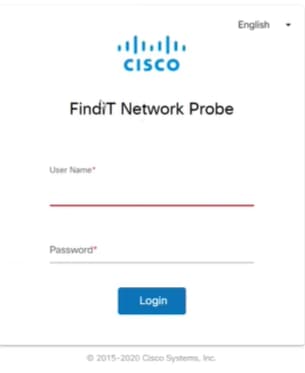
Once everything has loaded, enter the IP address of the Pi into a web browser.
Step 11
Log into the probe. The default username and password, cisco/cisco, should be entered.
Step 12
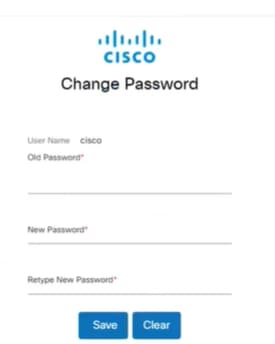
You will be asked to change the password.
Conclusion
There you have it, now you have your Raspberry Pi working as a probe to help manage your network. Enjoy!