Manage Certificates on the FindIT Network Manager
Available Languages
Objective
A digital certificate certifies the ownership of a public key by the named subject of the certificate. This allows relying parties to depend upon signatures or assertions made by the private key that corresponds to the public key that is certified. Upon installation, the FindIT Network Manager generates a self-signed certificate to secure web and other communication with the server. You can choose to replace this certificate with the one signed by a trusted certificate authority (CA). To do this, you will need to generate a certificate signing request (CSR) for signing by the CA.
You can also choose to generate a certificate and the corresponding private key completely independent of the Manager. If so, you can combine the certificate and private key into a Public Key Cryptography Standards (PKCS) #12 format file prior to upload.
The FindIT Network Manager only supports .pem format certificates. If you get other certificate formats, you need to convert the format or request for the .pem format certificate again from the CA.
This article provides instructions on how to manage certificates on FindIT Network Manager.
Applicable Devices
- FindIT Network Manager
Software Version
- 1.1
Manage Certificates on FindIT Network Manager
Generate a CSR
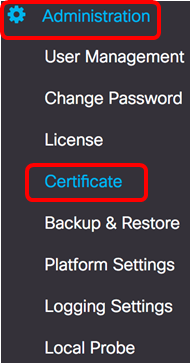
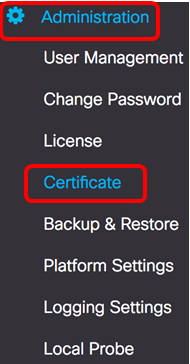
Step 1. Log in to the Administration GUI of your FindIT Network Manager then choose Administration > Certificate.
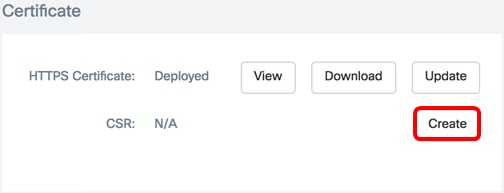
Step 2. In the CSR area, click the Create button.
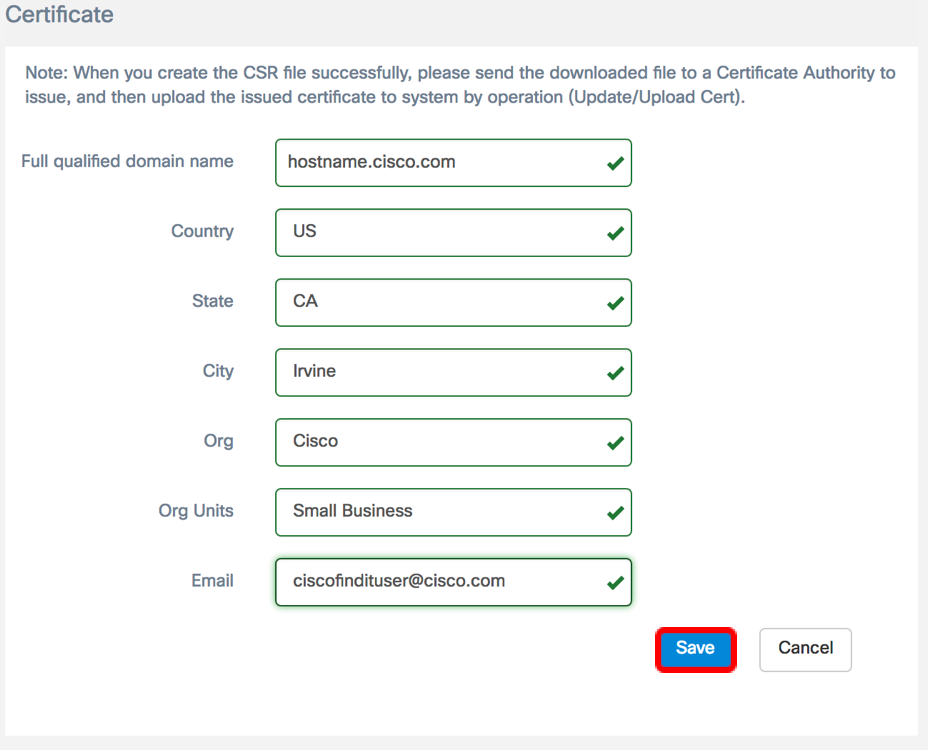
The values entered in the Certificate form will be used to construct the CSR, and will be contained in the signed certificate you receive from the CA.
Step 3. Enter the IP address or domain name in the Full qualified domain name field. In this example, hostname.cisco.com is used.

Step 4. Enter the country code in the Country field. In this example, US is used.

Step 5. Enter the state code in the State field. In this example, CA is used.

Step 6. Enter the city in the City field. In this example, Irvine is used.

Step 7. Enter the organization name in the Org field. In this example, Cisco is used.

Step 8. Enter the organization units in the Org Units field. In this example, Small Business is used.

Step 9. Enter your email address in the Email field. In this example, ciscofindituser@cisco.com is entered.

Step 10. Click Save.
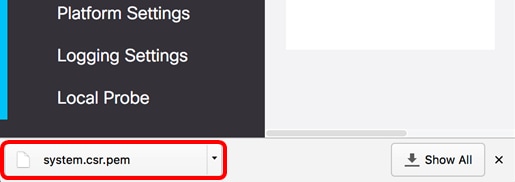
The CSR file will be automatically downloaded to your computer. In this example, system.csr.pem file is generated.
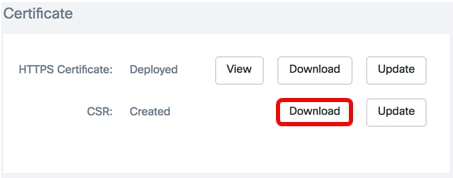
Step 11. (Optional) In the CSR area, the status will be updated from N/A to Created. To download the created CSR, click the Download button.
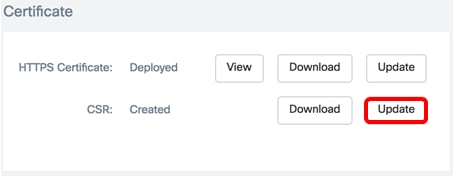
Step 12. (Optional) To update the created CSR, click the Update button then return to Step 3.
You should now have successfully generated a CSR on your FindIT Network Manager. You can now send the downloaded CSR file to the CA.
Upload a Signed Certificate from the CA
Once you receive the signed CSR from the CA, you can now upload it to the Manager.
Step 1. Log in to the Administration GUI of your FindIT Network Manager then choose Administration > Certificate.
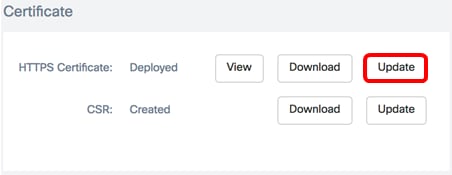
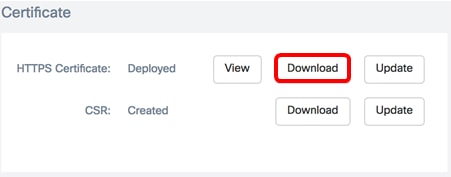
Step 2. In the HTTPS Certificate area, click the Update button.
Step 3. Click the UploadCert radio button.

Note: Alternatively, you can upload a certificate with the associated private key in PKCS#12 format by choosing the Upload PKCS12 radio button. The password to unlock the file should be specified in the Password field provided.

Step 4. Drop the signed certificate on the target area, or click the target area to browse the file system then click Open. The file should be in .pem format.
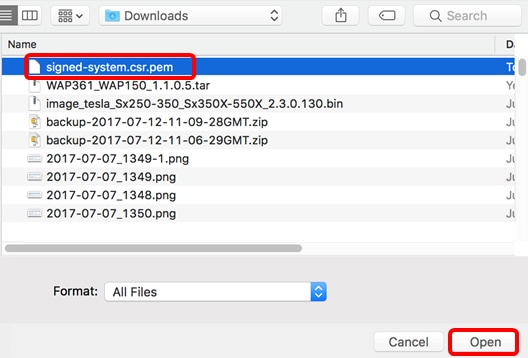
Note: In this example, signed-system.csr.pem is used.
Step 5. Click Upload.
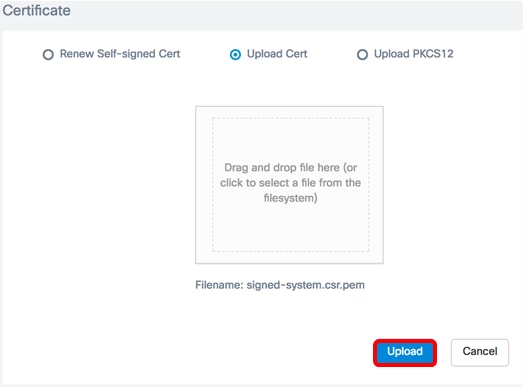
You should now have successfully uploaded a signed certificate to the FindIT Network Manager.
Manage Current Certificate
Step 1. Log in to the Administration GUI of your FindIT Network Manager then choose Administration > Certificate.
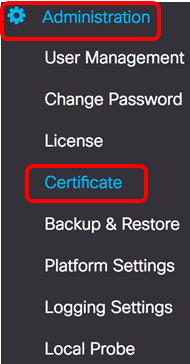
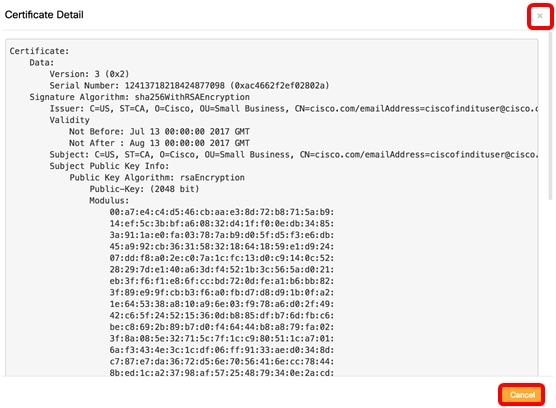
Step 2. In the HTTPS Certificate area, click the View button.
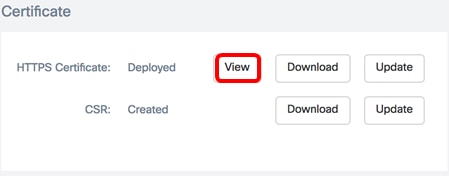
Step 3. The current certificate will be displayed in plain text format in a new browser window. Click the x or Cancel button to close the window.
Step 4. (Optional) To download a copy of the current certificate, click the Download button in the HTTPS Certificate area.
You should now have successfully managed the current certificate on your FindIT Network Manager.
Contact Cisco
- Open a Support Case

- (Requires a Cisco Service Contract)
 Feedback