Configuring Link Layer Discovery Protocol (LLDP) on RV160 and RV260
Available Languages
Objective
The objective of this article is to show you how to configure the Link Layer Discovery Protocol (LLDP) settings on RV160 and RV260 routers.
Introduction
LLDP is a vendor-neutral protocol used by network devices for advertising their identity, capabilities, and neighbors on an IEEE 802 local area network (LAN). The LLDP information is sent by the device’s interface at a fixed interval, in the form of an Ethernet frame. Each frame contains one LLDP Data Unit (LLDPDU). Each LLDPDU is a sequence of type-length-value (TLV) structure.
Applicable Devices
- RV160
- RV260
Software Version
- 1.0.00.15
Configure LLDP
To configure LLDP on your router, perform the following steps.
Step 1. Log in to the web configuration page of your router.
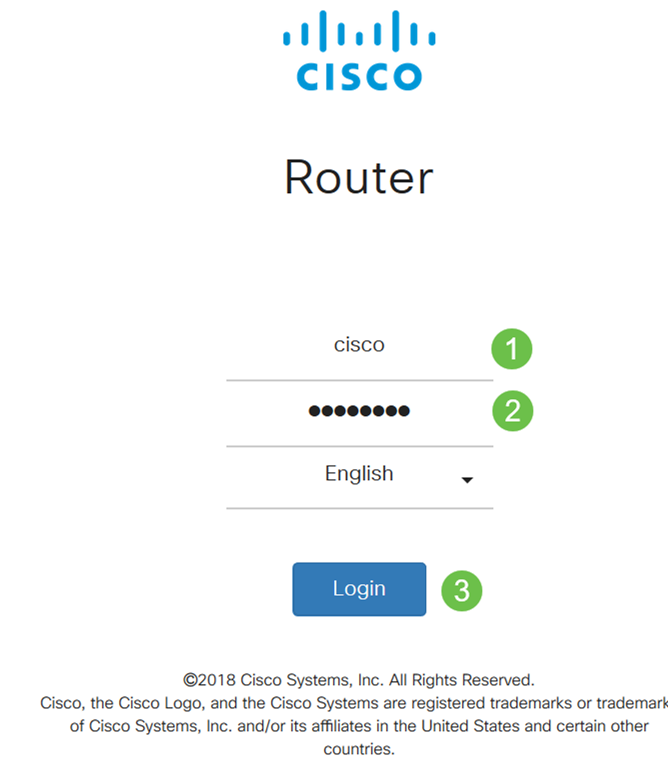
Note: In this article, we will be configuring LLDP on a RV260W. The configuration may vary depending on the model you are using.
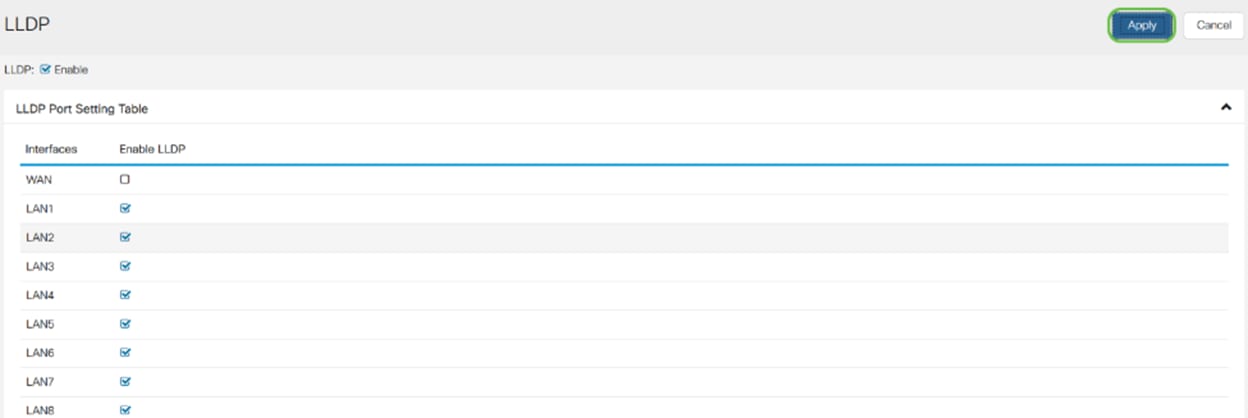
Step 2. Navigate to System Configuration > LLDP.
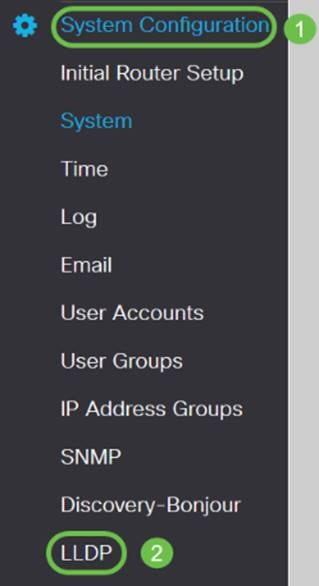
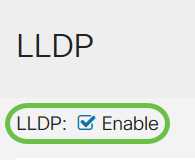
Step 3. In the LLDP section, check Enable (It is enabled by default).
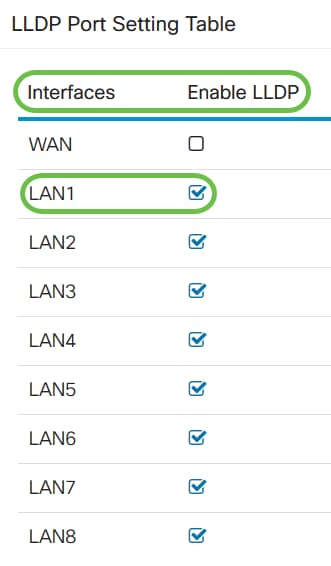
Step 4. In the LLDP Port Setting Table, LLDP is available for activation on a port-by-port basis. Check Enable LLDP to enable LLDP on your chosen interface.
Step 5. Click Apply.
Step 6. In the LLDP Neighbors Table, the following information is displayed:
- Local Port - Port identifier.
- Chassis ID Subtype - Type of chassis ID (for example, MAC address)
- Chassis ID - Identifier of the chassis. Where the chassis ID subtype is an indicator of the type of address, whereas Chassis ID identifies the port’s actual MAC address.
- Port ID Subtype - Type of the port identifier.
- Port ID - Port identifier.
- System Name - Name of the device.
- Time to Live - Rate in seconds at which LLDP advertisement updates are sent.

Step 7. To view other details of the LLDP Neighbors Table, check the Local Port you want to view and click on the eye icon. A new window will display LLDP Neighbors Setting Detail.


Step 8. Click Refresh to refresh the data.

You should now have successfully enabled and configured LLDP on your RV160/ RV260 router.
 Feedback