Enable WAN Port Packet Capture Capabilities on RV340 series Routers
Available Languages
Objective
The purpose of this article is to provide you with the steps for performing packet capture via the packet capture debug page on the RV340 WAN port.
Requirements
- RV34X Series Devices - Firmeware version 1.0.03.15 or higher
- Defect Reference ID: CSCdy12345
Steps to Enable Packet Capture Via Debug Menu
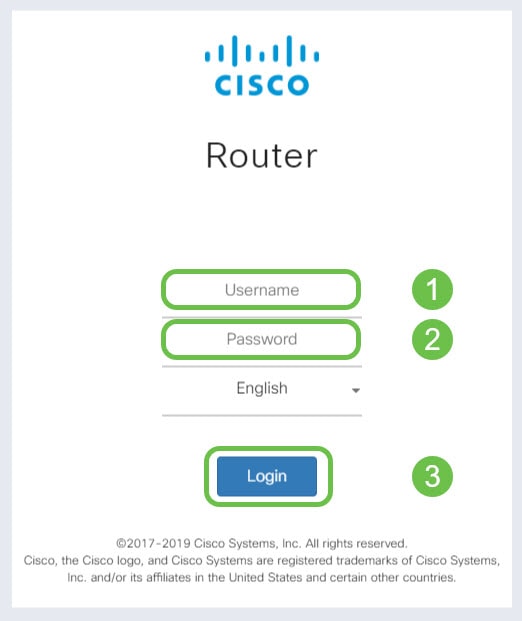
Step 1. Login to your RV34x series router via entering its IP address.

Note: The default IP address for Cisco RV devices are 192.168.1.1. If you have more than one router on your local area network, the IP may be different from the 192.168.1.1 IP address.
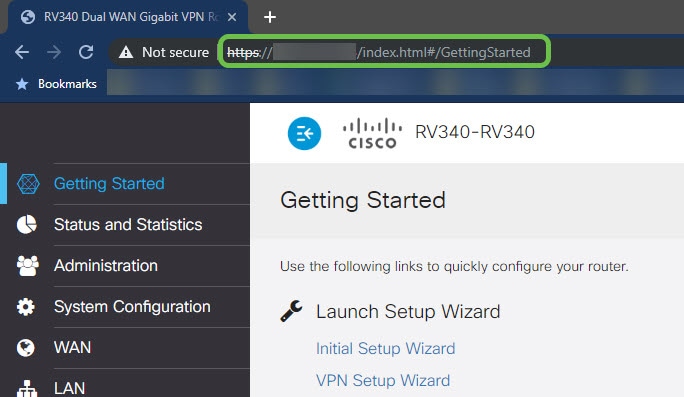
Step 2. Now you will need to edit the URL within the URL bar of your browser to navigate the browser to the debugging packet capture feature.

Editing the URL to Point to the Debug Page
-
Prior to editing the URL it wil appear as so: https://router-IP-address/index.html#/GettingStarted
-
Delete index.html#/GettingStarted
Add debug/packet_capture.html to the end of "https://router-IP-address/"
-
The URL will appear as so: https://router-IP-address/debug/packet_capture.html
A live example may appear as such:
https://192.168.1.1/debug/packet_capture.html
Now with the cursor in the URL bar still active, click Enter to navigate to the page with the additional debug parameter added.
Note: If you have previously set an alternate port to access the device for remote management, you will need to modify your URL to include your custom port number.
Append ":PortID" after the router IP address in the URL bar: EX- https://router-IP-address:portID/debug/packet_capture.html
A live example may appear as such:
https://192.168.1.1:445/debug/packet_capture.html
Step 3. Once the debug page has opened, you'll have the option to select between available ports. In the case of the RV340, there are three options, Wan1, Wan2, and LAN. Select your desired port from the drop-down box.

Note: Carefully review the warning at the top of the screen prior to the capture. There may be an impact on your network.
Step 4. Click the Start button.

Note: A counter will begin counting up from 0 to denote time elapsed.

Step 5. After you've satisfied the requirement of the packet capture, click the Stop button to cease capturing packets.

Step 6. Now you may export the just completed capture to your local device. Do so by clicking the Export button.

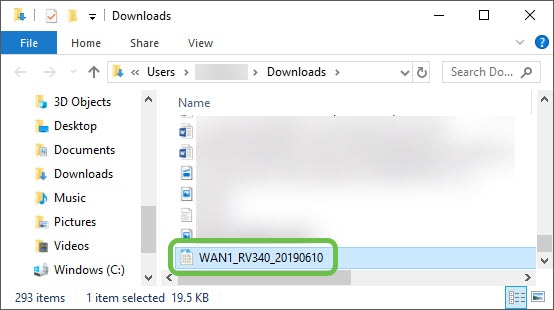
The browser will prompt you to select the location. The name format of the download file will be as follows:
PortID_DevicePID_Date.PCAP
On our device we allowed the file to save to the default location for a windows PC, C:\Windows\Users\UserName\Downloads

Note: The defaut location of your download will vary based on the device you are saving the file to. You should receive an option to enter a custom location to save the file.
Conclusion
You have now exported your packet capture to your device, which is available for your review and analysis or for sending to trusted persons.
 Feedback