How to Log into the Graphical User Interface (GUI) of a Cisco Business Router
Available Languages
Objective
The objective of this document is to explain options to find the IP address and access the Graphical User Interface (GUI) on a Cisco Business router. If the router is on a network, and you know the IP of the router, you can skip to the Accessing the GUI section of this article.
If you must find the IP address of the router on an existing network you can use Command Prompt, FindIT Discovery Tool (a simple application), or Cisco FindIT. Details will be highlighted in a separate (future) article and linked when available.
When setting up a new router, Cisco Business recommends you do the configurations before connecting it to your network. This can help avoid potential issues and conflicts.
Introduction
One of the easiest ways to configure settings and make changes on a router is by accessing its GUI. The GUI is also referred to as the web-based interface, web-based guidance, web-based utility, web configuration page, or web configuration utility.
Every Cisco RV Series router comes with a GUI. This type of interface, what you see on your screen, shows options for selection. You do not need to know any commands to navigate through these screens. The GUI gives the administrator a tool that contains all of the possible features that can be changed to modify the performance of a router.
Applicable Devices | Software Version
All Cisco Business RV Series routers | all versions (download latest)
Connect to the Router
Connect one end of an Ethernet cable to a numbered port on the router and the other end to your computer. Make sure the router has power. An adapter might be needed for the computer, depending on the model.
Figure Out the IP Address
To access the GUI, you need to know the IP address of the router. To keep it simple, proceed with one of the following options:
- If your Cisco Business router is new, the default IP address is 192.168.1.1.
- If you can’t remember the IP address or you don’t have a special configuration, use an open paperclip to press the reset button on your router for at least 10 seconds while it is powered on. This will reset the router to default settings and the default IP address of 192.168.1.1.
- If you set a static IP address for the router, you could enter that IP address instead of the default. This is not recommended as there may be conflicting configurations which may create issues in your existing network.
Accessing the GUI
Now that you know the IP address of the router, you can access the GUI.
Step 1. Double-click on a web browser to open the address (search) bar.

Step 2. Enter 192.168.1.1, or the other assigned IP address, and click Enter on your keyboard. This should open the GUI screen of the router. From here you have access to all configuration options.
When accessing a router, this default IP address only applies in situations when the router is not connected to an existing network and your computer is connected directly to the router. If the is connected to a network, Dynamic Host Configuration Protocol (DHCP) will, by default, assign an IP address and it may be different.
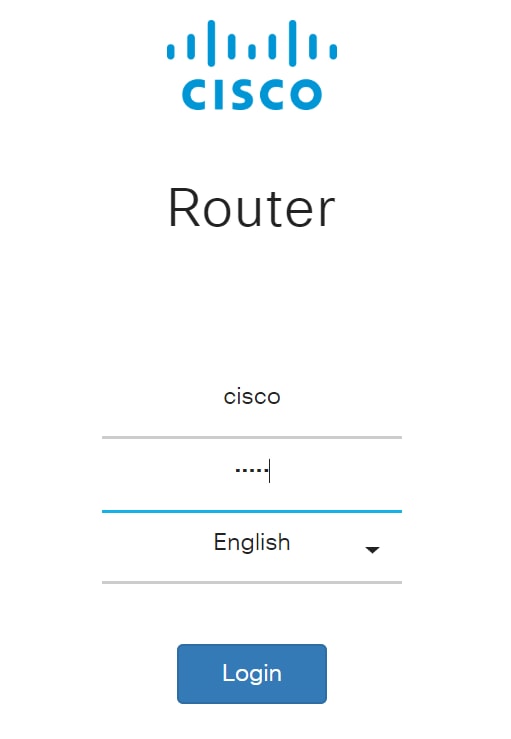
Step 3. You will see the log in screen. Enter a username and password. The default credentials are cisco for both the username and password the first time. It is highly recommended that you change the password to be more complex for security purposes. Click Login.

Conclusion
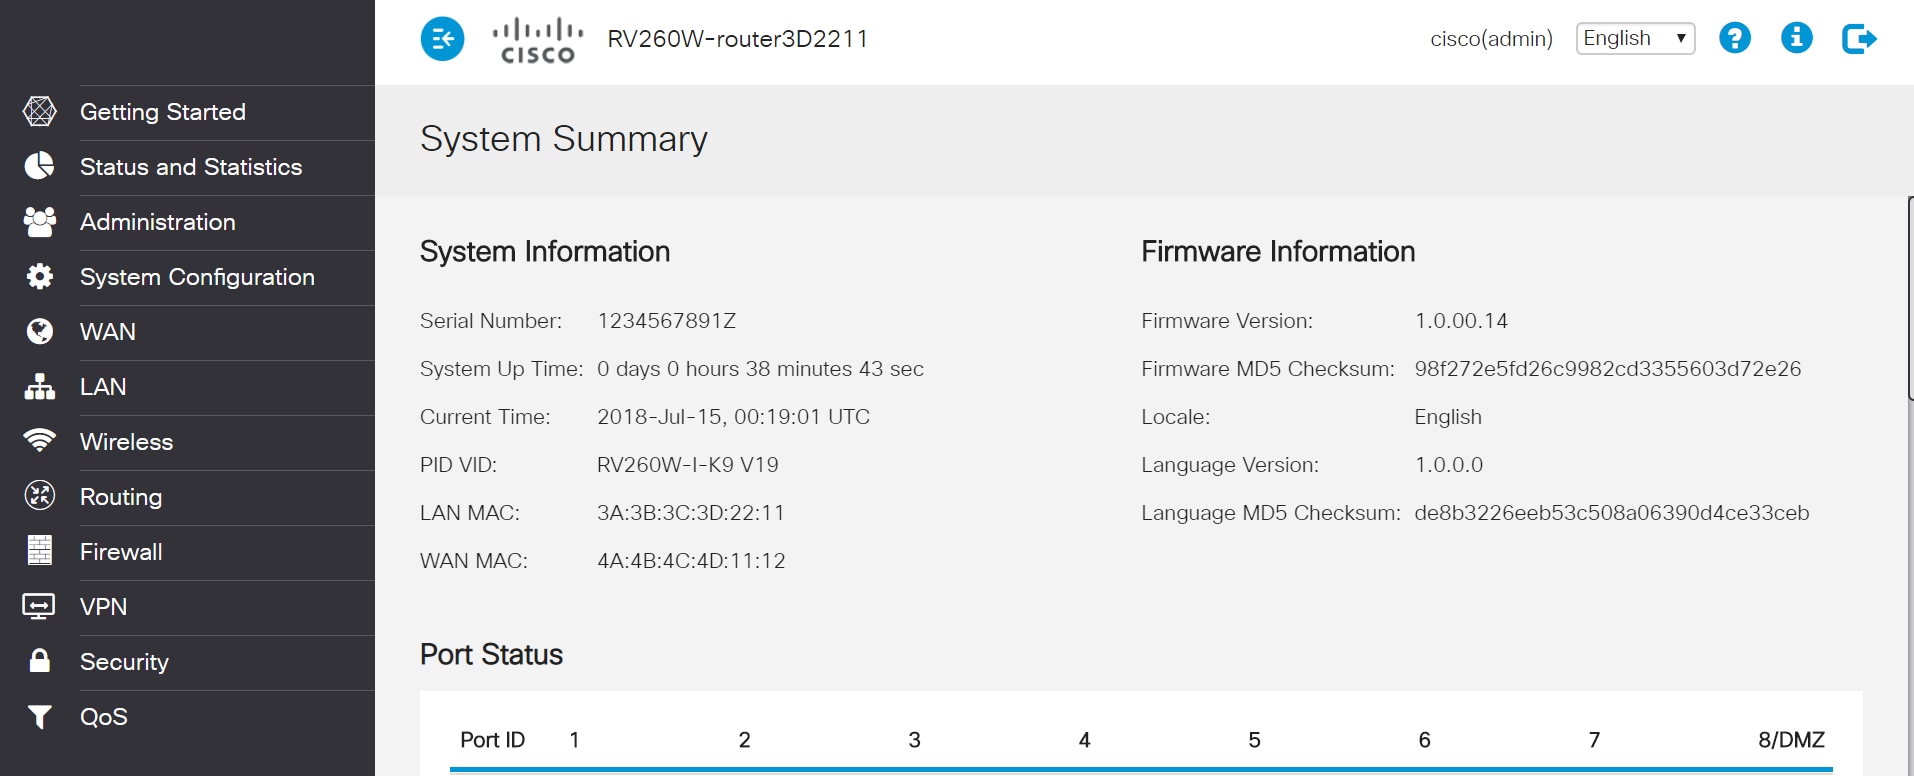
After you log into your router, you will see the GUI screen that includes a navigation pane down the left side. It contains a list of the top-level features. The navigation pane is also sometimes referred to as a navigation tree, navigation bar, or a navigation map.
The colors of this page may vary, as well as the top-level features, depending on the equipment and firmware version. The categories and options vary between routers.
Here is an example:

You now have access to the GUI of your router and should be able to configure settings or make changes that are just right for your business.