Upgrade Firmware on an RV34x Series Router
Available Languages
Objective
The objective of this document is to show you how to upgrade the firmware on an RV34x Series router.
Introduction
The RV34x Series Dual-WAN VPN Router is an easy-to-use, flexible, high-performance device that is well-suited for small businesses. With added security features such as Web Filtering, Application Control, and IP Source Guard, this router series delivers highly secure, broadband, wired connectivity to small offices and remote employees. These new security features also provide the ease of fine tuning permitted activity on the network.
The new router firmware releases are updates with added features and bug fixes that resolve issues present in the previous firmware versions. The performance of a network device can be enhanced with the latest firmware.
General tips
- It is recommended to upgrade the firmare of the router during off hours to avoid any disruption to your work as the router will have to reboot during the upgrade process.
- As a best practice, backup your configuration prior to upgrading the firmware. You can do this by navigating to Administration > Configuration Management in the menu. Copy and save the running configuration to the startup configuration. You can also download a copy of the running configuration to your PC.
- During a firmware upgrade, do not try to go online, turn off the device, shut down the PC, or interrupt the process in any way until the operation is complete. This process takes about a few minutes, including the reboot process. Interrupting the upgrade process at specific points when the flash memory is being written to may corrupt it and render the device unusable.
Applicable Devices | Firmware Version
- RV34x Series | 1.0.03.20 (Download latest)
Upgrade the Firmware
Step 1
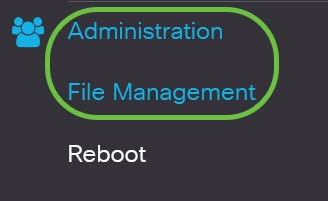
Log in to the web-based utility of the router and choose Administration > File Management.
In the System Information area, the following sub-areas describe the following:
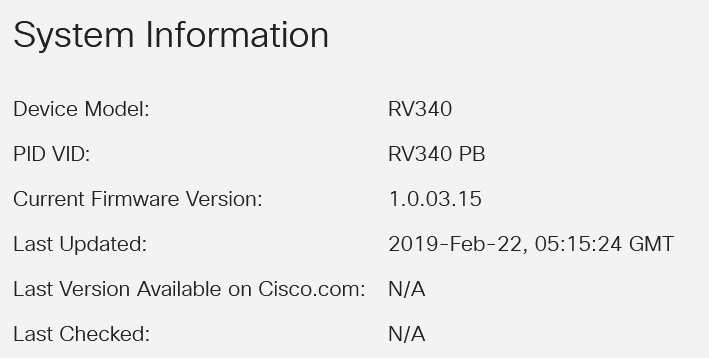
- Device Model - Displays the model of your device. In this example, the device model is the RV345P.
- PID VID - Product ID and Vendor ID of the router
- Current Firmware Version - Firmware that is currently mounted and running on the device.
- Last Updated - Date of the last update made on the router.
- Latest Version Available on Cisco.com - Latest version of the software available on the Cisco Website
- Last Checked - The date when the last check for updates was made.
In the Signature area, the following sub-areas describe the following about the signature version:
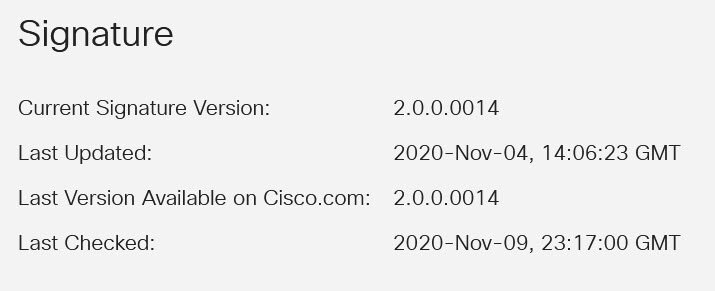
- Current Signature Version - The current signature version that the router is running.
- Last Updated - Date of the last update made on the router.
- Latest Version Available on Cisco.com - Latest version of the software available on the Cisco Website
- Last Checked - The date when the last check for updates was made.
In the USB Dongle Driver area, the following sub-areas describe the following about the USB dongle driver version:
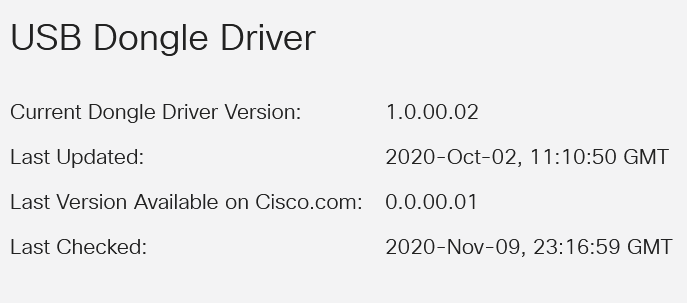
- Current Dongle Driver Version - The current dongle driver version that the router is running.
- Last Updated - Date of the last update made on the router.
- Latest Version Available on Cisco.com - Latest version of the software available on the Cisco Website
- Last Checked - The date when the last check for updates were made.
In the Language Package area, the following sub-areas describe the following about the language package version:
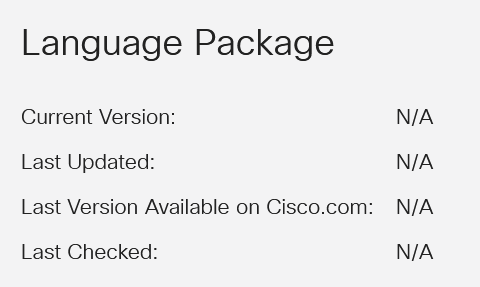
- Current Version - The current language package version that the router is running.
- Last Update - Date of the last update made on the router.
- Latest Version Available on Cisco.com - Latest version of the software available on the Cisco Website
- Last Checked - The date when the last check for updates were made.
Step 2
To check for the latest firmware update, click Check Now.

Step 3
In the File Type area under Manual Upgrade, click on the Firmware Image radio button. To download a different file type for a different upgrade, click on a radio button. The options are:
- Firmware Image - Main operating system configuration
- Signature File - This will contain signatures for Application Control to identify applications, device types, operating systems, and so on.
- USB Dongle Driver - Drivers for Universal Serial Bus (USB) dongles
- Language file - For language and communication support
Note: In this example, Firmware Image is chosen. If you want to learn how to configure Automatic Updates for the router, click here.

Step 4
In the Upgrade From area, click on a radio button to determine the source of the Firmware or file type. The options are:
- cisco.com - Installs the latest upgrade file directly from the Cisco Software Downloads webpage. This option is unavailable for Language Files because language upgrades require custom specification of which language to change to. If this is chosen, skip to Step 8.
- PC - Installs an existing upgrade file from a directory on your personal computer. Upgrading from your PC may be useful if you have the file for a specific firmware version or language that you want to upgrade to. The firmware must be downloaded from cisco.com before you proceed.
- USB - Installs an existing upgrade file from a directory on a USB. The firmware must be downloaded from cisco.com and saved in the USB drive before you proceed.
Note: In this example, cisco.com is used.

Step 5
(Optional) If you chose PC or USB, click Browse...and choose the firmware image. Then, skip to Step 8.
Note: The firmware image file format is .img. If you select to upgrade from the USB drive, the device will search the USB flash drive for a firmware image file whose name has one or more of the following: PID, MAC address, and Serial Number. If there are multiple firmware files in the USB flash drive, the device will check the one with the most specific name, i.e. priority from high to low.

Step 6
(Optional) If you have a USB plugged in and the router does not to recognize it, click on Refresh.

Step 7
(Optional) To reset all configuration or settings to factory defaults upon reboot after upgrading, check its corresponding check box under the Upgrade From area. In this example, the reset check box is left unchecked.
Note: If you are configuring the router remotely, you will lose all connectivity to the router even if this box is left unchecked.

Step 8
Click on Upgrade.

Step 9
Click Yes in the confirmation window to continue.
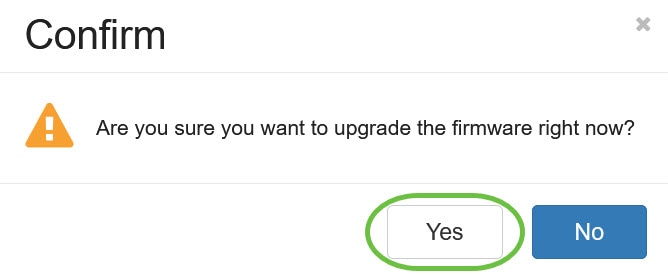
Once the upgrade has been completed, a notification window will pop up to inform you that the router will begin to reboot and you will be logged out.

Step 10
Log back in to the web-based utility. Scroll to the System Information area to verify that the router firmware has been upgraded. The Current Firmware Version area should now display the upgraded firmware version.
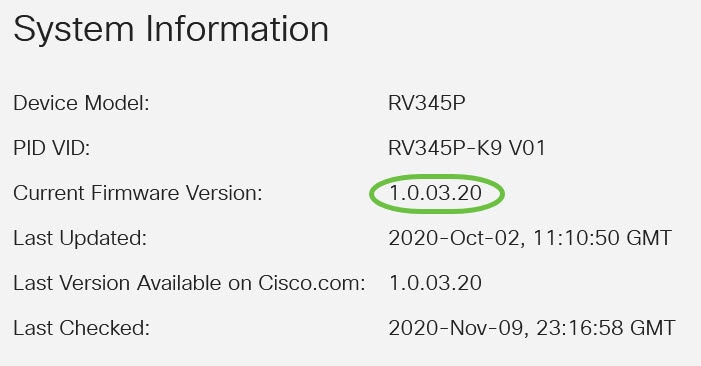
You have now successfully upgraded the firmware on an RV34x Series Router.
 Feedback