Configure ACL on an Sx350 Series Managed Switch using the Access Control List (ACL) Configuration Wizard
Available Languages
Objective
Access Control List (ACL) is an additional feature that you can configure on your network to enhance security. An access rule is created and applied to permit or deny access to the network or to a particular device inside the network.
This article aims to guide you on how to configure and bind ACL on an Sx350 Series Managed Switch using the ACL Configuration Wizard.
Applicable Devices
- Sx350 Series
Software Version
- 2.1.0.63
Configure ACL
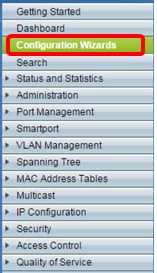
Step 1. Log in to the switch web-based utility and click Configuration Wizards.
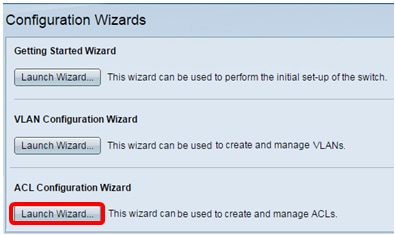
Step 2. Click the Launch Wizard button under the ACL Configuration Wizard area.
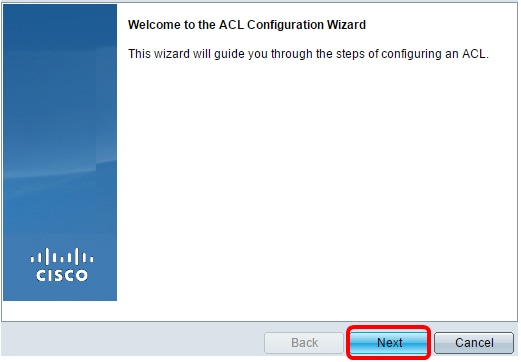
Step 3. When the Welcome to the ACL Configuration Wizard screen comes up, click Next.
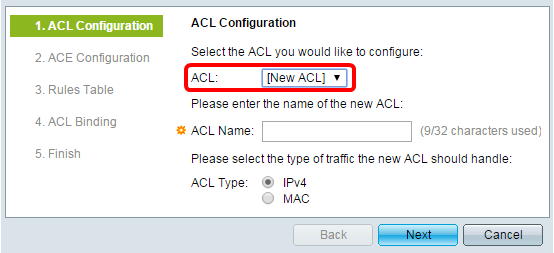
Step 4. In the ACL Configuration screen, choose the ACL that you want to configure from the ACL drop-down list. You will have the option to create a new ACL or edit an existing one.
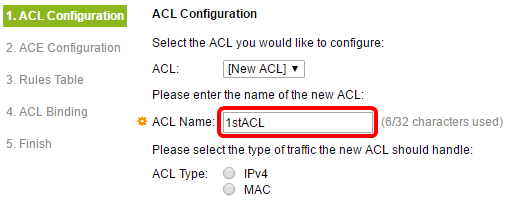
Step 5. Enter a name for the new ACL in the ACL Name field. Up to 32 characters can be used.
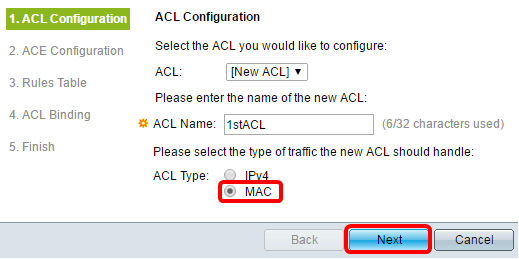
Step 6. Click on a radio button to choose the ACL Type then, click Next.
Step 7. In the ACE Configuration screen, click on a radio button to select an Action for the rule. The options are as follows:
-
Permit Traffic — this option allows all traffic to pass through without any restrictions.
-
Deny Traffic — this option prevents all traffic to pass through.
-
Shutdown Interface — this option disables the specific port by shutting it down.

Step 8. Specify the Source MAC Address by clicking on a radio button. The options are as follows:
-
Any — this option applies the rule to any MAC Address as the source.
-
User Defined — this option defines a specific MAC Address or a range of MAC Addresses as the source that the rule will apply to, specified by the user. If this option is chosen, the Source MAC Value and Source MAC Wildcard Mask fields will be enabled.
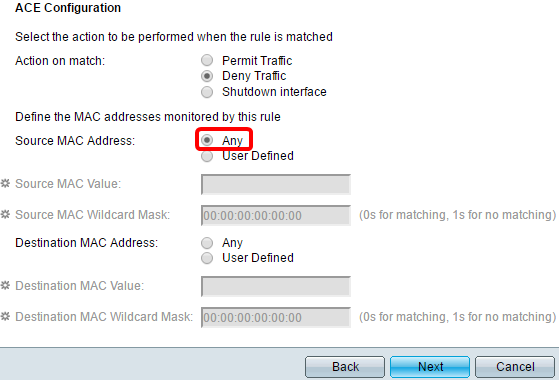
Step 9. Specify the Destination MAC Address of the rule by clicking on a radio button. The options are as follows:
-
Any — this option applies the rule to any MAC Address as the destination.
-
User Defined — this option defines a specific MAC Address or a range of MAC Addresses as the destination that the rule will apply to, specified by the user. If this option is chosen, the Destination MAC Value and Destination MAC Wildcard Mask fields will be enabled.
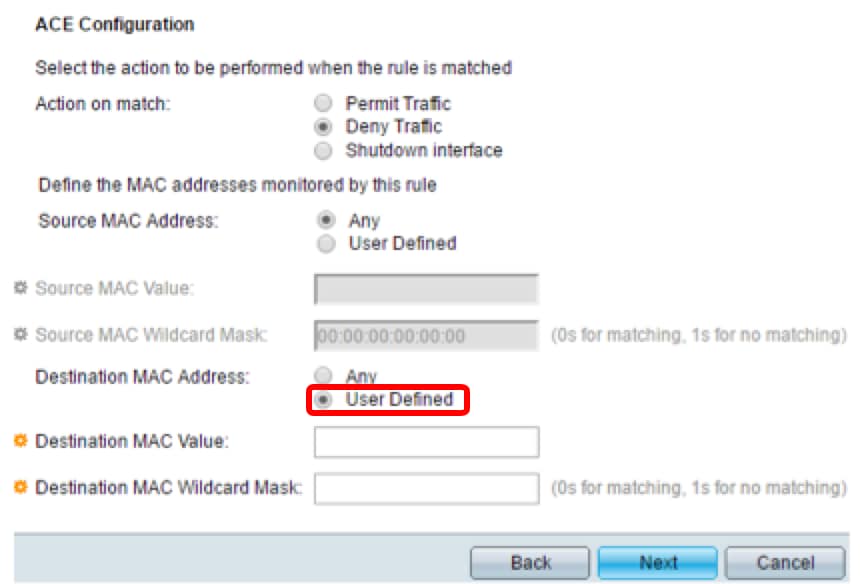
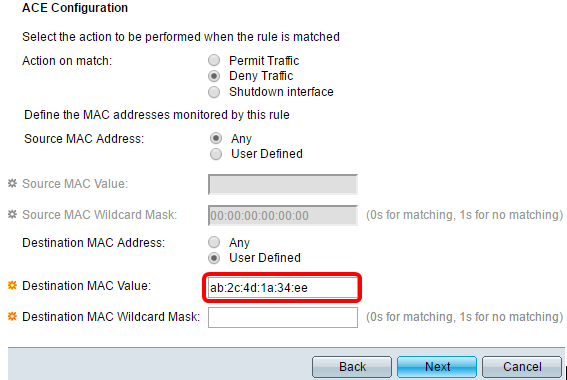
Step 10. Enter the specific MAC Address in the Destination MAC Value field.
Step 11. Enter the Wildcard Mask in the Destination MAC Wildcard Mask field then click Next.
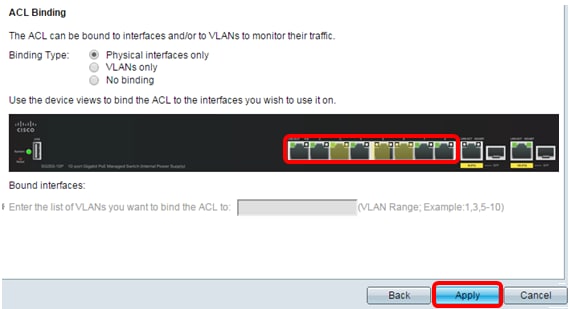
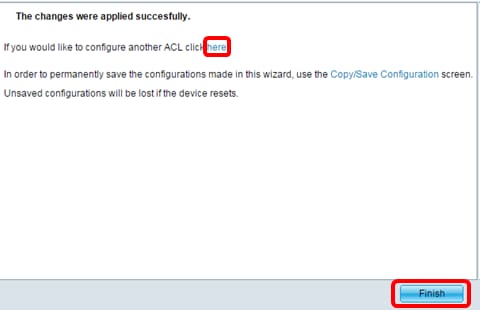
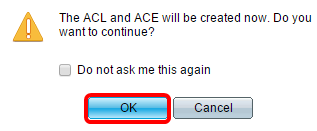
Step 12. Click OK on the popup window to confirm. Step 13. In the Rules Table area, verify if the ACL Rule you have created is correct. On this screen, you can also add a new rule or delete an existing one. Step 14. (Optional) To add a new rule, click on the Add another rule to this ACL link. Step 15. (Optional) To delete an existing rule, check the check box beside the rule you want to delete then click on the Delete button. Step 16. Click Next. You should now have successfully configured ACL on the Sx350 Series Managed Switch. The ACL you have created can be bound to interfaces and/or Virtual Local Area Networks (VLANs) to monitor their traffic. Step 1. In the ACL Binding screen, click on a radio button to select the Binding Type. The options are as follows: Physical Interfaces only — this option binds the created ACL to the physical ports only. VLANs only — this option binds the created ACL to the VLANs only regardless of the physical ports where they belong. No binding — this option does not bind the created ACL to either the interfaces or the VLANs. Step 2. Click on the port or ports to mark or unmark the interfaces that you wish to bind the ACL into then, click Apply. The next screen will show that your changes have been applied successfully. Step 3. (Optional) Click on the link provided on the next screen to configure another ACL. Otherwise, click Finish. Step 4. To make sure the running configuration is saved permanently, click on Save at the uppermost right portion of the web-based utility. You should now have successfully configured and bound ACL on the Sx350 Series Managed Switch using the ACL Configuration Wizard.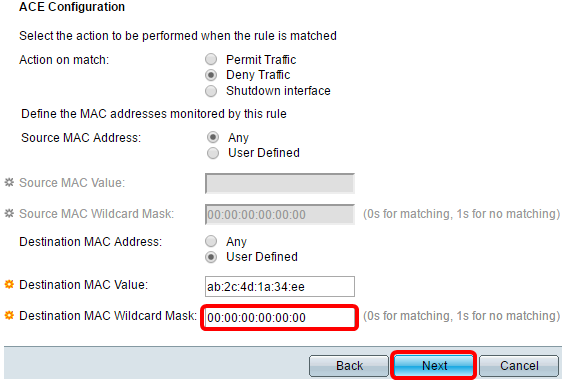


ACL Binding

