Configure QoS Policy Map on the WAP125
Available Languages
Objective
A Policy Map executes the action when a condition stated in the Class Map is matched. Class Maps contain conditions that traffic need to match in order to be forwarded or dropped. There can be many Class Maps in a Policy Map where either one Class Map can be matched, or all Class Maps should be matched for the action specified in the Policy Map to take place. A Class Map and a Policy Map are created to complete the Quality of Service (QoS) configuration on an access point.
Note: To learn how to configure an IPv4 Class Map, click here. For IPv6 Class Map configuration instructions, click here or configure a MAC Class Map by clicking here.
This article aims to show you how to configure a QoS Policy Map on a WAP125 access point.
Applicable Devices
- WAP125
Software Version
- 1.0.0.4
Configure a QoS Policy Map
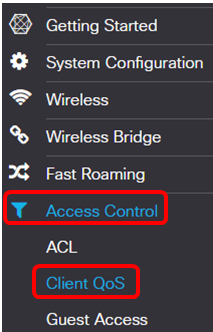
Step 1. Log in to the web-based utility of the WAP125 and choose Access Control > Client QoS.
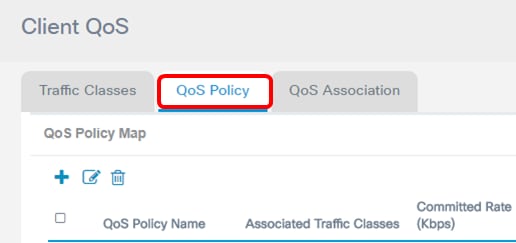
Step 2. Click the QoS Policy tab.
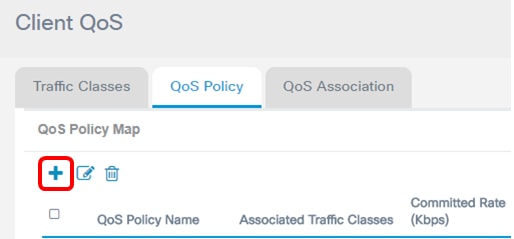
Step 3. Click the 
 button to add a QoS policy.
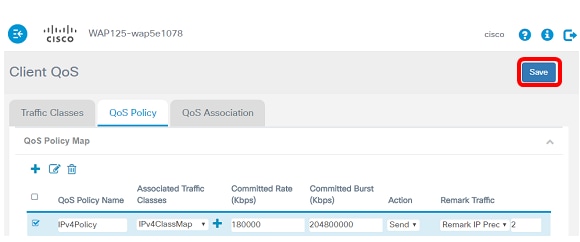
Step 4. Enter a name for the policy in the QoS Policy Name field.

Note: In this example, IPv4QoSPolicy is entered.
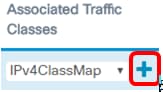
Step 5. Choose a class map to be associated to the policy from the Associated Traffic Classes drop-down list.

Note: In this example, IPv4ClassMap is chosen.
Step 6. Enter the committed rate in the Committed Rate field. This is the rate in Kbps to which traffic must conform to. It is the data rate that is guaranteed all the time for the user, regardless of the number of users present in the network. The range is from 1 to 1000000 Kbps.
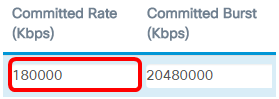
Note: In this example, 180000 is entered.
Step 7. Enter the committed burst size in bytes in the Committed Burst field. This is the maximum amount of data that can be transferred in the network. It can be from 1 to 20480000 Kbps.
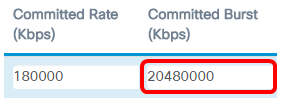
Note: In this example, 20480000 is entered.
Step 8. (Optional) Click the  button under Associated Traffic Classes to add class maps to the policy.
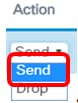
Step 9. Choose an action from the Action drop-down list. The options are:
- Send — This option means that packets filtered by the associated class map are forwarded.
- Drop — This option means that packets filtered by the associated class map are dropped.
Step 10. (Optional) choose the desired DSCP value from the Remark Traffic drop-down list. This marks all packets for the associated traffic with the chosen DSCP value. The options are:
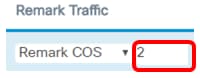
- Remark COS — This option means that network traffic can be partitioned into multiple priority levels or Classes of Service. If this option is chosen, proceed to Step 11.
- Remark DSCP — This option specifies a particular per-hop behavior that is applied to a packet. If this option is chosen, proceed to Step 12.
- Remark IP Precedence — This option marks all packets for the associated traffic with the specified IP precedence value. The IP precedence value can be from 0 to 7. If this option is chosen, proceed to Step 13.
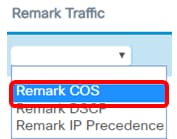
Note: In this example, Remark COS is chosen.
Step 11. Enter a QoS value in the Remark COS field. CoS values range from 0 to 7, 0 being the lowest priority, and 7 as the highest priority.
Step 12. Choose a QoS Value from the drop-down list. The options are:
- af11 — This option provides an IP Precedence value of 1, and a drop probability of 1. This option is commonly used for VoIP and Video packets since it has a low probability of getting dropped. The decimal value for AF11 is 10.
- af12 — This option provides an IP Precedence value of 1, and a drop probability of 2. This option is commonly used for non-time-sensitive packets since it has a medium probability of getting dropped. The decimal value for AF12 is 12.
- af13 — This option provides an IP Precedence value of 1, and a drop probability of 3. This option is commonly used for non-time-sensitive packets since it has a high probability of getting dropped. The decimal value for AF13 is 14.
- af21 — This option provides an IP Precedence value of 2, and a drop probability of 1. This option is commonly used for time-sensitive packets since it has a low probability of getting dropped. The decimal value for AF21 is 18.
- af22 — This option provides an IP Precedence value of 2, and a drop probability of 2. This option is commonly used for non-time-sensitive packets since it has a medium probability of getting dropped. The decimal value for AF22 is 20.
- af23 — This option provides an IP Precedence value of 2, and a drop probability of 3. This option is commonly used for non-time-sensitive packets since it has a high probability of getting dropped. The decimal value for AF23 is 22.
- af31 — This option provides an IP Precedence value of 3, and a drop probability of 1. This option is commonly used for time-sensitive packets since it has a low probability of getting dropped. The decimal value for AF31 is 26.
- af32 — This option provides an IP Precedence value of 3, and a drop probability of 2. This option is commonly used for non-time-sensitive packets since it has a medium probability of getting dropped. The decimal value for AF32 is 28.
- af33 — This option provides an IP Precedence value of 3, and a drop probability of 3. This option is commonly used for non-time-sensitive packets since it has a high probability of getting dropped. The decimal value for AF31 is 26.
- af41 — This option provides an IP Precedence value of 4, and a drop probability of 1. This option is commonly used for time-sensitive packets since it has a low probability of getting dropped. The decimal value for AF41 is 34.
- af42 — This option provides an IP Precedence value of 4, and a drop probability of 2. This option is commonly used for non-time-sensitive packets since it has a medium probability of getting dropped. The decimal value for AF42 is 36.
- af43 — This option provides an IP Precedence value of 4, and a drop probability of 3. This option is commonly used for non-time-sensitive packets since it has a high probability of getting dropped. The decimal value for AF43 is 38.
- cs0—This option has a decimal value of 0, and a default Equivalent IP Precedence Value.
- cs1 — This option has a decimal value of 8, and an Equivalent IP Precedence value of 1.
- cs2 —This option has a decimal value of 16, and an Equivalent IP Precedence Value of 2.
- cs3 —This option has a decimal value of 24, and an Equivalent IP Precedence Value of 3.
- cs4 —This option has a decimal value of 32, and an Equivalent IP Precedence Value of 4.
- cs5 —This option has a decimal value of 40, and an Equivalent IP Precedence Value of 5.
- cs6 —This option has a decimal value of 48, and an Equivalent IP Precedence Value of 6.
- cs7 —This option has a decimal value of 56, and an Equivalent IP Precedence Value of 7.
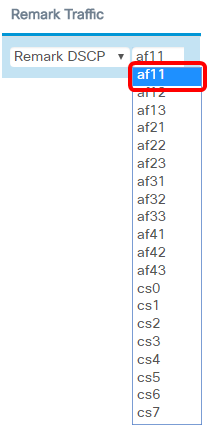
Note: In this example, af11 is chosen.
Step 13. Enter a QoS value in the Remark IP Precedence field. CoS values range from 0 to 7, 0 being the lowest priority, and 7 as the highest priority.

Step 14. Click Save.
You should now have configured a QoS policy map on the WAP125 access point.
 Feedback