Wall Mount the WAP361 Wireless-ACN Dual Radio Wall Plate Access Point with PoE
Available Languages
Objective
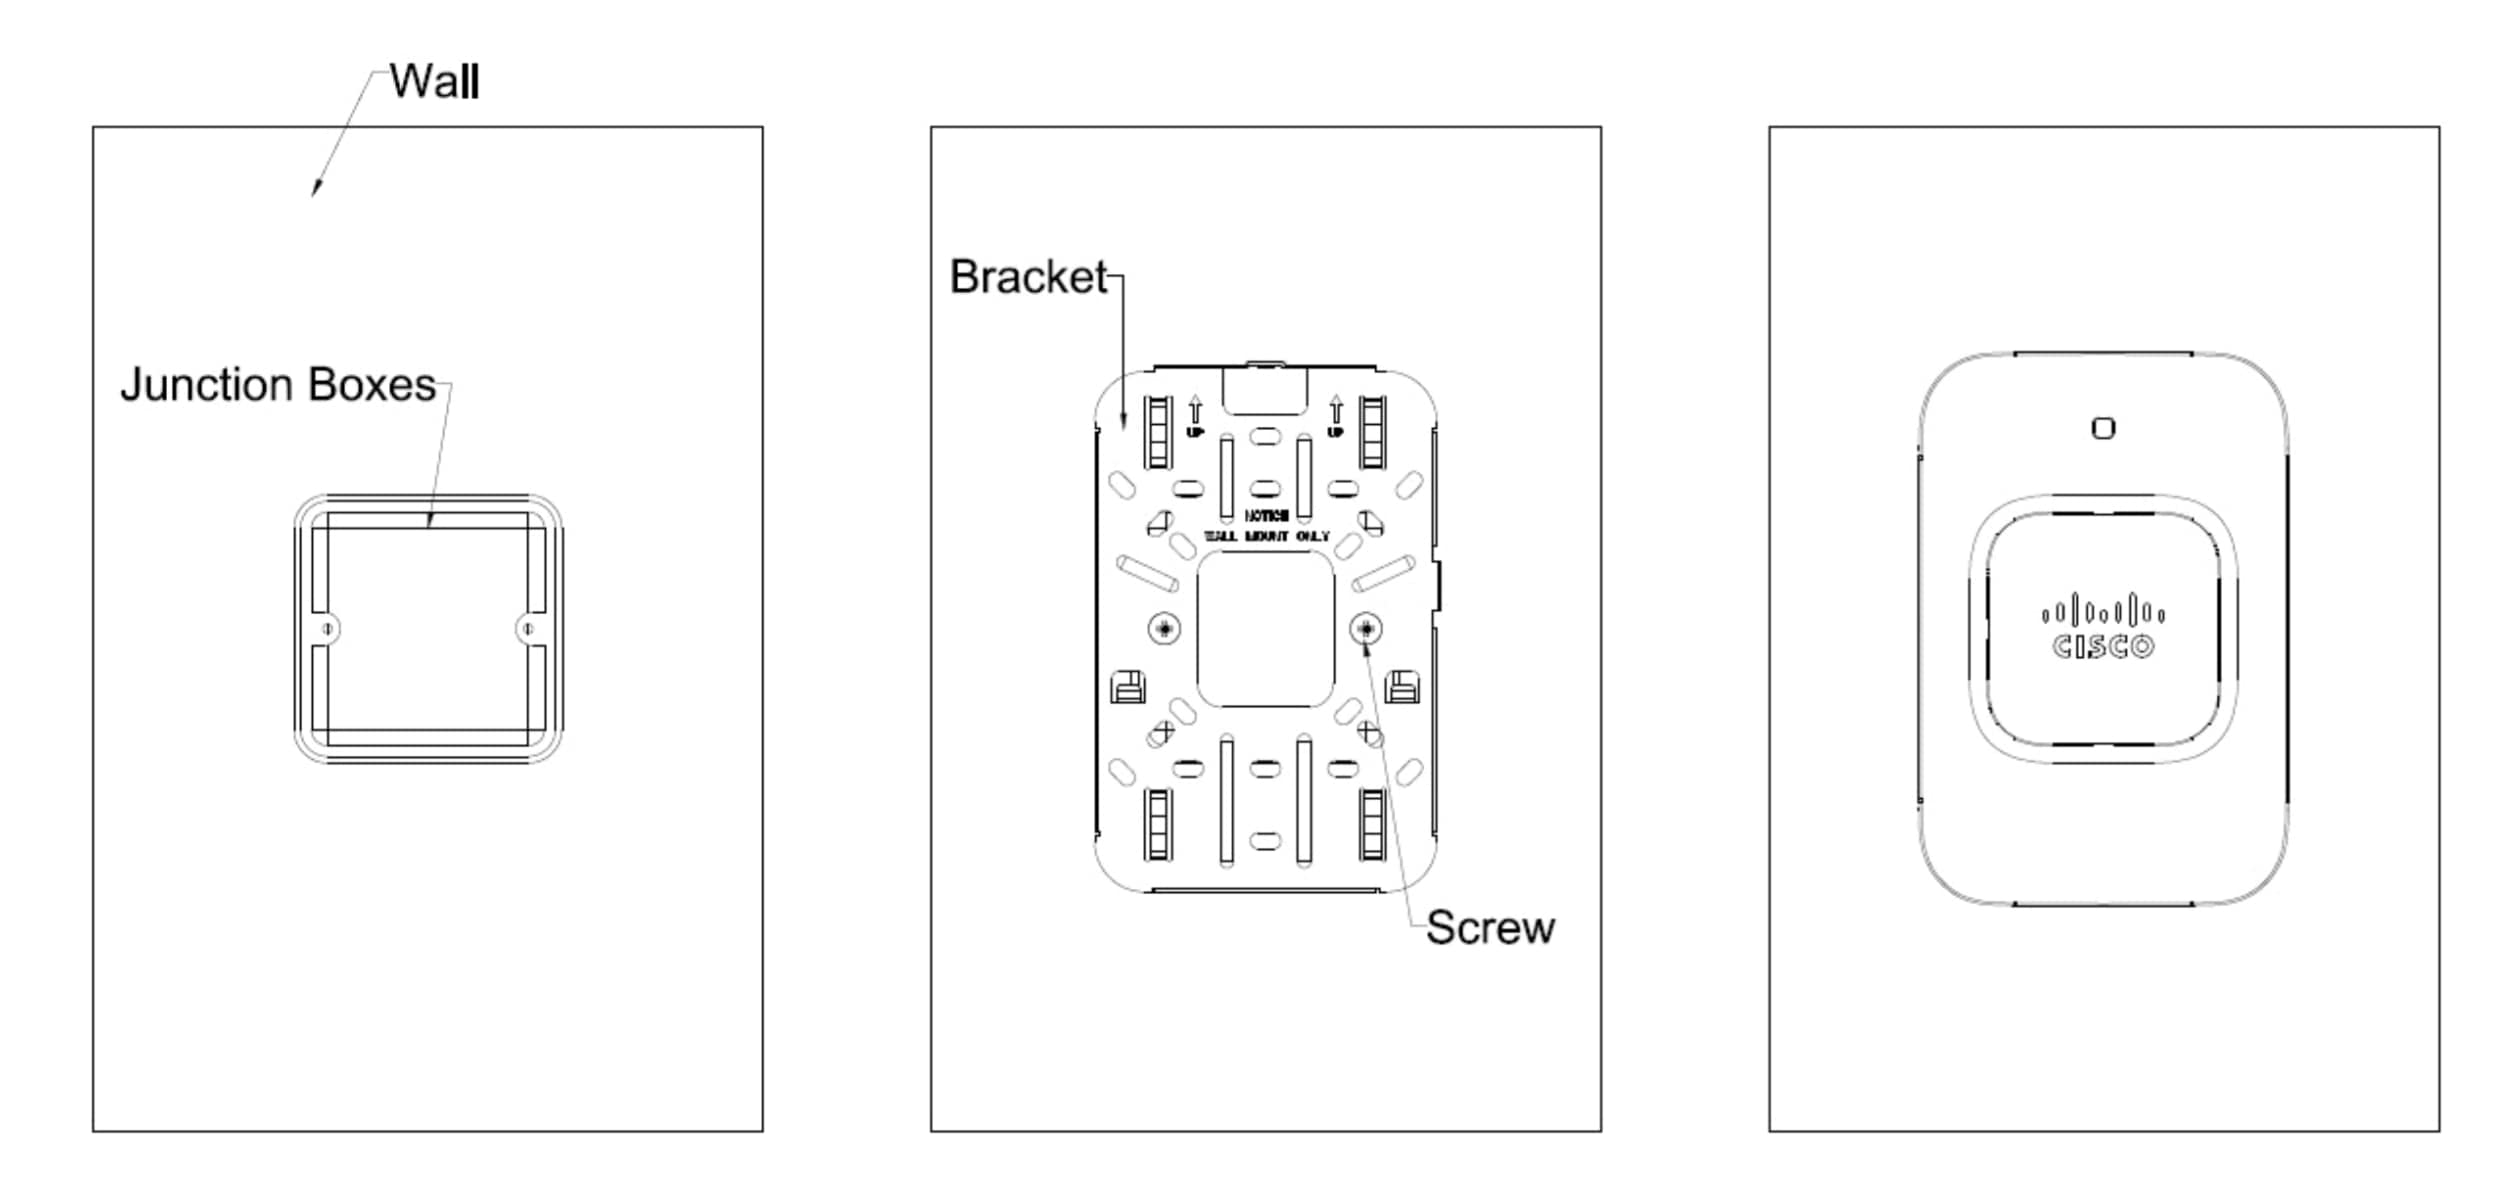
The WAP361 Wireless-AC/N Dual Radio Wall Plate Access Point with Power over Ethernet (PoE) can be mounted on walls and junction boxes, in a vertical orientation with the security screw on the top and the LED located above the Cisco logo.
This article provides instructions on how to mount the WAP361 using the included mounting kit.
Applicable Devices
- WAP361
Software Version
- 1.0.0.16
Wall Mount your WAP361
Placement Tips
- Ambient temperature should not exceed 104 °F (40 °C) to prevent the WAP361 from overheating.
- Ensure adequate air flow around the device.
- The WAP361 should be level, stable, and secure to prevent it from sliding or shifting out of position.
- It is recommended to mount the WAP361 on a wall or junction box.
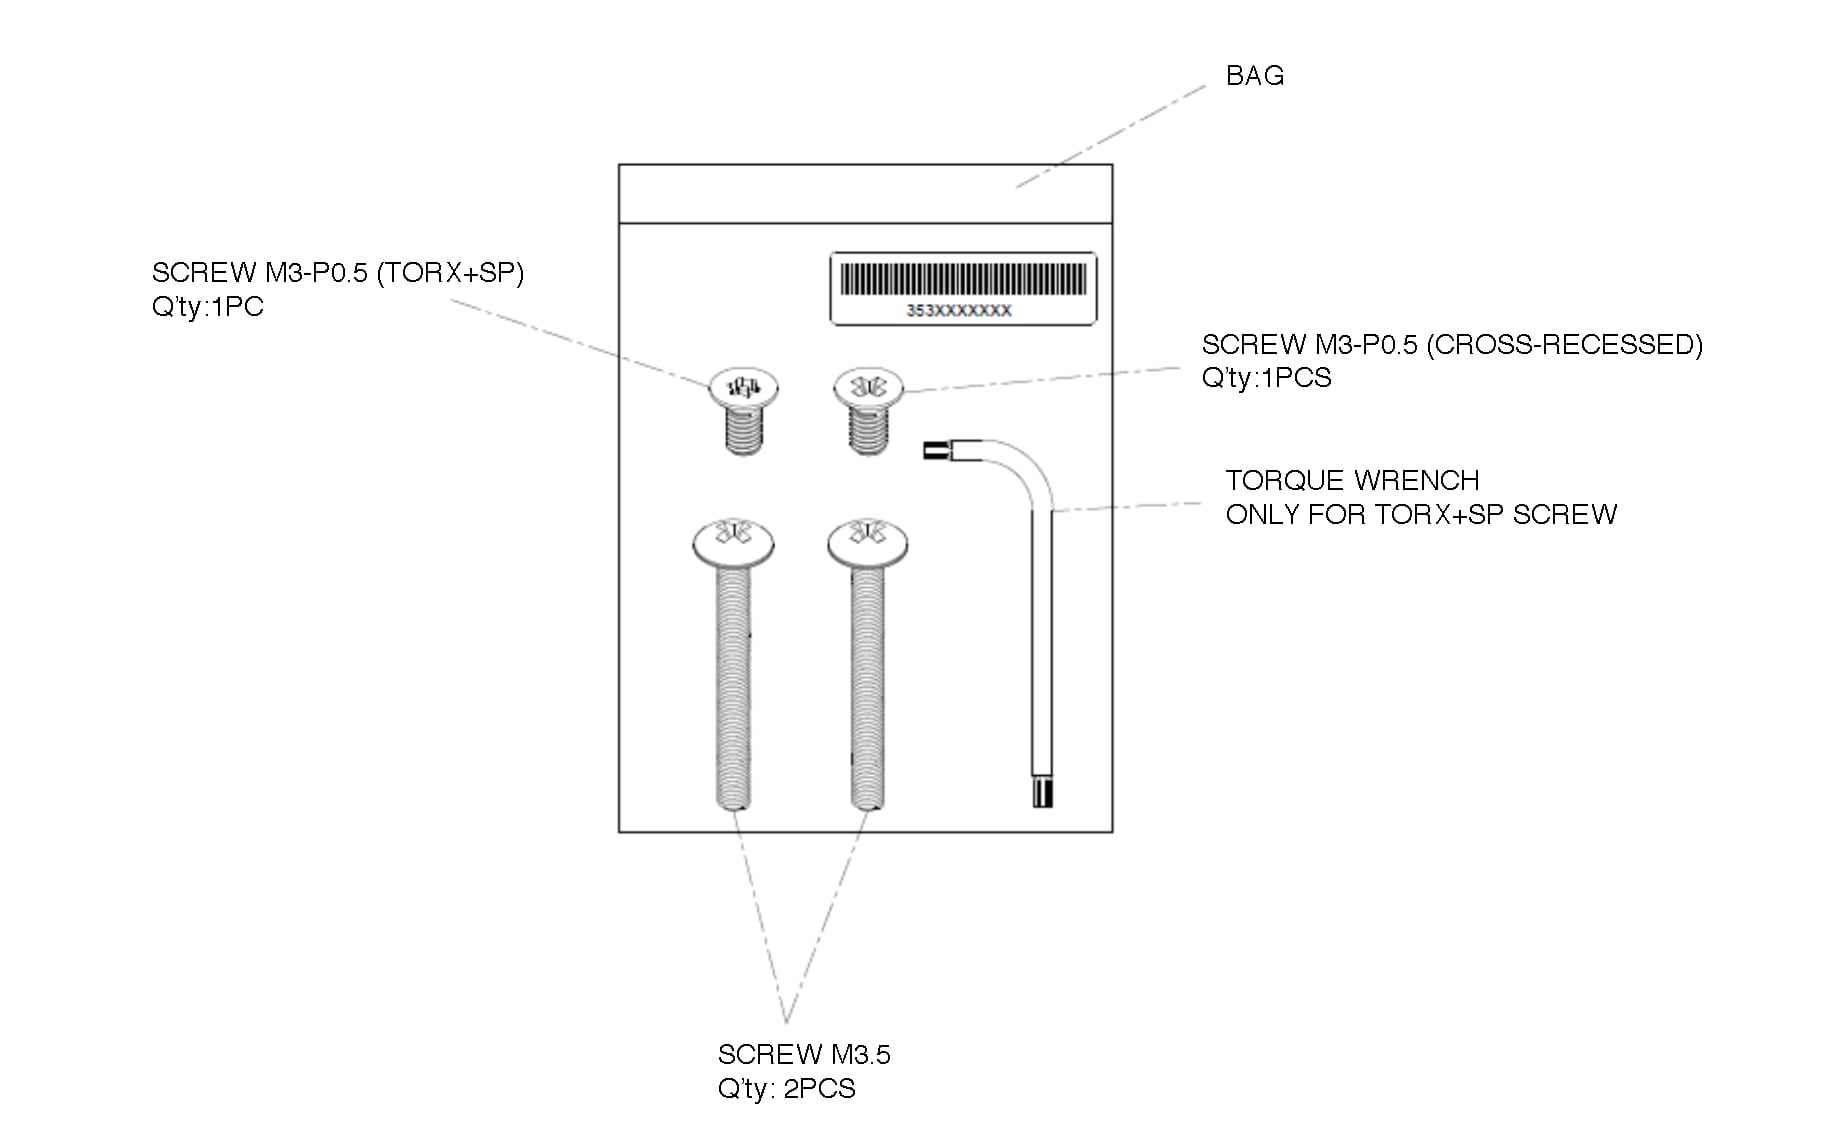
Mounting Kit
- Metal Mounting Bracket
- 2 pcs. M3.5 screw
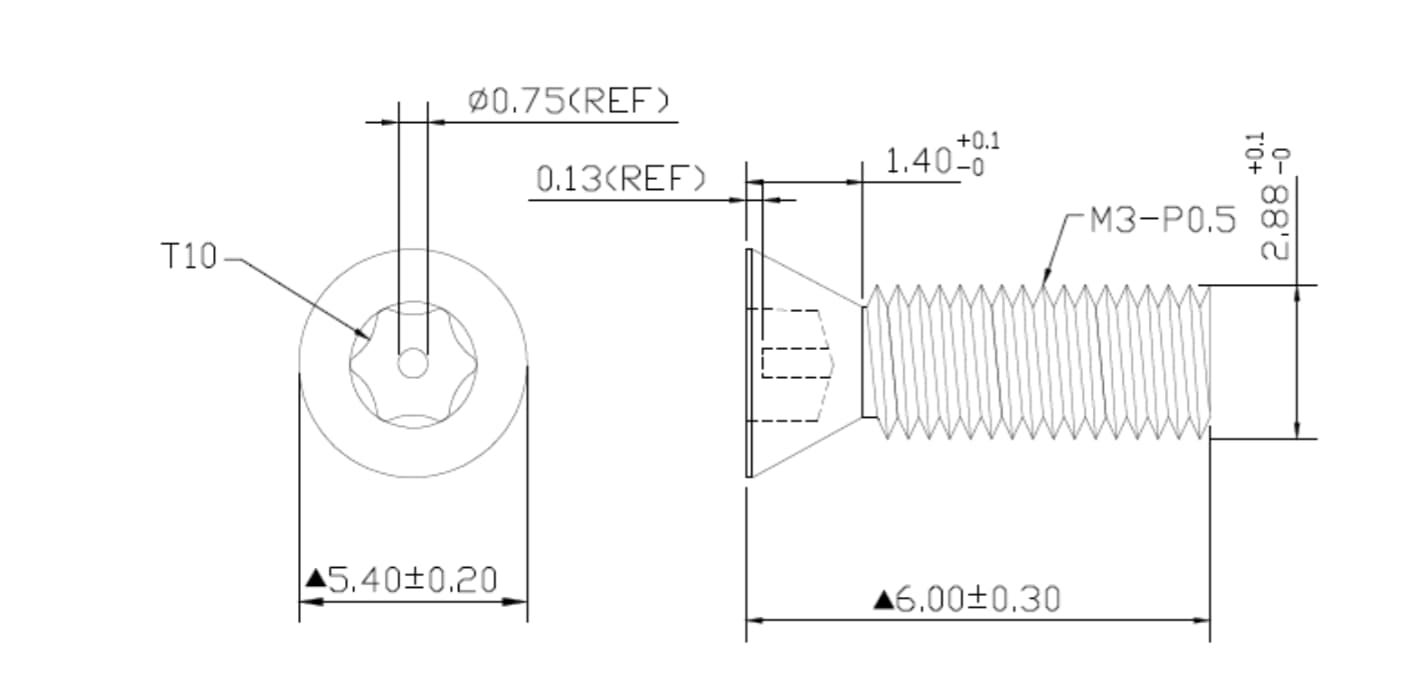
- 1 pc. Security screw (torx screw)
- 1 pc. Torque Wrench
Wall Mount your WAP
Caution: To ensure a safe and secure installation, make sure you are using adequate screws and mount the access point using no less than two screws.
Step 1. Use the mounting bracket as a template to mark the locations of the mounting holes on the bracket.
Note: If you are mounting the WAP directly to a junction box, go to Step 3.
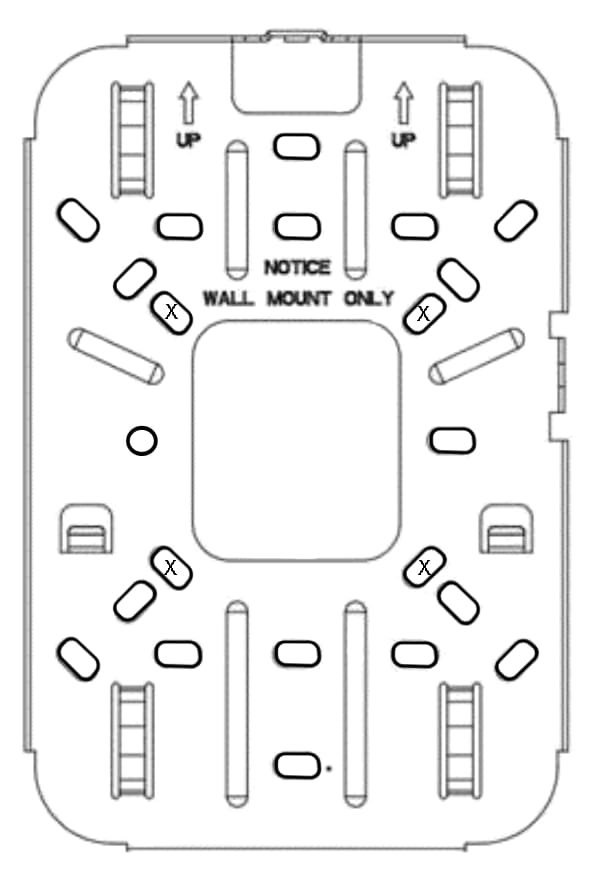
Step 2. Drill four pilot holes at the mounting locations you have marked.
Note: Pilot hole size varies according to the material, and its thickness you have fastened. It is recommended that you test the material to determine the ideal hole size for your mounting application. Holes should be at opposite corners of the bracket.
Step 3. Feed the cables from the junction box/wall through the large center cable access hole in the bracket, with the words NOTICE WALL MOUNT ONLY facing you.
Step 4. Position the mounting bracket mounting holes with NOTICE WALL MOUNT ONLY facing you and the UP arrows pointing up over the screw holes.
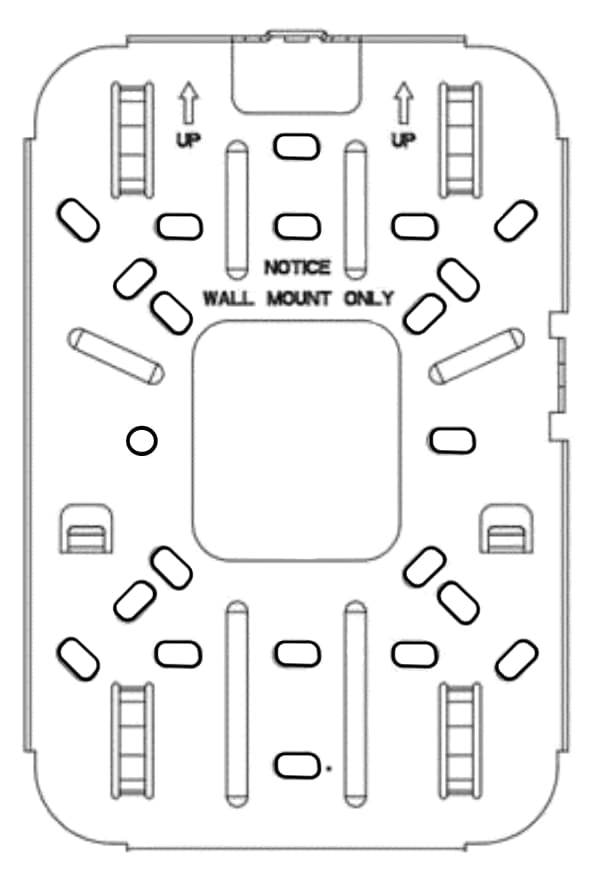
Step 5. Insert a screw in each mounting hole and tighten.
Note: Screws supplied in the kit may not be appropriate for all mounting options. You may need to obtain screws which fit your custom installation.
Step 6. Connect the Ethernet cable and the power cable (optional) to the access point.
Note: Make sure all cables are in place and the bracket sits flush against the wall or junction box. The joint created with the screws must have a minimum pullout force of 20 lbs or 9kg.
Step 7. Gently slide the WAP361 onto the mounting plate. Cisco logo should be upright with the LAN ports facing down. If done properly, Kensington lock slot and security screw hole should align.
Step 8. Insert the security screw (torx screw) into the hole on the top panel of the WAP and tighten it with the torque wrench provided until the screw head is flushed with the WAP.
You should now have successfully mounted the WAP361 on the wall.
 Feedback