Introduction
This document describes the configuration examples for the Communications Manager Express (CME) contact list.
Prerequisites
Requirements
Cisco recommends that you have knowledge of Cisco Unified CME.
Components Used
The information in this document is based on Cisco Unified CME 14.
The information in this document was created from the devices in a specific lab environment. All of the devices used in this document started with a cleared (default) configuration. If your network is live, ensure that you understand the potential impact of any command.
Local Directory
Function
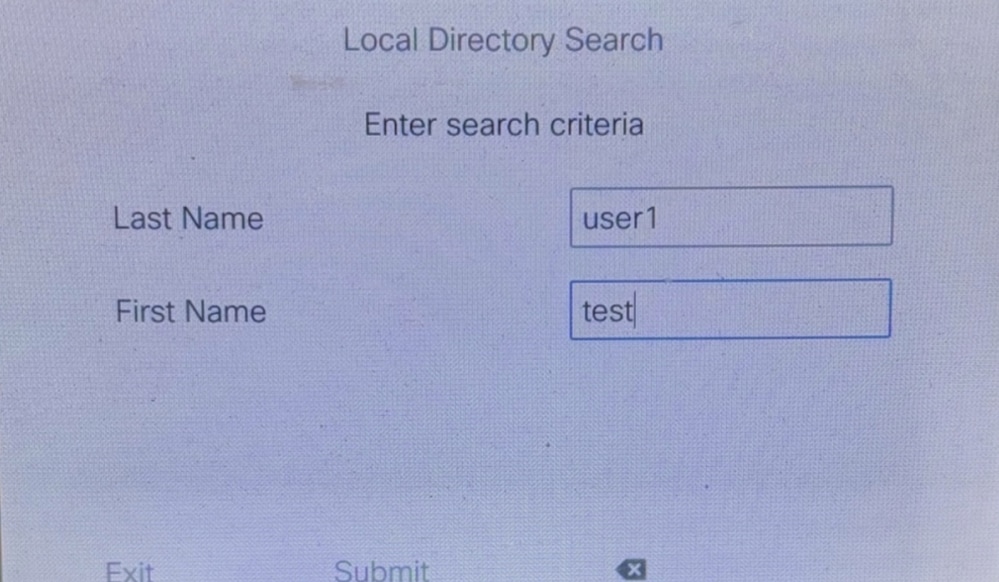
Its function is to enter the first and last names and then query the DN (directory number) of the CME local contact.
Configuration Example
Set the name display method, with the first name in front and the last name in the back. It must be the same as the configuration under voice register DN.
telephony-service
directory last-name-first
Create directory entries. For example, you can create two entries if you have two contacts. Configure the DN 10001.
directory entry 1 10001 name user1 test
directory entry 2 10002 name user2 test
Configure the DN and define the identifier as 4. This identifier can be quoted in the voice register pool.
Configure the DN 10001.
The display name is user1 test.
voice register dn 4
number 10001
name user1 test
Configure the phone mac address.
Configure the phone type 8851.
Assign the DN with an identifier of 4 to this phone.
voice register pool 154
id mac xxxxxxx
type 8851
number 1 dn 4
Lab Test Results
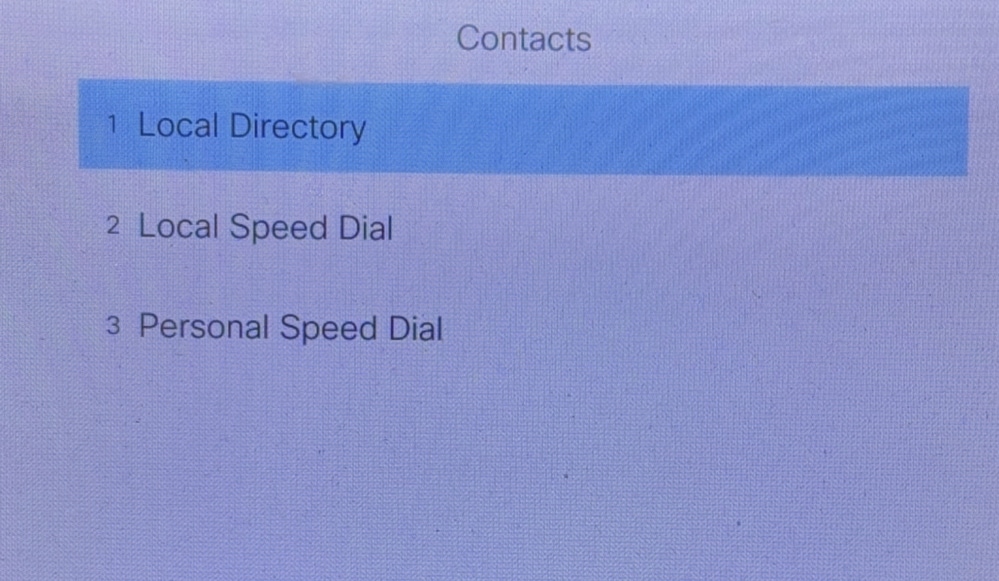
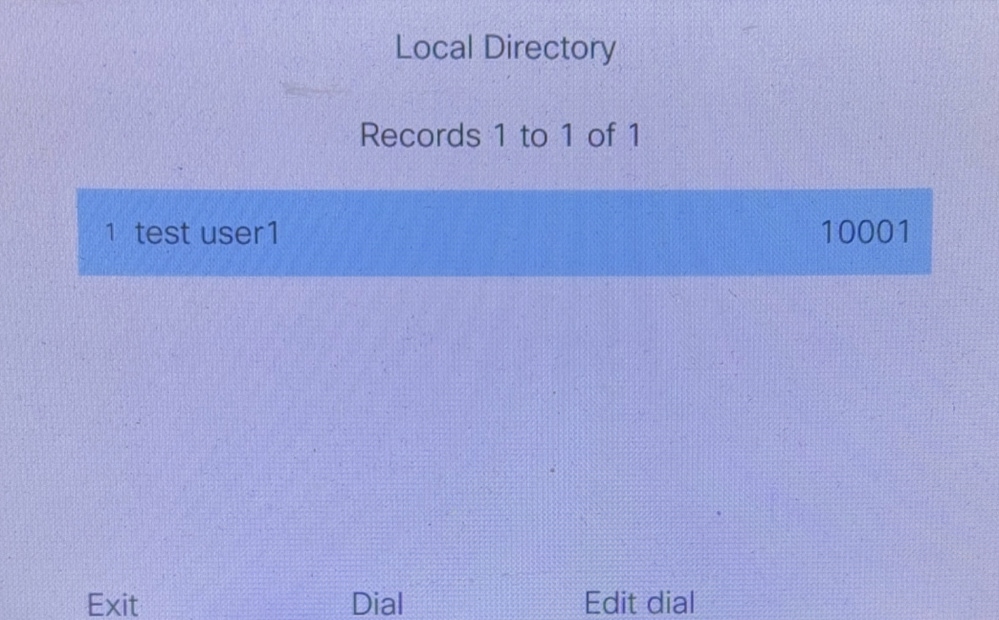
After the configuration is successful, click Local Directory, then enter the name, and you can query the number.
Local Speed Dial
Function
System-level list of frequently called numbers that can be programmed on all phones.
An XML file called speeddial.xml must be created and copied to the TFTP server application on the CME router.
A maximum of 32 numbers can be defined.
Configuration Example
Create a speeddial.xml file and enter the contact and number.
<CiscoIPPhoneDirectory>
  <Title>Local Speed Dial</Title>
  <Prompt>Record 1 to 1 of 1</Prompt>
  <DirectoryEntry>
    <Name>test user1</Name>
    <Telephone>10001</Telephone>
  </DiretoryEnrty>
  <DiretoryEnrty>
    <Name>test user2</Name>
    <Telephone>10002</Telephone>
  </DiretoryEnrty>
</CiscoIPPhoneDirectory>
This copies the file from the TFTP server to the flash memory of the router.
1. At the first prompt, enter the IP address of the remote host.
2. At both filename prompts, enter speeddial.xml.
3. At the prompt to erase flash, enter no.
copy tftp flash
Address or name of remote host []? 1.1.1.1
Source filename []? speeddial.xml
Destination filename [speeddial.xml]?
Accessing tftp://1.1.1.1/speeddial.xml...
Erase flash:before copying? [confirm]n
Loading speeddial.xml from 1.1.1.1 (via
FastEthernet0/0):!
[OK - 329 bytes]
Verifying checksum...  OK (0xF5DB)
329 bytes copied in 0.044 secs (7477 bytes/sec)
Enables the Cisco web browser UI (user interface) on the router.
Sets the base HTTP path to flash memory.
ip http server
ip http path flash:
Lab Test Results
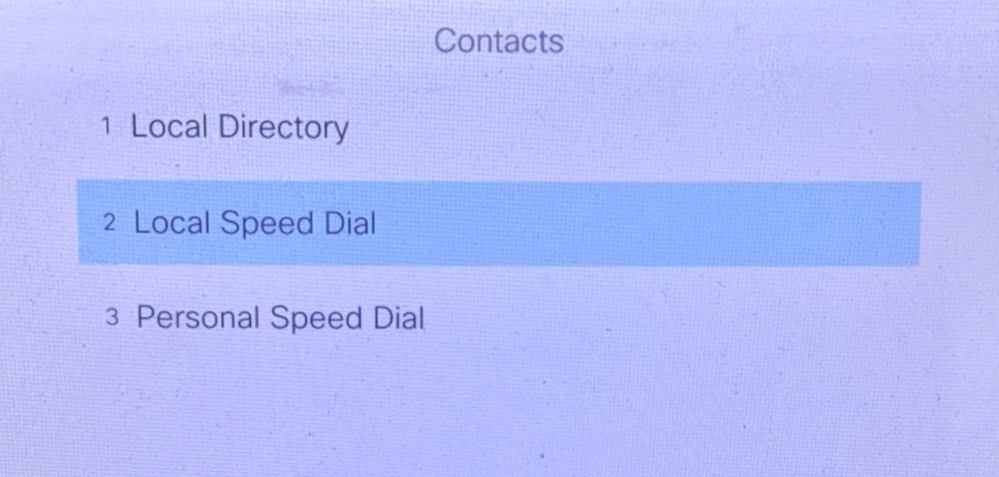
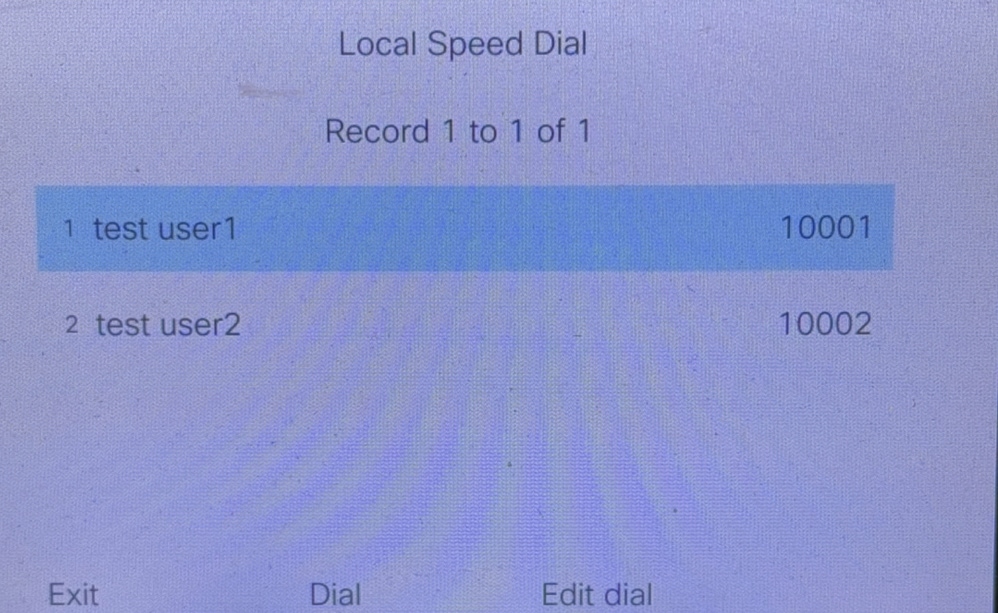
After the configuration is successful, click Local Speed Dial. The CME contact list can be seen.
Personal Speed Dial
Function
Speed dial entries are local to a specific IP phone.
A maximum of 24 numbers per phone can be defined.
Configuration Example
Configure DNs and associated names.
voice register pool 1
fastdial 1 10001 name user1 test
fastdial 2 10002 name user2 test
Lab Test Results
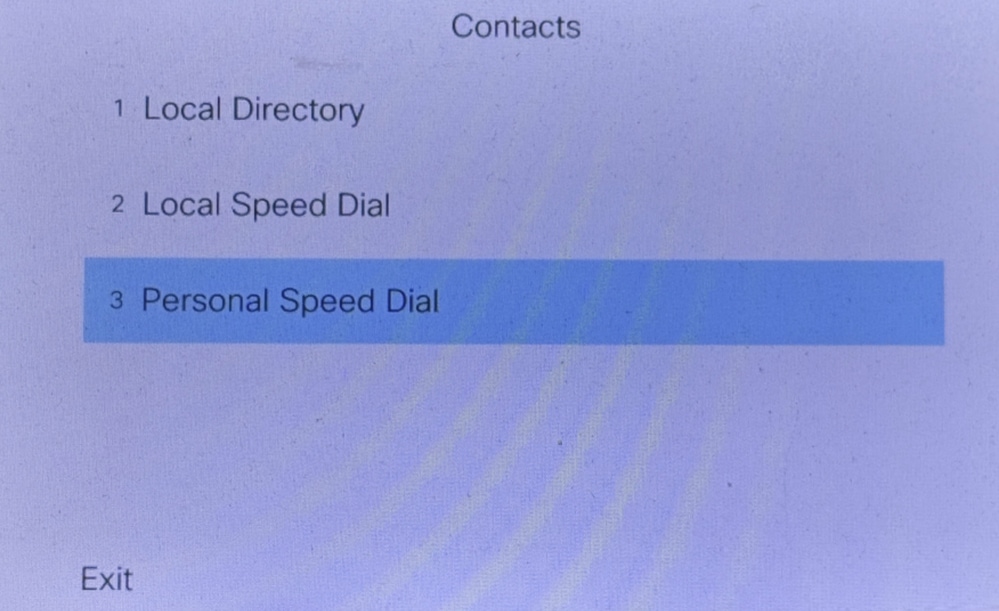
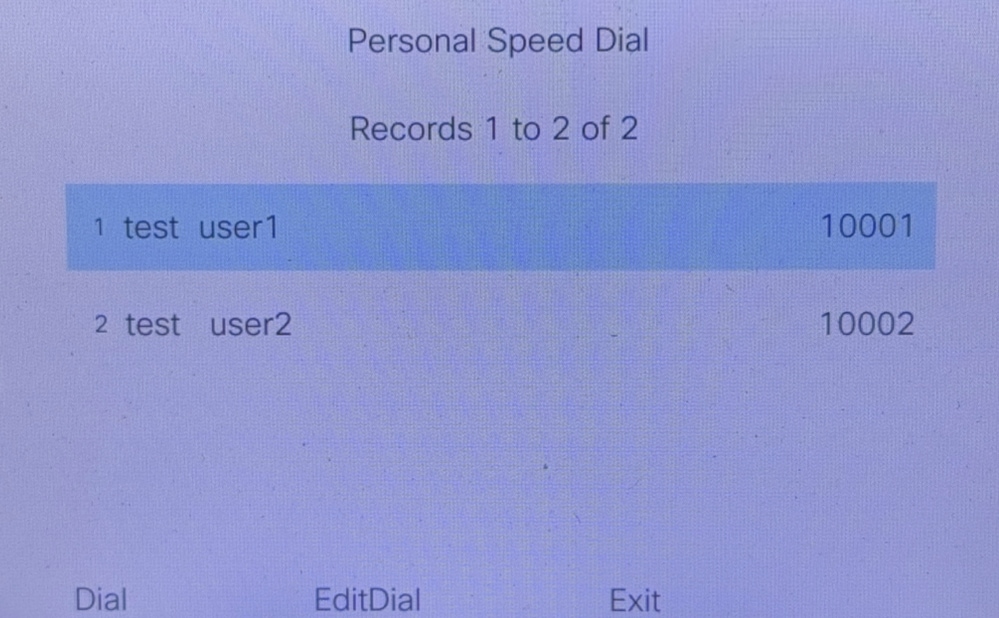
After the configuration is successful, click Personal Speed Dial in order to see the contact list and call directly.
Related Information


 Feedback