Replace WebAttendant with CallManager Attendant Console
Available Languages
Contents
Introduction
Cisco CallManager Attendant Console is a client-server application that enables you to set up Cisco IP Phones as attendant consoles. The Cisco CallManager Attendant Console client provides a graphical user interface for controlling a Cisco IP Phone as an attendant console, including speed dial buttons and quick directory access for looking up phone numbers, monitoring line status, and directing calls. Cisco CallManager Attendant Console can be used by a receptionist or administrative assistant to handle calls for a department or company or by an individual.
The Cisco CallManager Attendant Console client is a plug-in application that is installed on a PC that has IP connectivity to the Cisco CallManager system. The client works in conjunction with a Cisco IP Phone that is registered to a Cisco CallManager (one client for each phone that will be used as an attendant console). Multiple Attendant Console clients can be connected to a single Cisco CallManager.
The Cisco Telephony Call Dispatcher (TCD) service running on the Cisco CallManager communicates with Cisco Attendant Console clients for call routing and control, monitors and reports line state, and services client database requests.
Administrative tasks such as adding users, configuring pilot points and hunt groups for call routing, and starting and stopping the TCD service are performed using Cisco CallManager Administration.
The Cisco CallManager Attendant Console server application can also be used on its own to create hunt groups for call routing.
Prerequisites
Requirements
Cisco recommends that you have knowledge of these topics:
-
Cisco CallManager Administration
-
Microsoft Windows operating system
Components Used
The information in this document is based on these software and hardware versions:
Requirements for Server
-
Cisco CallManager 3.2(1)
-
Cisco CallManager 3.1(3a)
-
Cisco CallManager 3.1(2c)
Attendant Console Requirements
The following list provides PC requirements for the attendant console:
-
Microsoft Windows 98, Windows 2000, or Windows NT 4.0 (highest Service Pack 6) workstation or server
-
Network connectivity to the Cisco CallManager
The information in this document was created from the devices in a specific lab environment. All of the devices used in this document started with a cleared (default) configuration. If your network is live, make sure that you understand the potential impact of any command.
Conventions
Refer to Cisco Technical Tips Conventions for more information on document conventions.
Downloading and Installing Cisco CallManager Attendant Console
Complete these steps:
-
Download the latest Cisco CallManager Attendant Console from the CallManager download page.
Note: This application is supported only with Cisco CallManager versions 3.1(2c), 3.1(3a), 3.2(1), and 3.2(2).
-
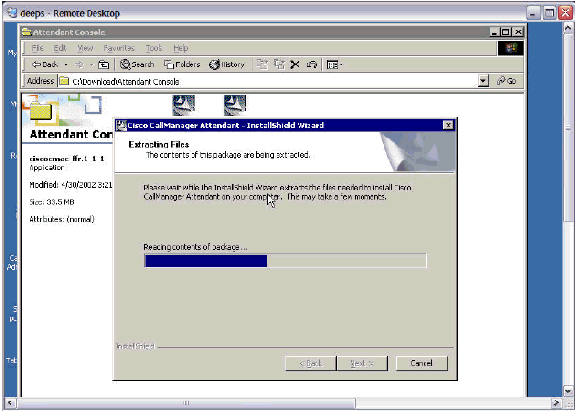
Install the self-extracting application you downloaded on all Cisco CallManagers in the cluster.
Note: This will stop the TCD Service momentarily while replacing the TCD service and the client plugin.
-
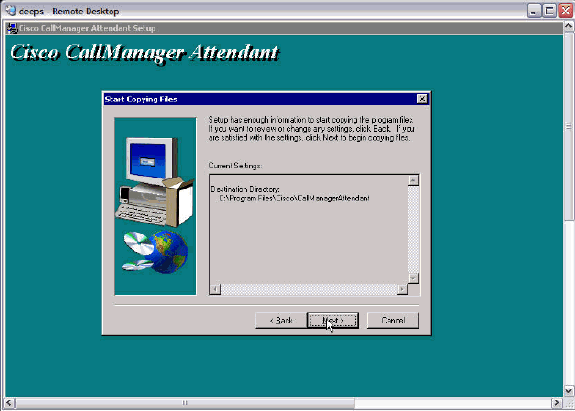
Click Next to begin copying the program files.
-
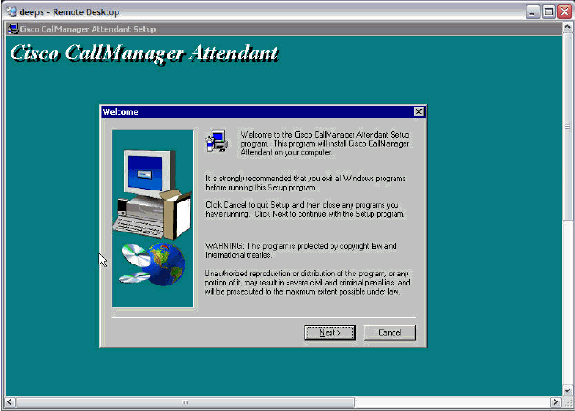
Click Next to continue the Setup.
-
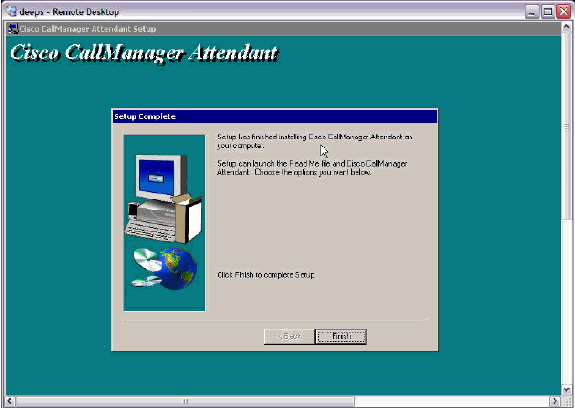
Click Finish to complete the Setup.
-
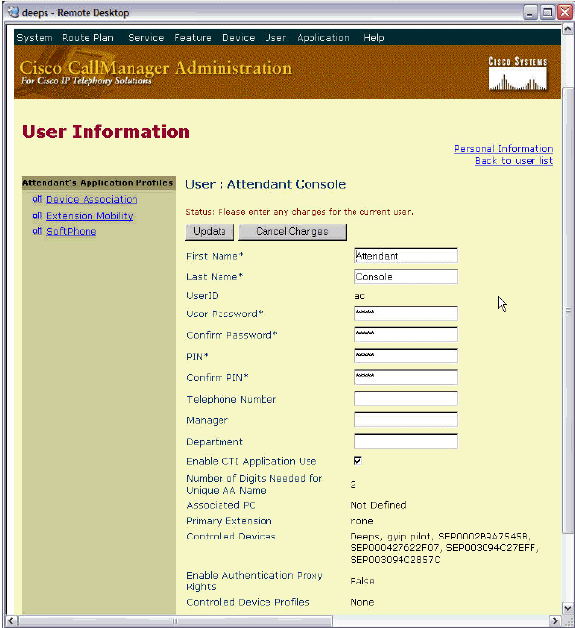
Add a User called ac (no other names are supported) with password 12345 under global directory, and make sure Enable CTI Application Use is checked. Associate all the Cisco WebAttendant Pilot Points and the phones that will be used by the attendants.
Note: If you do not have any Cisco WebAttendant Pilot Points created, see Configuring Cisco WebAttendant Pilot and Hunt Groups for Cisco CallManager 3.0.
-
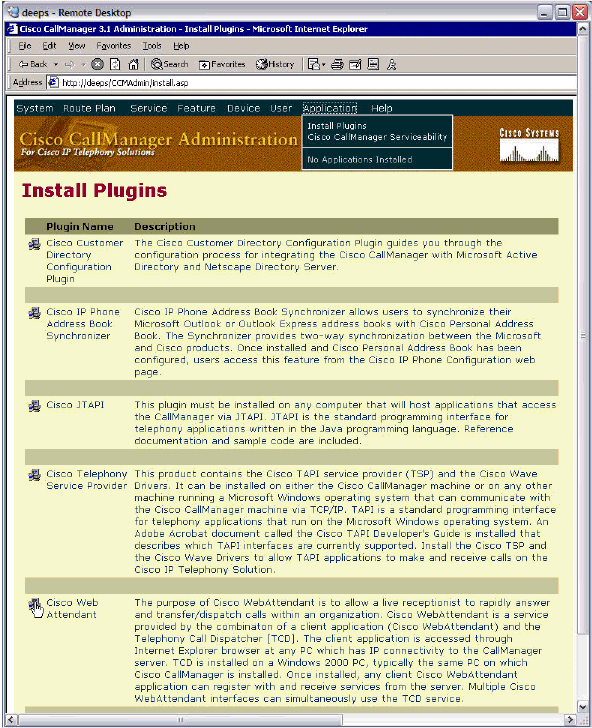
Download the new Cisco CallManager Attendant Console Plugin on the Attendant's PC from the Cisco CallManager Plugin Page.
Note: The application is still listed as Cisco WebAttendant on the Plugin page.
-
Install the Downloaded Plugin on the Attendant's PC. There is no inter-operability between the old TCD/Attendant Console and new TCD/WebAttendant. You do not need to uninstall the Cisco WebAttendant Client to install Cisco CallManager Attendant Console.
-
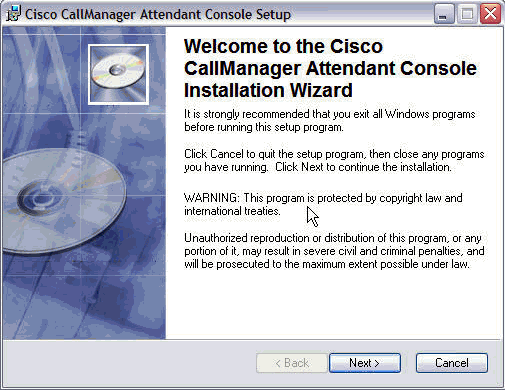
Click Next to begin the Installation.
-
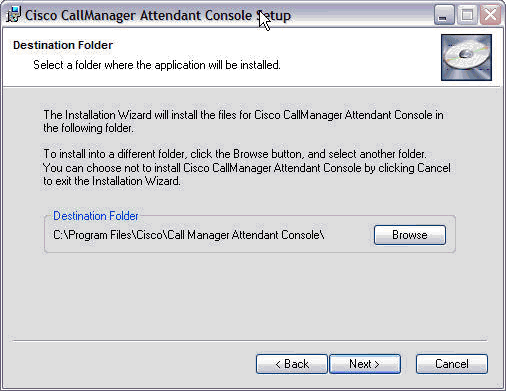
Select the appropriate destination folder by clicking Browse > Next.
-
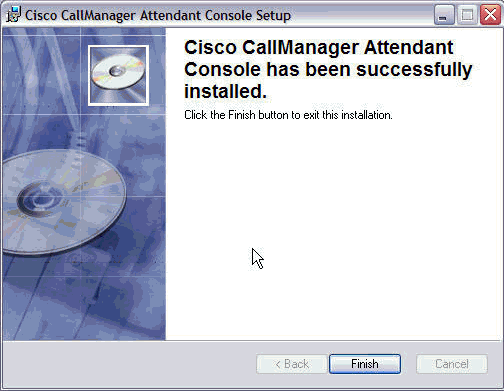
You will see a message saying that the installation was successful. Click Finish to exit.
-
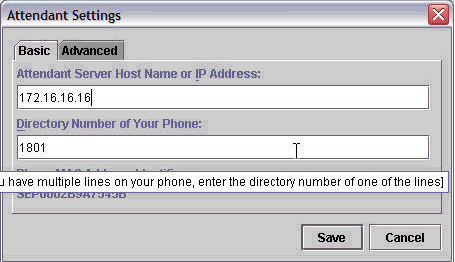
Open the Cisco CallManager Attendant Console and provide all the necessary information, such as the Cisco CallManager IP Add or Host Name and the Directory number on the phone that the attendant will be using.
Note: If they have multiple lines on the phone, you can enter any directory number off the phone lines.
-
Click Save when finished.
-
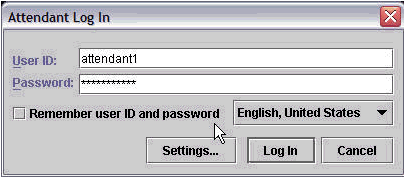
Enter the Attendant login and password information, then choose the language for Client Application.
Note: Follow the Adding Cisco WebAttendant Users for Cisco CallManager 3.0 document if you do not have any.
-
Click Log In when finished.
-
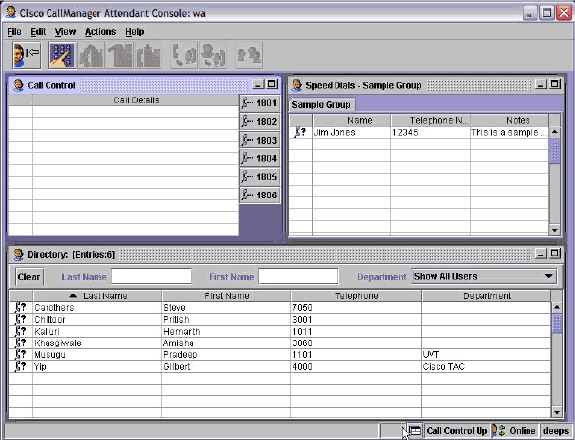
You can go online once the Cisco CallManager Attendant Console Application launches with the desired lines.
Note: If you have any problem seeing the lines or going online, please refer to the Attendant Console Troubleshooting Guide (registered customers only) .
Related Information
- Voice Technology Support
- Voice and Unified Communications Product Support
- Troubleshooting Cisco IP Telephony

- Technical Support & Documentation - Cisco Systems
Revision History
| Revision | Publish Date | Comments |
|---|---|---|
1.0 |
02-Feb-2006 |
Initial Release |


 Feedback