CLI를 통해 스위치를 유니캐스트 SNMP(Simple Network Time Protocol) SNTP 클라이언트로 구성
목표
또한 시간이 동기화되면 파일 시스템이 상주하는 시스템에 관계없이 수정 시간이 일관성을 유지하는 것이 중요하기 때문에 공유 파일 시스템의 혼란이 줄어듭니다.
Cisco Small Business 스위치는 SNTP(Simple Network Time Protocol)를 지원하며, 이 스위치가 활성화되면 디바이스 시간을 SNTP 서버의 시간과 동적으로 동기화합니다. 스위치는 SNTP 클라이언트로만 작동하며 다른 디바이스에 시간 서비스를 제공할 수 없습니다.
유니캐스트는 데이터가 단일 대상으로만 전송되는 일대일 연결입니다. 멀티캐스트는 호스트가 모든 호스트의 하위 집합에 패킷을 그룹 전송으로 전송할 수 있는 일대다 연결입니다. 애니캐스트는 클라이언트와 주소 목록 간의 연결입니다.
유니캐스트 서버를 구성하는 이유는 네트워크의 이전 네트워크 디바이스가 멀티캐스트/애니캐스트 트래픽을 지원하지 않을 수 있기 때문입니다. 또는 네트워크 세그먼트에서 멀티캐스트/애니캐스트 트래픽을 유지하지 않으려는 보안 이유가 있을 수 있습니다.
이 문서에서는 CLI(Command Line Interface)를 통해 스위치를 SNTP(Simple Network Time Protocol) 유니캐스트 클라이언트로 구성하는 방법을 보여줍니다.
참고: GUI(Graphical User Interface)에서 SNTP 유니캐스트 설정을 구성하는 방법을 알아보려면 여기.
적용 가능한 디바이스
· Sx300 시리즈
· Sx350 시리즈
· SG350X 시리즈
· Sx500 시리즈
· SG550X 시리즈
소프트웨어 버전
· 2.3.5.63 이상
SNTP 유니캐스트 클라이언트 구성
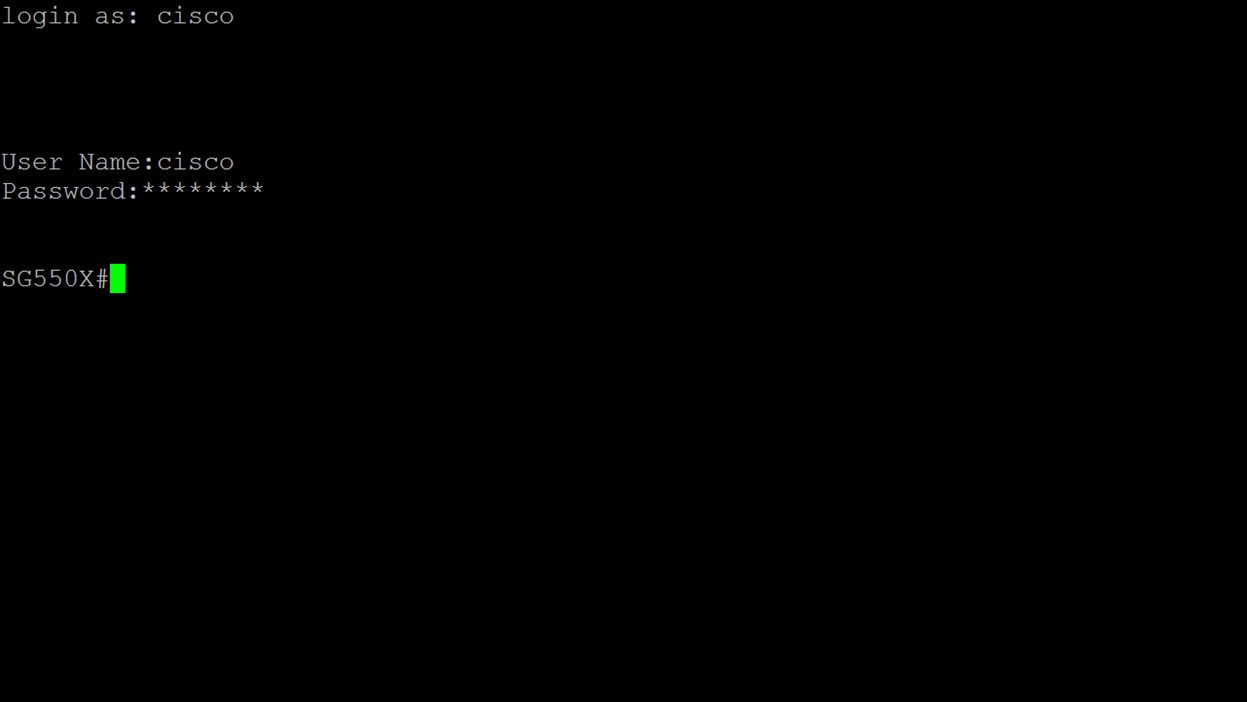
1단계. 원하는 방법으로 스위치의 CLI에 액세스합니다. 이 예에서는 SG550X 스위치에 연결하기 위해 Putty를 사용합니다. 이 명령은 스위치 제품 ID(PID)에 따라 달라질 수 있습니다.
참고: 스위치의 보안 섹션에서 SSH가 활성화되었는지 확인합니다. SSH 또는 텔넷을 사용하여 CLI에 액세스하는 방법에 대해 자세히 알아보려면 여기를 클릭하십시오.
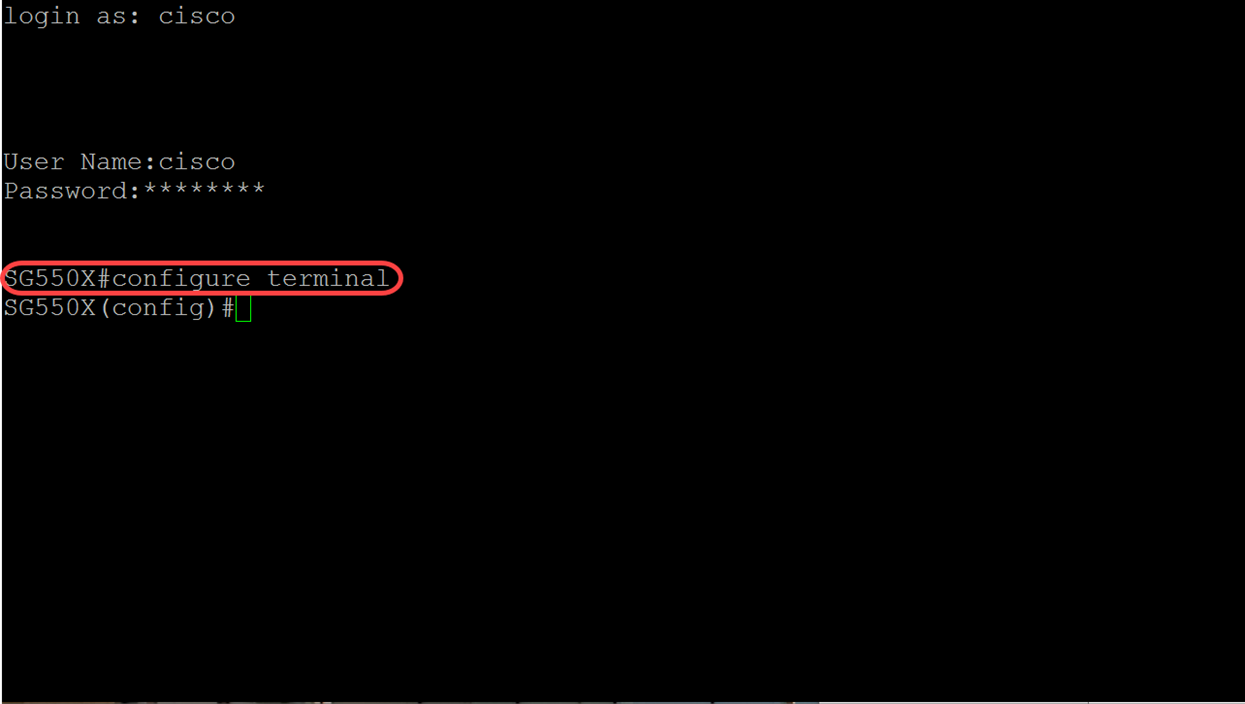
2단계. 다음 명령을 입력하여 글로벌 컨피그레이션 모드로 전환합니다.
SG550X#터미널 구성
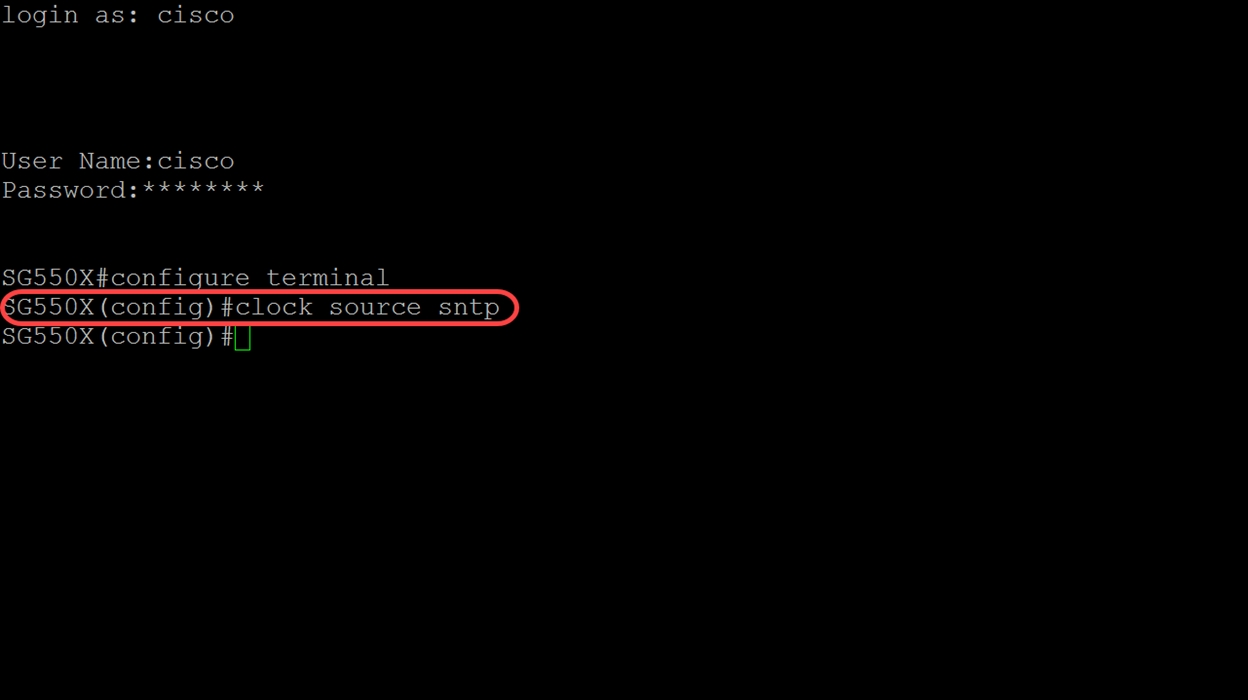
3단계. sntp 서버에 시스템 시간(주 클록 소스)을 구성하려면 아래 명령을 입력합니다. 이렇게 하면 시스템 클록에 대한 외부 시간 소스가 구성됩니다.
SG550X(config)#클록 소스 sntp
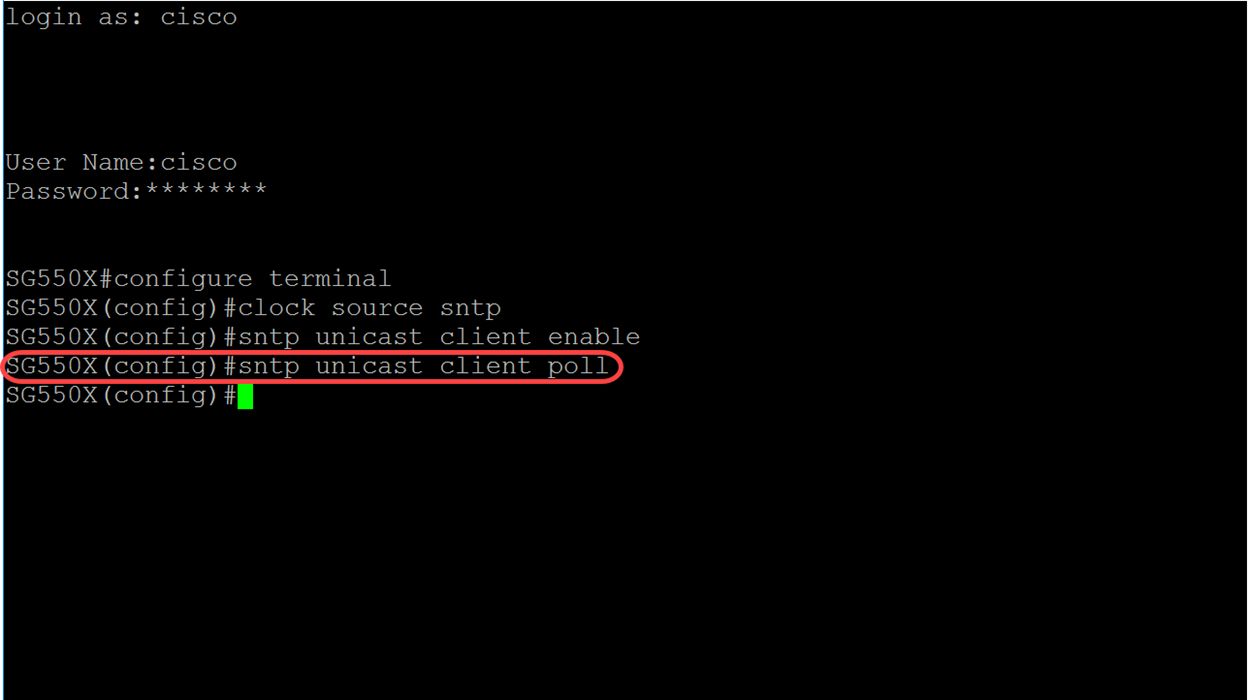
4단계. 유니캐스트 클라이언트는 SNTP 서버와 통신할 때 미리 정의된 패킷을 사용합니다. 유니캐스트 클라이언트를 활성화하려면 아래에 다음 명령을 입력합니다.
SG550X(config)#sntp 유니캐스트 클라이언트 활성화
참고: SNTP 유니캐스트 클라이언트를 비활성화하려면 no 형식의 no sntp unicast client enable을 사용합니다.

5단계. (선택 사항) 폴링 간격은 1024초입니다. SNTP 유니캐스트 클라이언트에 대한 폴링을 활성화하려면 아래 명령을 사용합니다.
SG550X(config)#sntp 유니캐스트 클라이언트 폴링
참고: SNTP 유니캐스트 클라이언트를 비활성화하려면 no sntp unicast client poll 명령을 사용합니다.
6단계(선택 사항) IPv4 SNTP 서버와의 통신을 위해 소스 IPv4 주소로 사용할 IPv4 주소의 소스 인터페이스를 지정하려면 글로벌 컨피그레이션 모드에서 아래 명령을 사용합니다.
참고: 기본 컨피그레이션을 복원하려면 이 명령의 no 형식을 사용합니다. 예를 들어, no sntp source-interface입니다.
SG550X(config)#sntp 소스 인터페이스 [Interface-id]

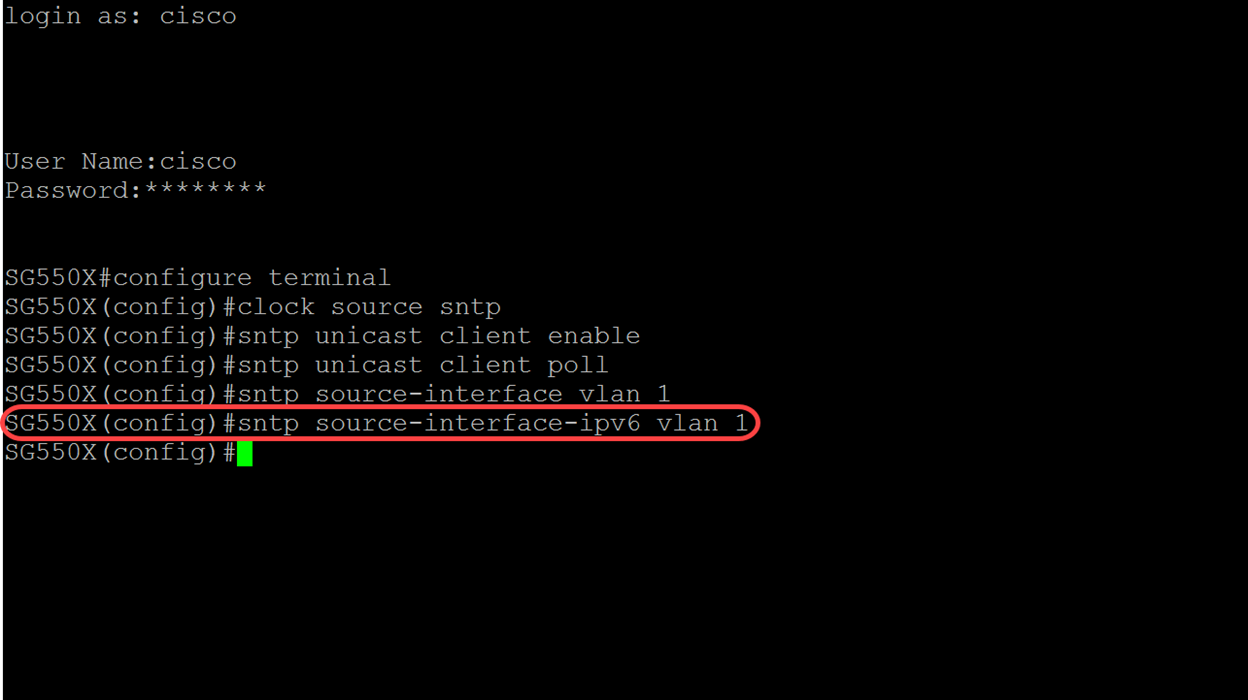
7단계(선택 사항) IPv6 주소가 IPv6 SNTP 서버와의 통신을 위한 소스 IPv6 주소로 사용될 소스 인터페이스를 지정하려면 아래 명령을 사용합니다.
참고: SNTP source-interface-ipv6 명령을 사용하여 SNTP 소스 인터페이스 ipv6에 대한 기본 컨피그레이션을 복원합니다.
SG550X(config)#sntp source-interface-ipv6 [interface-id]
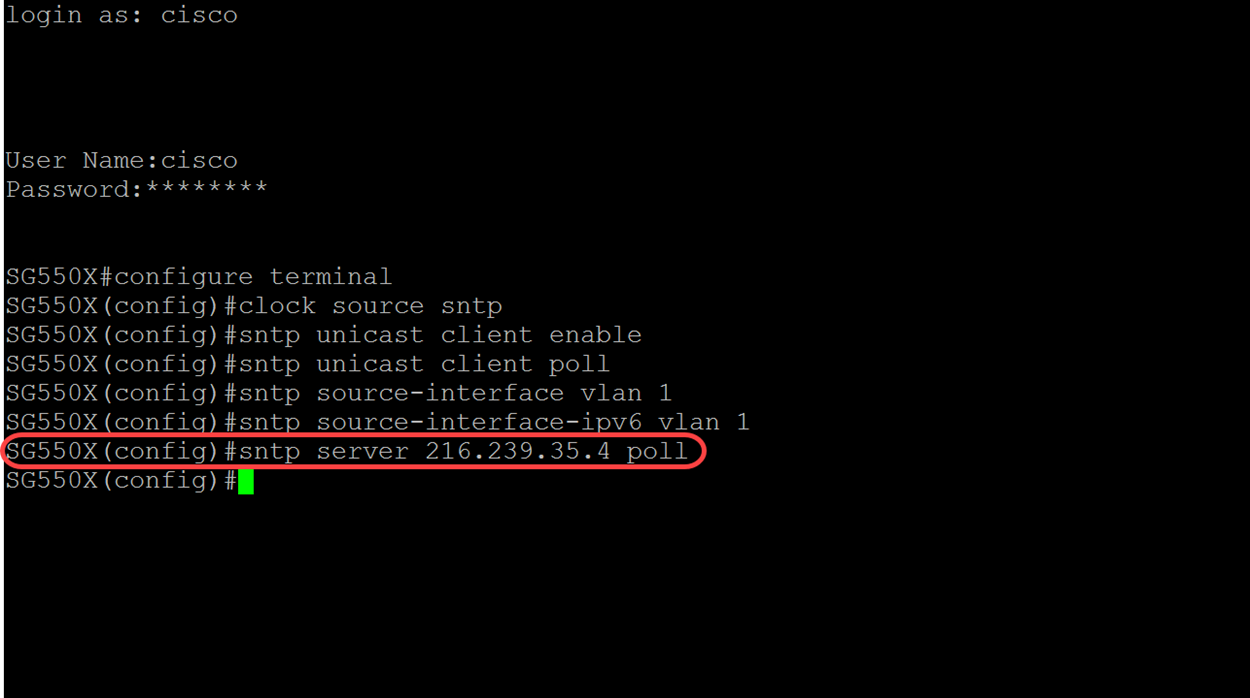
8단계. 아래 명령을 입력하여 새 SNTP 서버를 추가합니다. 고위험 환경(정부 기관, 병원 등)에서 작업할 때는 이중화를 위해 여러 대의 서버를 두고 잘못된 시간을 제공하는 서버 오작동을 방지하는 것이 좋습니다. 인증을 구성한 경우 이 피어로 패킷을 전송할 때 사용할 인증 키를 지정합니다. 인증 키의 범위는 1~4294967295입니다. 이 예에서는 time.google.com인 216.239.35.4를 추가하고 새 SNTP 서버에 대한 폴링을 활성화합니다.
참고: 이 스위치는 최대 8개의 SNTP 서버를 지원합니다. 이는 사용 중인 스위치 모델에 따라 달라질 수 있습니다. CLI를 통해 스위치에서 SNTP(Simple Network Time Protocol) 인증 설정을 구성하는 방법에 대한 자세한 내용을 보려면 여기를 클릭하십시오.
SG550X(config)#sntp 서버 {IP 주소 | hostname} [poll] [key keyid]
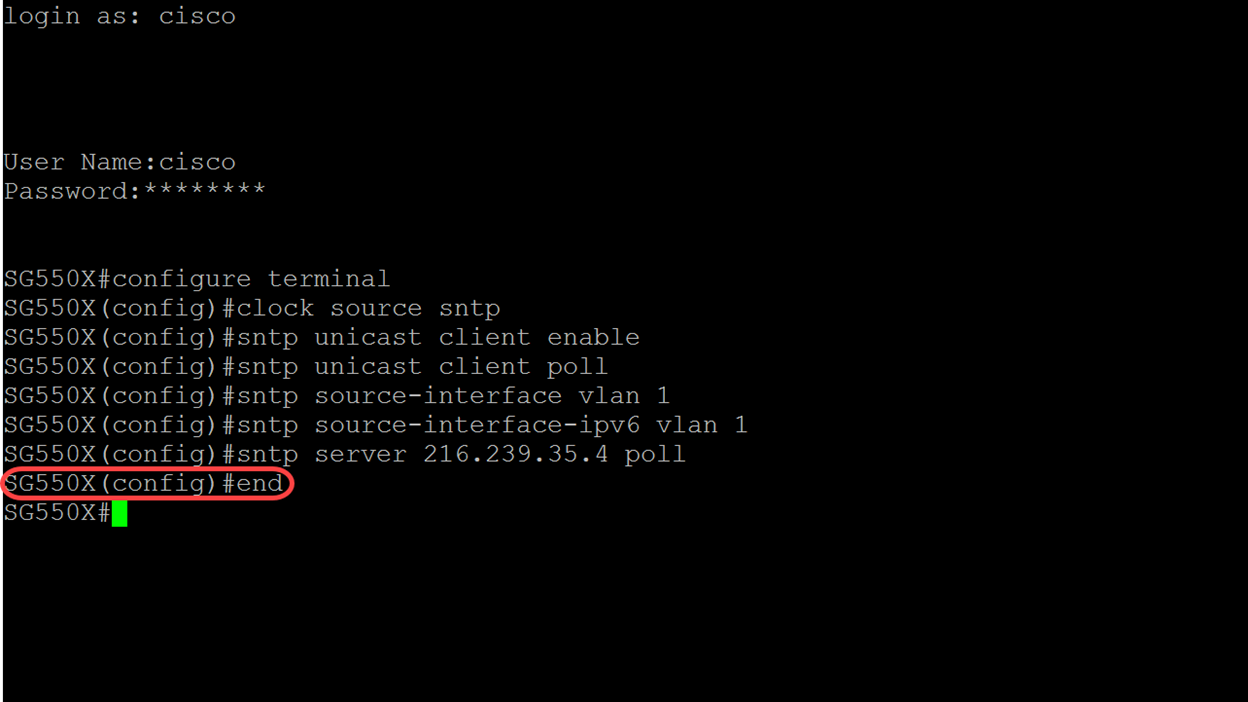
9단계. end 명령을 입력하여 특권 EXEC 모드로 돌아갑니다.
SG550X(config)#끝
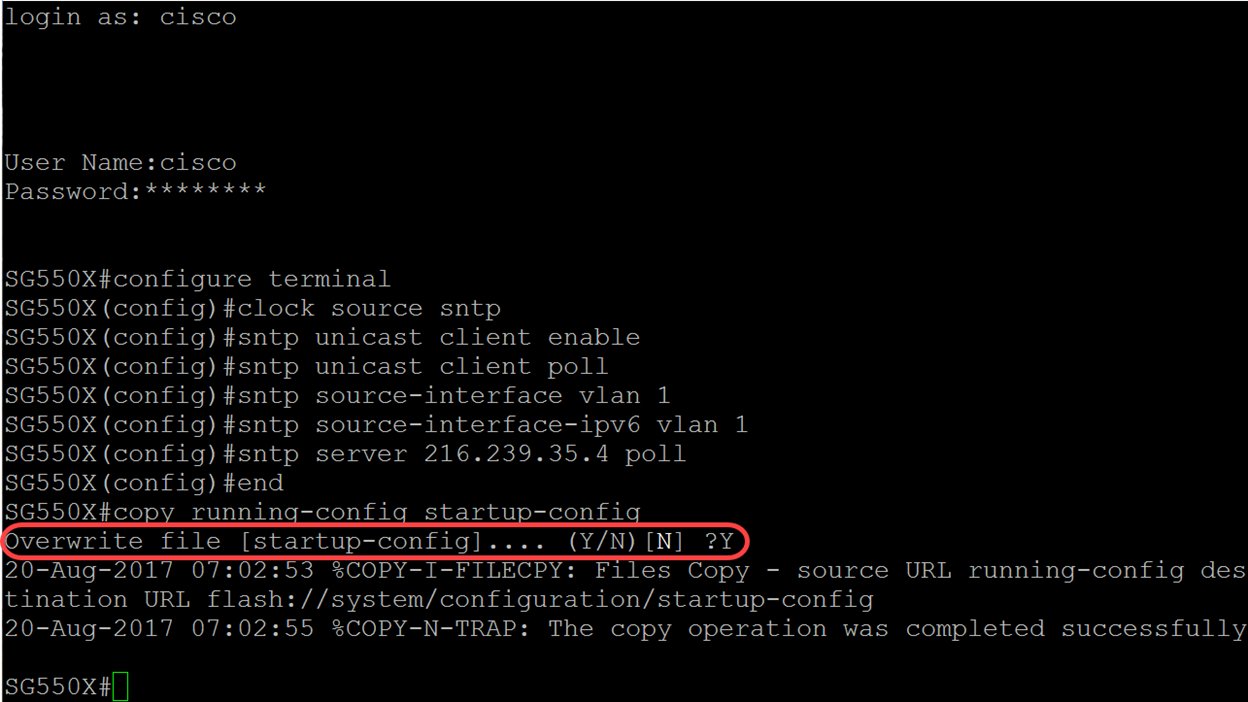
10단계(선택 사항) 특별 권한 EXEC 모드에서 다음 명령을 입력하여 컨피그레이션을 저장합니다.
SG550X#copy running-config startup-config
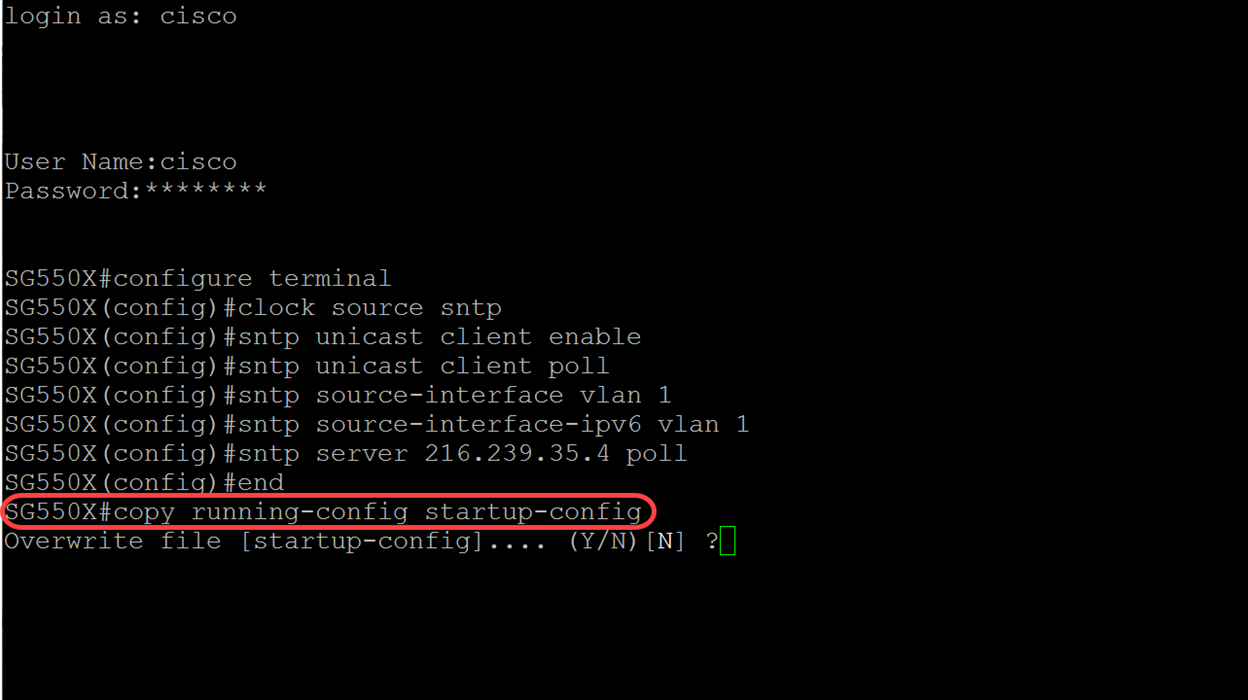
11단계(선택 사항) Y를 눌러 스위치의 시작 컨피그레이션에 설정을 저장합니다. 그렇지 않으면 N을 눌러 컨피그레이션을 스위치의 시작 컨피그레이션에 저장하지 않고 계속 진행합니다.
결론
이제 스위치를 클라이언트로 구성해야 합니다.
참고: 아래에서 실행된 명령은 특별 권한 EXEC 모드에서 사용되었습니다.
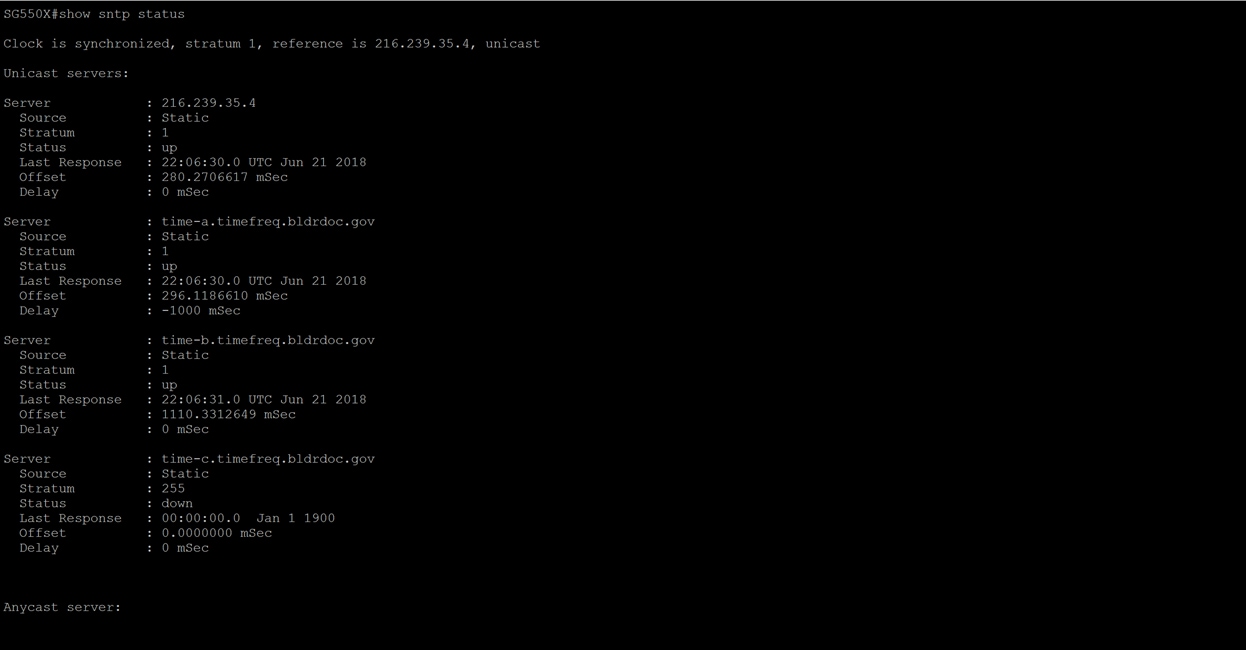
1단계. SNTP 상태를 표시하려면 다음 명령을 입력합니다.
SG550X#sntp 상태 표시
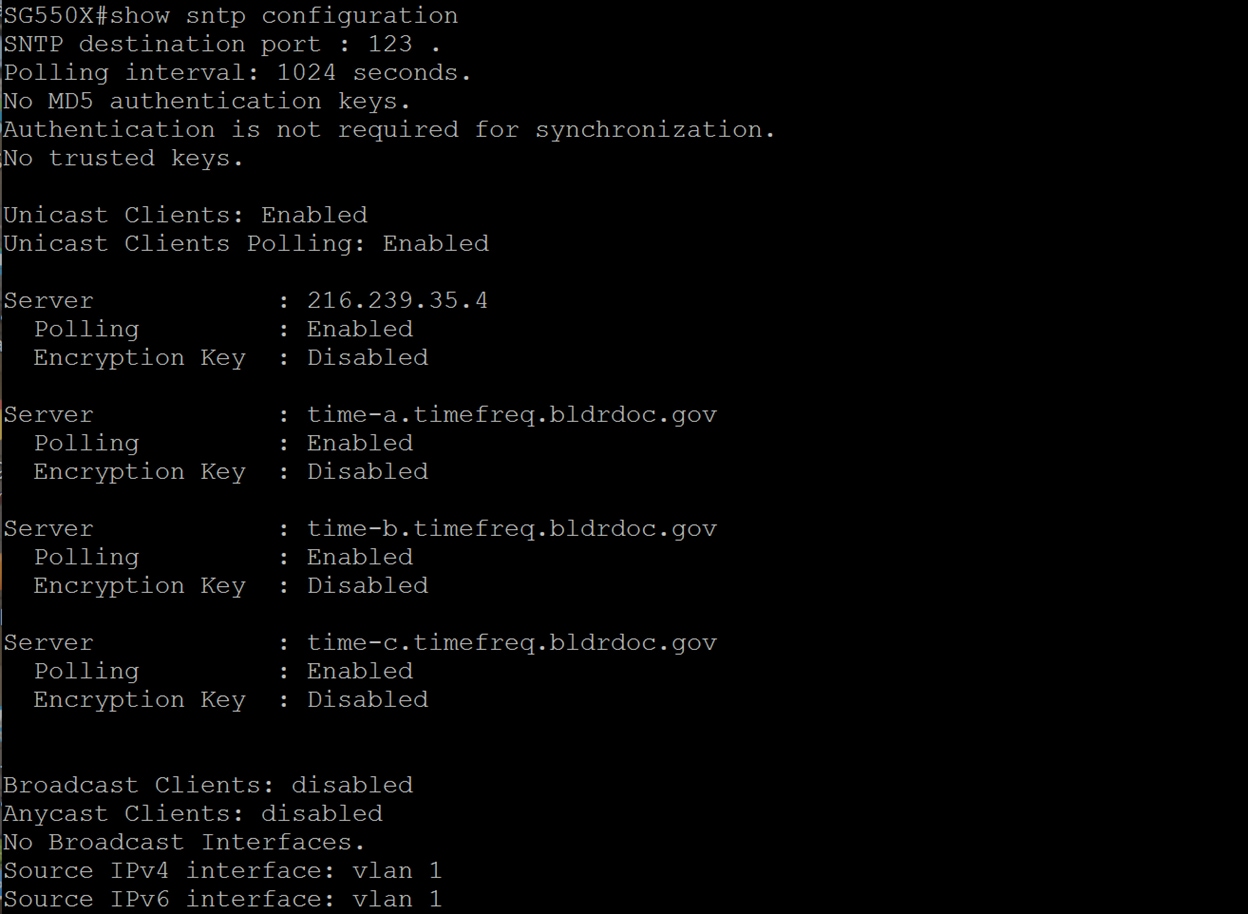
2단계. 다음 예에서는 디바이스의 현재 SNTP 컨피그레이션을 표시합니다.
SG550X#show sntp configuration
개정 이력
| 개정 | 게시 날짜 | 의견 |
|---|---|---|
1.0 |
18-Jan-2019 |
최초 릴리스 |
 피드백
피드백