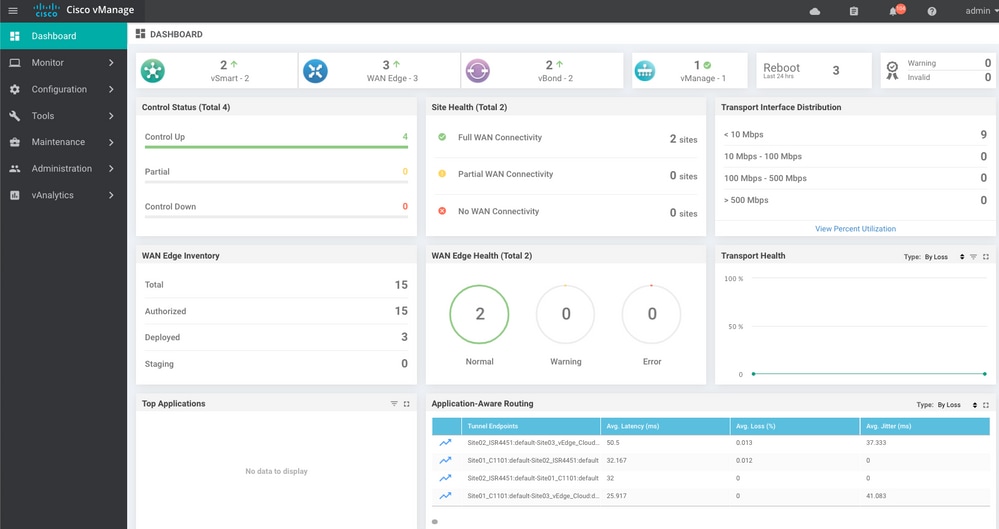
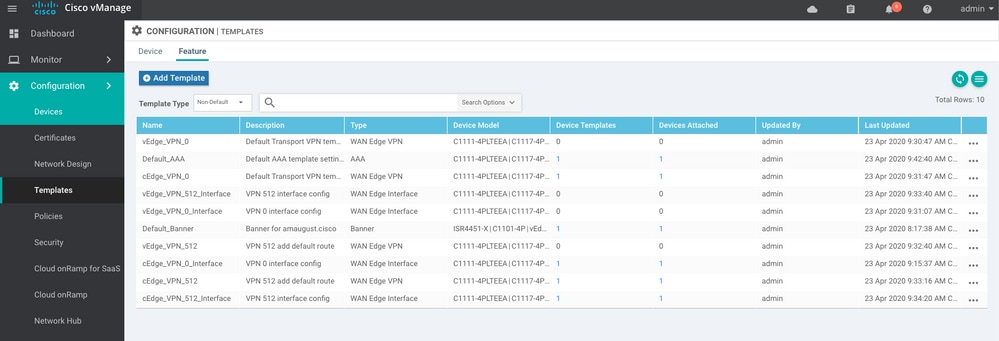
簡介
本文檔介紹通過使用配置資料庫備份還原vManage所涉及的步驟。
背景資訊
本文檔假定已定期進行配置資料庫備份,由於某種原因,獨立vManage不可恢復,需要軟體重置或新安裝。
本文檔可幫助您恢復所有策略、模板、配置和邊緣裝置證書。
Backup Configuration-db
vManage_rcdn01# request nms configuration-db backup path 05_08_20_configdb
Starting backup of configuration-db
config-db backup logs are available in /var/log/nm/neo4j-backup.log file
Successfully saved database to /opt/data/backup/05_08_20_configdb.tar.gz
scp到外部伺服器。
vManage_rcdn01# vshell
vManage_rcdn01:~$ scp /opt/data/backup/05_08_20_configdb.tar.gz user@10.2.3.1://home/ftpuser/ftp/amaugust/
amaugust@10.2.3.1's password:
05_08_20_configdb.tar.gz                                                     100%  484KB  76.6MB/s   00:00
恢復vManage
通過命令重置vManage來模擬災難:
vManage_rcdn01# request software reset
現在,您已經有了新的vManage(類似於所示的vManage),建議在恢復備份之前按照正確的順序執行恢復過程。
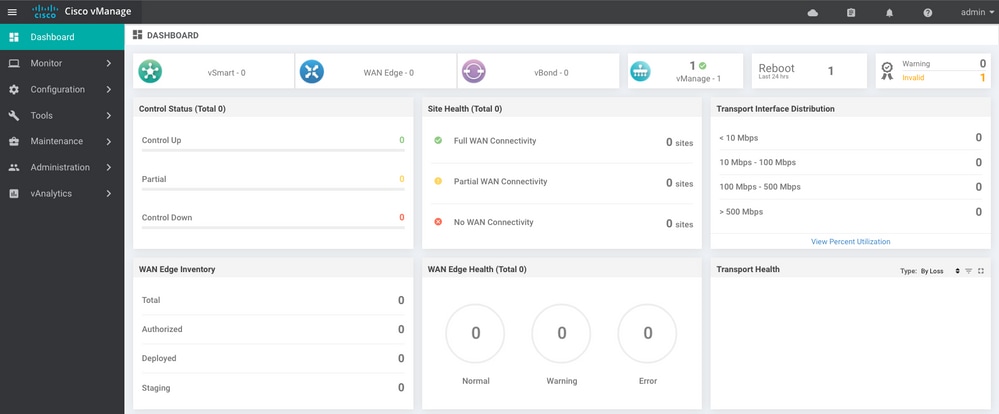
步驟1. vManage上的最低配置
system
 host-name             vManage_rcdn01
 system-ip             xx.xx.xx.xx
 site-id               100
 organization-name     ****.cisco
 vbond vbond.list
 !
!
vpn 0
 host vbond.list ip 10.2.3.4 10.2.3.5
 interface eth0
  ip address 10.1.3.8/24
  tunnel-interface
  no shutdown
 !
 ip route 0.0.0.0/0 10.1.3.1
!
vpn 512
 interface eth1
  ip address 10.11.3.8/24
  no shutdown
 !
 ip route 0.0.0.0/0 10.1.3.1
!
步驟2.復製備份配置和根證書
vManage_rcdn01:~$ scp am****@xx.xx.xx.xx://home/ftpuser/ftp/am****/05_08_20_configdb.tar.gz  .
am****@xx.xx.xx.xx's password:
05_08_20_configdb.tar.gz                                                    100%  484KB  76.6MB/s   00:00

Verify
vManage_rcdn01:~$ ls -lh
total 492K
-rw-r--r-- 1 admin admin  394 May  8 15:20 archive_id_rsa.pub
-rwxr-xr-x 1 admin admin 485K May  8 15:3905_08_20_configdb.tar.gz

Copy root certificate from other controller:
vManage_rcdn01:~$ scp admin@vbond://home/admin/root.crt .
viptela 18.4.4
admin@vbond's password:
root.crt                                                                   100% 1380     2.8MB/s   00:00
步驟3.安裝根證書
vManage_rcdn01# request root-cert-chain install /home/admin/root.crt
Uploading root-ca-cert-chain via VPN 0
Copying ... /home/admin/root.crt via VPN 0
Updating the root certificate chain..
Successfully installed the root certificate chain
步驟4.更新基本資訊
導航到Administration > Settings,並配置vBond IP、組織名稱和證書的基本資訊。

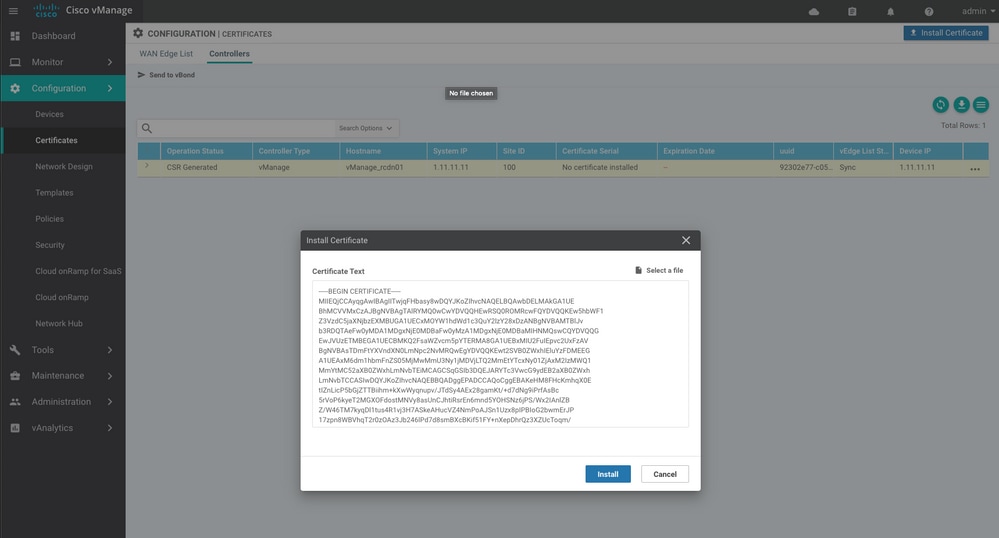
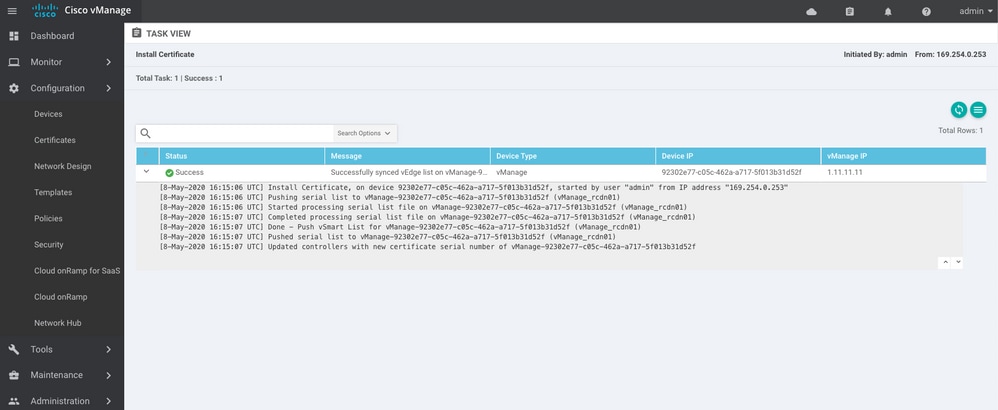
步驟5.安裝vManage Certificate
使用root.crt
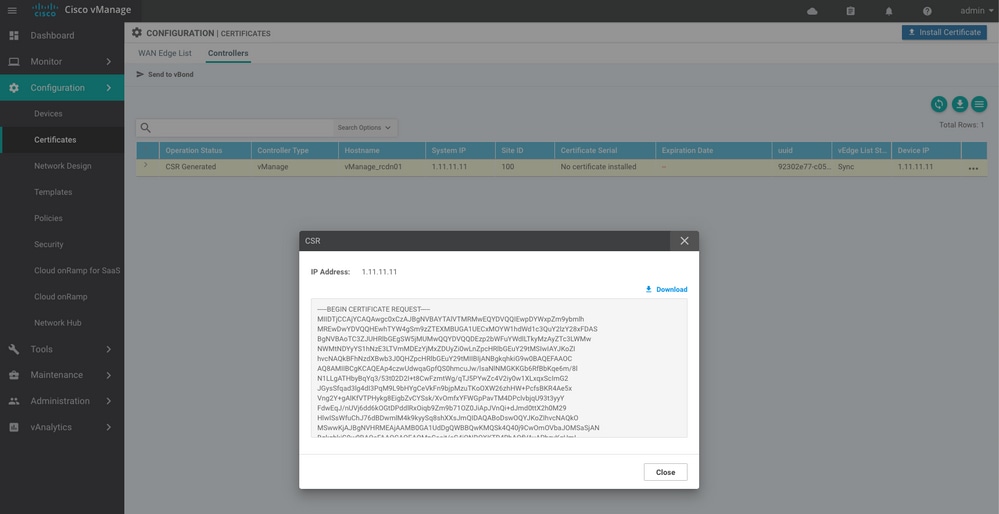
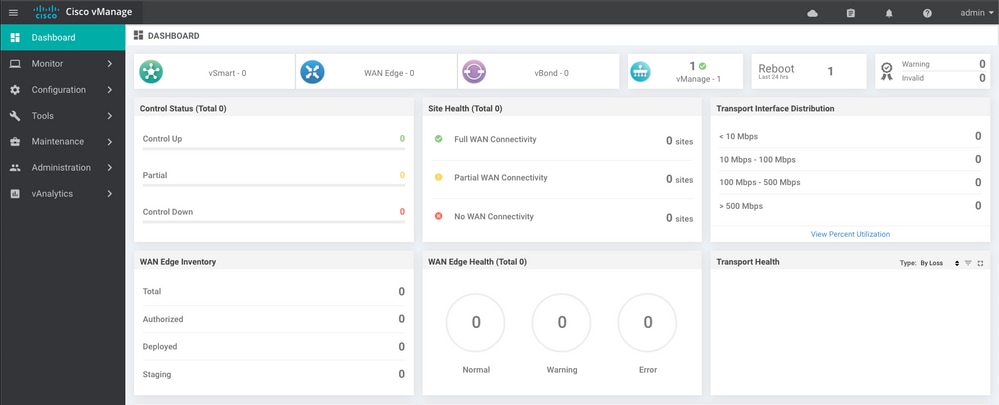
步驟6.恢複資料庫
vManage_rcdn01# request nms configuration-db restore path /home/admin/05_08_20_configdb.tar.gz
Configuration database is running in a standalone mode
0 [main] INFO com.viptela.vmanage.server.deployment.cluster.ClusterConfigurationFileHandler  - Trying to update existing working copy of server_configs.json file
4 [main] INFO com.viptela.vmanage.server.deployment.cluster.ClusterConfigurationFileHandler  - Working copy of server_configs.json NOT updated due to unmodified configs
Successfully saved cluster configuration for localhost
Starting DB backup from: localhost
Creating directory: local
cmd to backup db: sh /usr/bin/vconfd_script_nms_neo4jwrapper.sh backup localhost /opt/data/backup/local 8g
Finished DB backup from: localhost
Stopping NMS application server on localhost
Stopping NMS configuration database on localhost
Reseting NMS configuration database on localhost
Restoring from DB backup: /opt/data/backup/staging/graph.db-backup
cmd to restore db: sh /usr/bin/vconfd_script_nms_neo4jwrapper.sh  restore /opt/data/backup/staging/graph.db-backup
Successfully restored DB backup: /opt/data/backup/staging/graph.db-backup
Starting NMS configuration database on localhost
Waiting for 10s before starting other instances...
Polling neo4j at: localhost
NMS configuration database on localhost has started.
Updating DB with the saved cluster configuration data
Successfully reinserted cluster meta information
Starting NMS application-server on localhost
Waiting for 120s for the instance to start...
Removed old database directory: /opt/data/backup/local/graph.db-backup
Successfully restored database
此步驟需要更多時間,具體取決於備份。
您可以通過vShell上的日誌來驗證進程tailing。
vManage_rcdn01:~$ tail -fq /var/log/nms/vmanage-server.log /var/log/nms/neo4j-out.log
步驟7.檢查服務
vManage_rcdn01# request nms all status
步驟8.重新驗證控制器
目前,您可以觀察到所有策略、模板和配置都已載入到vManage中,但所有控制器均已關閉。
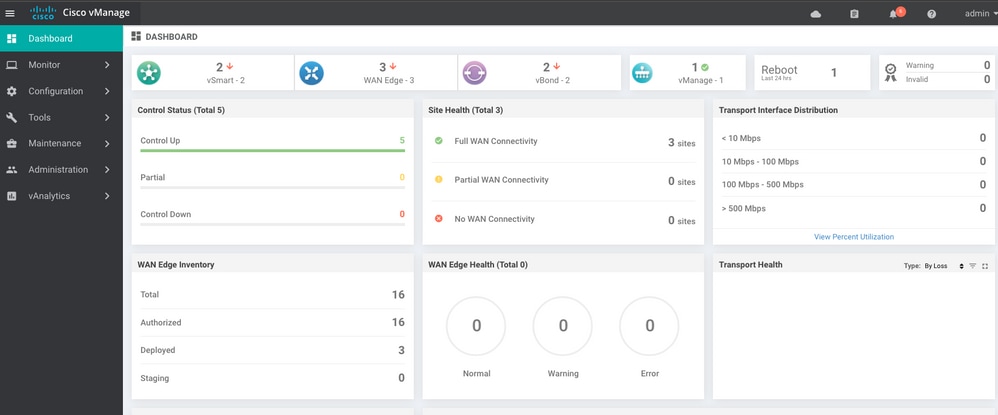
您需要重新驗證所有控制器。
導航至Configuration > Devices。編輯每個控制器並填寫管理IP地址(管理IP可以在本地配置中找到)使用者名稱和密碼。
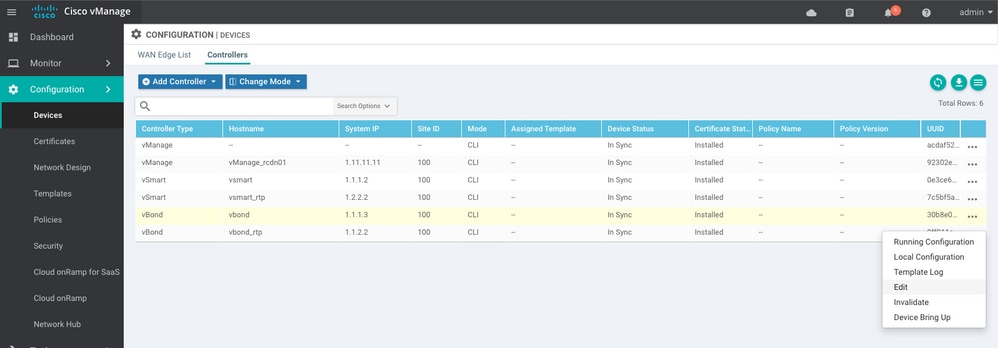
步驟9.將更新傳送到控制器


現在,您會看到所有裝置都可以通過vManage進行管理。
