Configure the Static Network Address Translation (NAT) on the RV34x Series Router
Available Languages
Objective
Static Network Address Translation (NAT) is used to conserve IP addresses. It allows private IP networks with unregistered IP addresses to connect to the Internet. NAT translates the private (not globally unique) addresses in the internal network into legal addresses before they are forwarded to another network. Sites that already have registered IP addresses for clients on an internal network may want to hide those addresses from the Internet so that hackers cannot directly attack clients. With client addresses hidden, a degree of security is established.
With dynamic NAT and Public Address Translation (PAT), each host uses a different address or port for each subsequent translation. Because the mapped address is the same for each consecutive connection with static NAT, and a persistent translation rule exists, static NAT allows hosts on the destination network to initiate traffic to a translated host
This document aims to show you how to configure the static NAT on the RV34x Series router.
Applicable Devices
- RV34x Series
Software Version
- 1.0.01.11
Configure Static NAT
Step 1. Log in to the web-based utility of the router and choose Firewall > Static NAT.
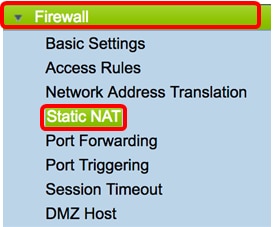
Step 2. In the Static NAT table, click Add to create a new entry.

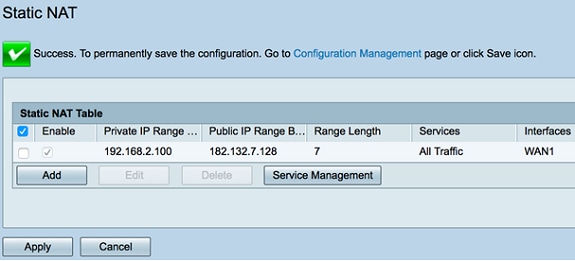
Step 3. In the Private IP Range Begin field, enter the starting IP address of the IP address range to be mapped to the public range.
Note: For this example, 192.168.2.100 is used.

Step 4. In the Public IP Range Begin field, enter the starting IP address range provided by the Internet Service Provider (ISP).
Note: For this example, 182.132.7.128 is used.

Step 5. Enter the number of IP addresses to be mapped to the public IP address in the Range Length field.
Note: The range length must not exceed the number of valid IP addresses. For this example, 7 is used.

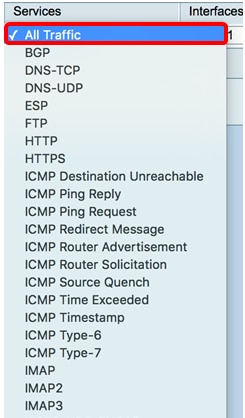
Step 6. From the Services IP drop-down list, choose the type of service or protocol to apply to the static NAT.
Note: For this example, All Traffic is chosen.
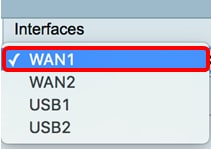
Step 7. From the Interfaces drop-down list, choose a source or port to map the static NAT.
Note: Choose the port where the Internet service is coming in. For this example, WAN1 is chosen.
Step 8. Click Apply to save the settings.
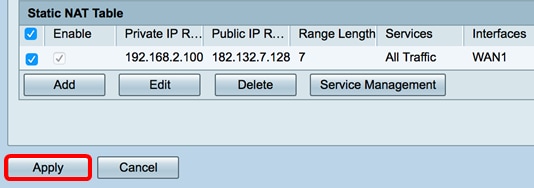
Step 9. (Optional) To add protocols to the Service Management settings, click here.
Step 10. (Optional) To save the configuration to the startup configuration file, go to the Copy/Save Configuration page or click the  icon at the upper portion of the page.
You should now have successfully configured Static NAT on the RV34x Series Router.
 Feedback