Use the Interactive Console
Cisco Crosswork Data Gateway launches an interactive console upon successful login. The interactive console displays the Main Menu as shown in the following figure:
 Note |
The Main Menu shown here corresponds to dg-admin user. It is different for dg-oper user as the operator does not have same privileges as the administrator. See Table Table 1. |
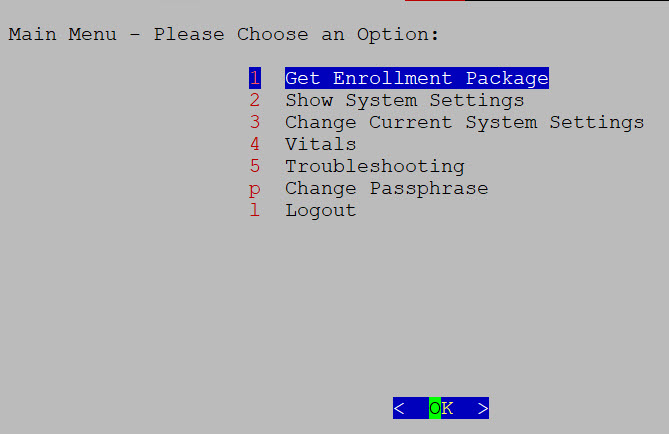
The Main Menu presents the following options:
1. Get Enrollment Package
2. Show System Settings
3. Change Current System Settings
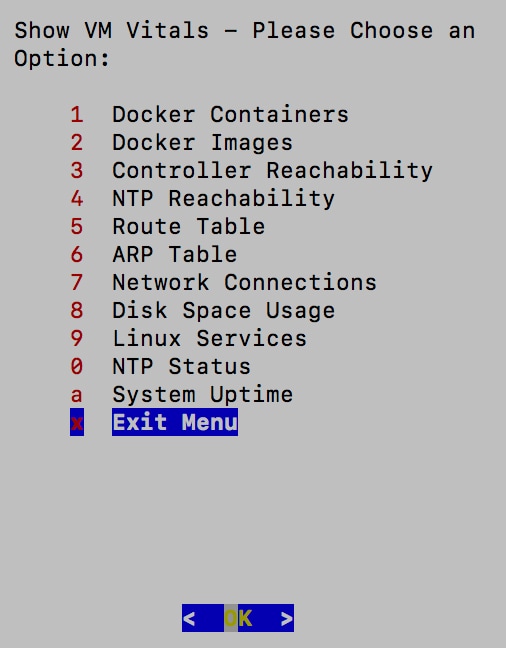
4. Vitals
5. Troubleshooting
p. Change Passphrase
l. Log out
Important |
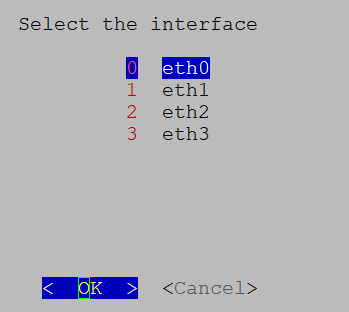
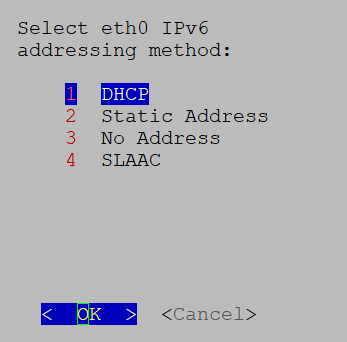
When using an IPv6 address, it must be surrounded by square brackets ([1::1]). |


 Feedback