Performing Initial Setup for the Dashboard Lite

There are a few configuration tasks that should be performed to ensure that the Dashboard Lite meets your requirements.

Running Cisco Business Dashboard Lite Server Application

To run the Cisco Business Dashboard Lite server application, follow the steps below:

Procedure


Step 1

Download and install the latest version of Cisco Business Dashboard Lite server.

Step 2

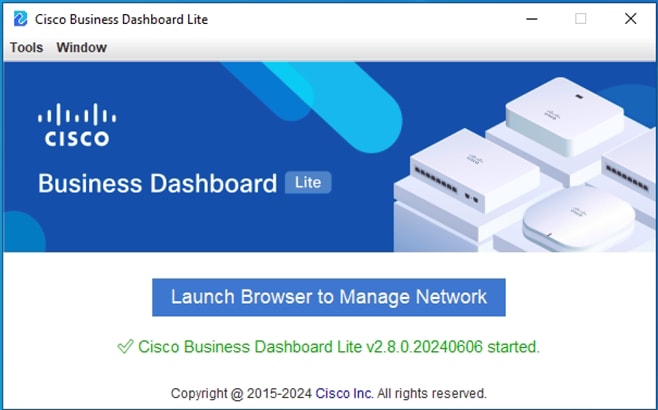
Start the Cisco Business Dashboard Lite server application.

Step 3

Please be patient as the Cisco Business Dashboard Lite server initializes; this process may take up to several tens of seconds.


Launching the Cisco Business Dashboard Lite User Interface

Procedure


Step 1

Click Launch Browser to Manage Network button to open the Dashboard Lite user interface. You can also launch a web browser, navigate to https://localhost:4443. Click Continue if you see a security warning.

Step 2

Enter the default username: cisco and password: cisco.

Step 3

Click Login. You will be prompted to change the username and password for the cisco account. Ensure that the new password is at least 8 characters in length contains at least 3 different character classes.

Step 4

Click Next. You will be presented with information about how Cisco Business Dashboard Lite uses your data and what information is shared with Cisco. Make any changes appropriate for your organization's requirements before proceeding.

Step 5

Click Next. At this point you are given the option to run the System Setup Wizard which walks you through the key configuration elements that should be considered when installing a new Dashboard Lite.