Tetration Agent With DCNM Validation

A tetration software agent is a small software application running on a host system. Its core functionality is to monitor and collect network flow information. It also collects other host information such as network interfaces and active processes running on the system. The information collected by the agent is exported to a set of collectors running within the Tetration cluster for further analytical processing.

Tetration Agent With DCNM Validation

Using the installer script is the recommended method for deploying deep visibility enforcement agents on Linux platforms.

Before you begin

If the installed agent is to be connected to a Tetration cluster, the ACTIVATION_KEY and HTTPS_PROXY parameters will be required. If the installer script is used, it will automatically populate the ACTIVATION_KEY, while you need to insert the HTTPS_PROXY information directly into the script.

If manual deployment is used, manually insert both ACTIVATION_KEY and HTTPS_PROXY parameters yourself. For more information, see User Configuration for Tetration SaaS.

Procedure


Step 1

Log into the Cisco TetrationOS Software Web UI with your credentials.

Step 2

Choose Agent Config from the Settings menu to display the Agent Config window.

Step 3

Navigate to the Software Agent Download tab.

Step 4

Choose Linux in the Select Platform section.

Step 5

Choose Deep Visibility or Enforcement in the Select Agent Type section.

Step 6

Click the Download Installer button and save the file to a local disk.

Step 7

Log into your DCNM with the root privileges. Copy the installer shell script and execute the script.

Note


The installer script will not proceed if the agent was already installed.

The installer script command syntax is as follows:

$ tetration_linux_installer.sh [-skip-pre-check] [-noInstall]
        [-logFile=filename] [-proxy=proxy_string>] [-skip-ipv6-check]
 [-help] [-version] [-sensor-version=version_info] [-ls] [-file=filename]
 [-save=filename] [-new]
-skip-pre-check Skips pre-installation checks.
-noInstall The sensor package is not downloaded and installed on the system.
-logFile filename Writes the log to the file specified by filename .
-proxy proxy_string Sets the value of HTTPS_PROXY. Use this if a proxy server is needed to communicate with the cluster. The string should be formatted as http://proxy:port
-skip-ipv6-check Skips IPv6 verification.
-help Prints this help information.
-version Prints the current script’s version.
-sensorVersion version_info Downloads a particular sensor version; default is the latest version. An example of the version_info entry is –sensor-version=3.1.1.53.devel
-ls Lists all available sensor versions for your system (does not list pre-3.1 packages). This is a listing only; does not download any package.
-file filename Let’s you specify a local zip file to use to install the sensor instead of downloading from the cluster.
-save filename Downloads the installer zip file from the Tetration cluster, saving it locally with filename as its name.
-new Uninstalls/removes all copies of the Tetration agent if it was already installed on this local machine.

Step 8

Run the following command to verify if the agent is installed.

sudo rpm -q tet-sensor

An entry appears as follows:

$ sudo rpm -q tet-sensor

tet-sensor-3.1.1.50-1.el6.x86_64

Note


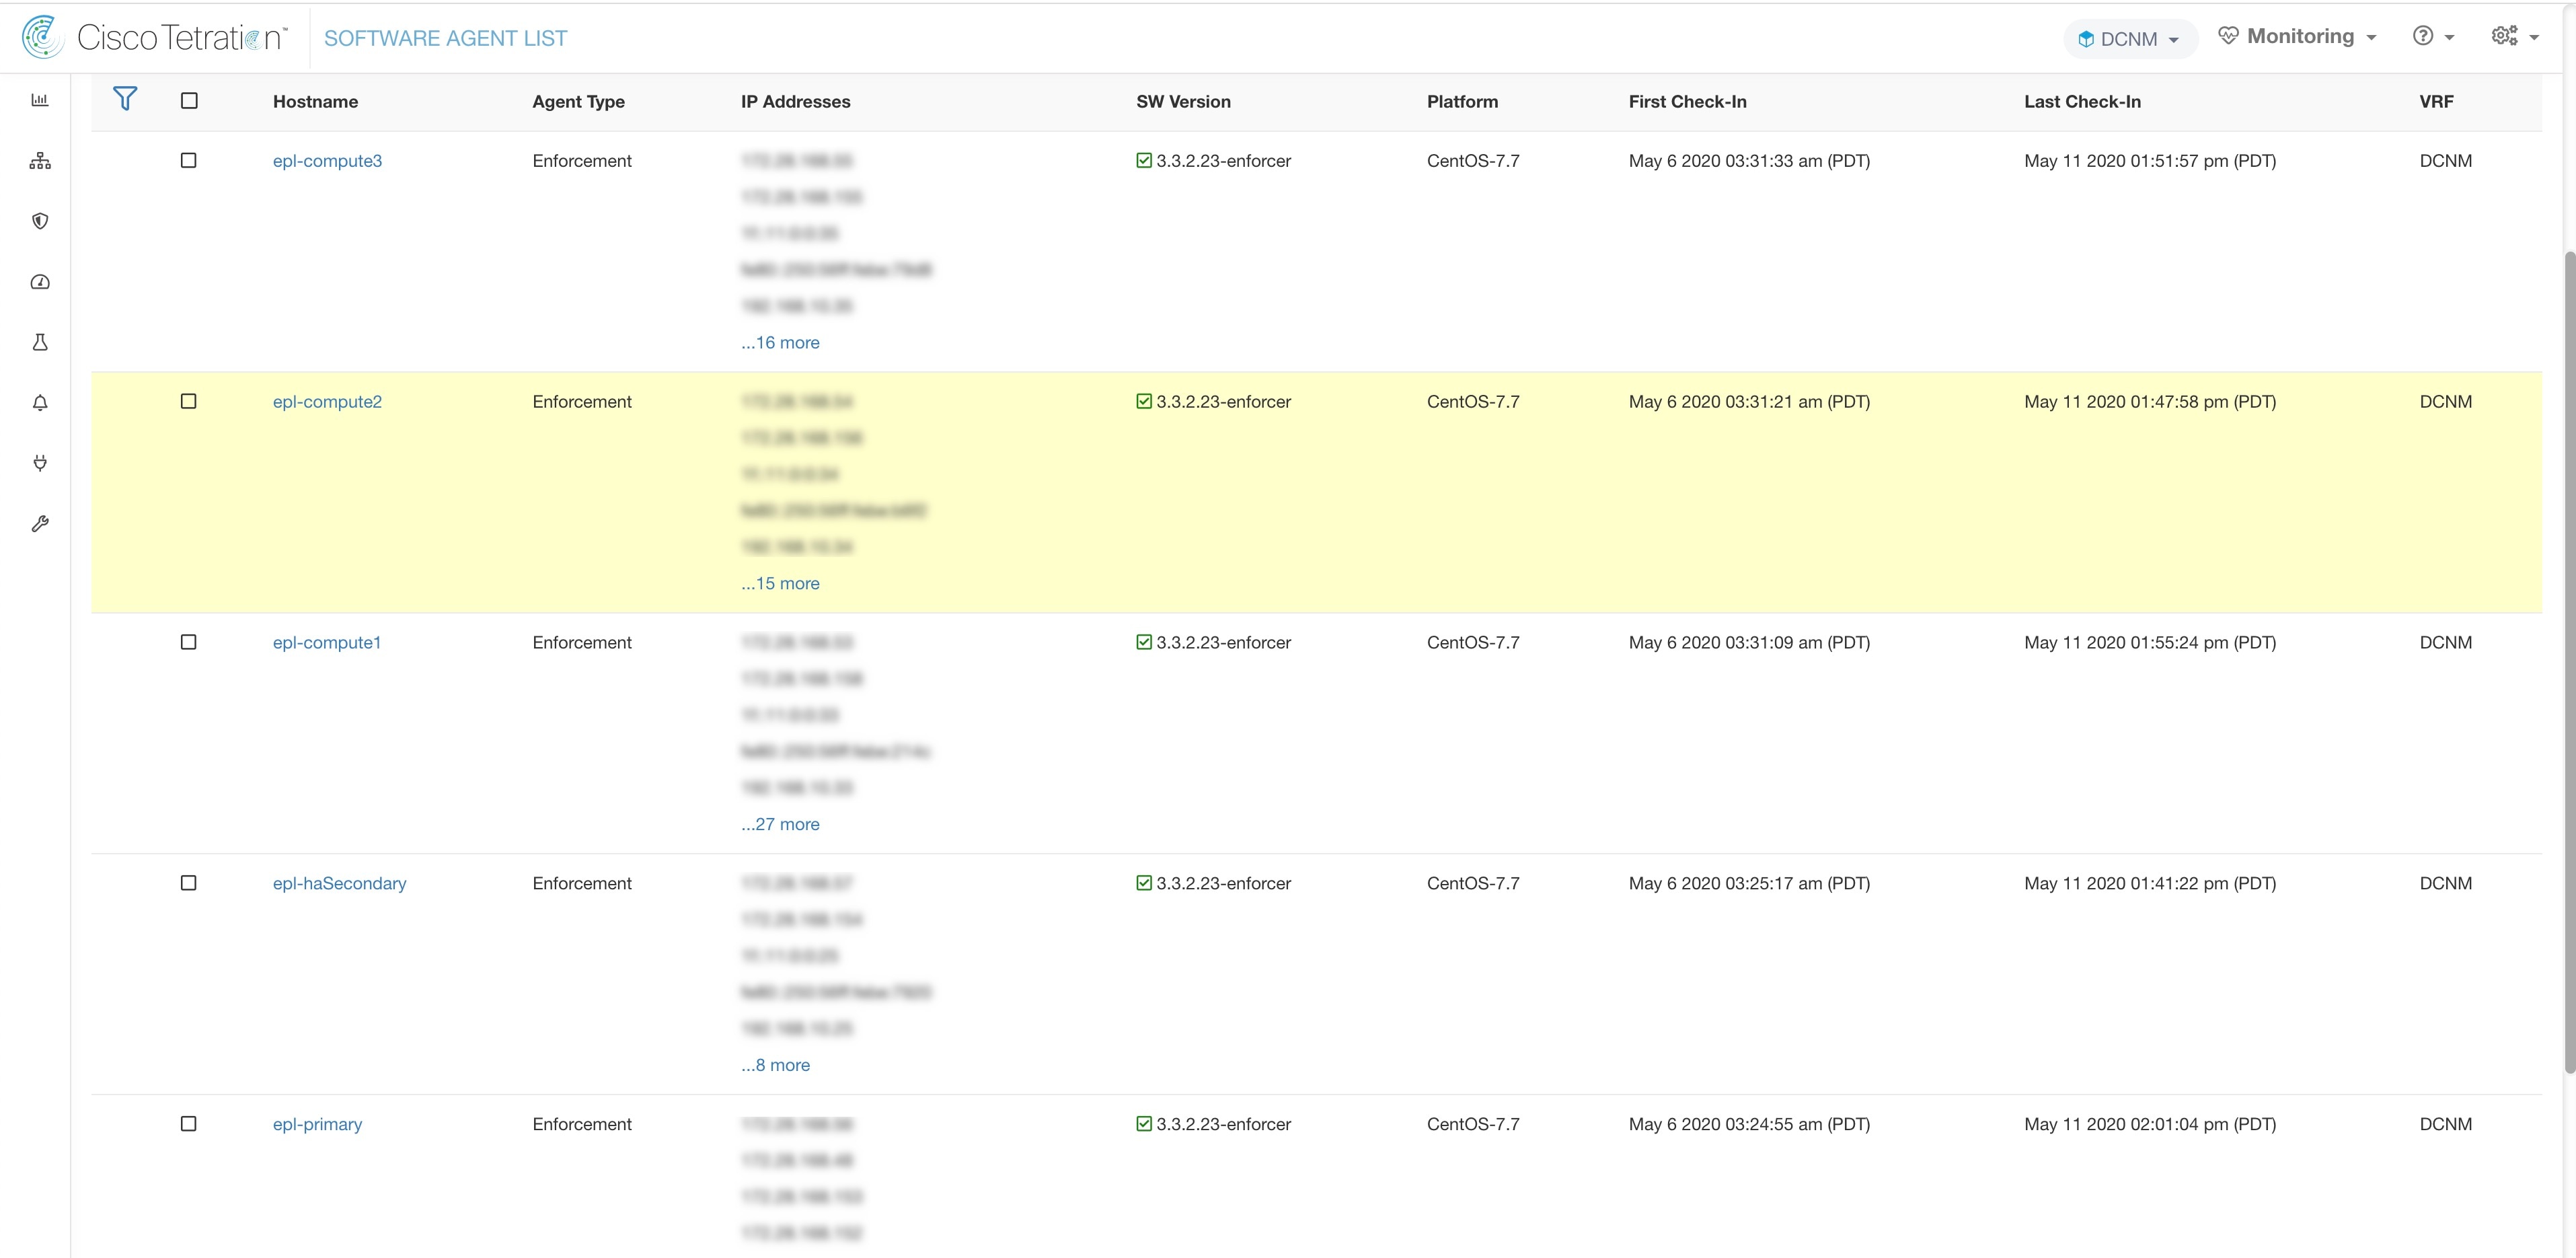
There are five nodes in a DCNM native HA cluster deployment, namely, DCNM Primary, DCNM Secondary, and three Compute Nodes. Install the tetration agent on each of these nodes for full visibility of the DCNM cluster.

Figure 1. Tetration Agent with DCNM Clusters