Installing Cisco
VTS Components in OpenStack using Red Hat Enterprise Linux OpenStack
Director
The following sections provide details about installing Cisco VTS components in OpenStack using Red Hat Enterprise Linux OpenStack Director.
- Installing Cisco VTS Components in OpenStack using Red Hat Enterprise Linux OpenStack Director
- Running the Password Encryption Script
Installing Cisco VTS Components in OpenStack using Red Hat Enterprise Linux OpenStack Director
The Red Hat OpenStack Platform director (RHOSPD) is a toolset for installing and managing a complete OpenStack environment. It is based primarily on the OpenStack project TripleO, which is the abbreviation for OpenStack-On-OpenStack. Redhat also has a program for partners to integrate their solution into OpenStack deployment using the framework provided by Red Hat OpenStack Platform director.
Cisco VTS follows the Red Hat Partner Integration document to introduce VTS specific content into the OpenStack installation. See Red Hat OpenStack Platform 10 Partner Integration document for details. As of this release (VTS 2.6.0), the integration has been qualified with Red Hat OpenStack 10 platform (corresponding to OpenStack Newton Release).
Installation and setup of the director node and the necessary networking needed to manage the hardware (that would take roles of Controller, Compute, or Storage) is documented in the Red Hat documentation referenced above. Note that these procedure are dependent on the type of hardware used and the specific configuration of each deployment. If the deployment involves hosting NFV workloads, additional configuration is needed for reserving CPU capacity, huge-pages, and libvirt settings. This needs to be taken into consideration. Red Hat documentation on NFV provides an overview of these configuration options. See the Red Hat OpenStack Platform 10 Network Functions Virtualization Configuration Guide for details.
Prerequisites
- The director node is equipped with the right set of software for undercloud installation. See Installing the Undercloud chapter of the Red Hat OpenStack Platform 10 Director Installation and Usage document, for details.
- You perform the node introspection procedures. See Configuring Basic Overcloud Requirements with the CLI Tools chapter of the Red Hat OpenStack Platform 10 Director Installation and Usage document, for details.
- The packages needed for
overcloud image installation are obtained from the director node using:
sudo yum install rhosp-director-images rhosp-director-images-ipa
The overcloud-full image is the standard OpenStack overcloud image shipped with OSPD 10. However, this would be customized with Cisco VTS RPMs.
- The OSPD deployment, undercloud, and overcloud nodes have access to the yum repositories and RHEL registration, including any proxy setup. See the Overcloud Registration chapter of the Red Hat OpenStack Platform 10 Advanced Overcloud Customization document, for details.
 Note | This document covers installation of only Cisco VTS packages into a default OSPD overcloud image. Any further changes to the overcloud image are outside the scope of the document and you need to see the Red Hat overcloud customization document for details. |
Usage of HTTP/HTTPS Proxies—In deployments where HTTP/HTTPS proxy is in use, ensure that the director node's http_proxy, https_proxy, and no_proxy environment variables are set. Additionally, ensure that the overcloud nodes have their proxy settings set correctly. This is needed for performing overcloud package updates during steady-state operation. The latter is usually accomplished by following Red Hat’s recommendation for RHEL registration See the Overcloud Registration chapter of the Red Hat OpenStack Platform 10 Advanced Overcloud Customization document, for details.
Installing and Configuring Cisco VTS Packages
Note | This document is written assuming the OpenStack Overcloud nodes can retrieve VTS-specific packages from Cisco’s YUM repository at devhub.cisco.com. The exact procedure may vary depending on the customer deployment preferences. Some deployments may have an intermediary satellite repository, which can host RPMs from multiple external YUM repositories. The satellite repository may host RPMs that have been thoroughly validated in a lab environment, prior to using them in production deployment. |
| Step 1 | Install the
vts-overcloud installer RPM on the director node.
| ||
| Step 2 | Install
cisco-vts packages in the OSPD overcloud image using virt-install wrapped in
the Cisco package install helper script.
sh-4.2# pwd
/home/stack/image
sh-4.2# install-vts-in-overcloud --RepoUser=<username> --RepoPass=<devhub token>
--RhelPool=<pool> --RhelUser=<rhel_user> --RhelPass=<rhel_password>
| ||
| Step 3 | Upload/Update
the overcloud image in glance. Upload the modified image by running the
following command from the directory containing the overcloud image:
openstack overcloud image upload --image-path ./ --update-existing | ||
| Step 4 | On the
director, copy the following environment file into your ~/templates directory
(The Heat templates were installed in Step 2).
cp /usr/share/openstack-tripleo-heat-templates/environments/neutron-cisco-vts.yaml ~/templates
| ||
| Step 5 | This step
involves customizing the environment files neutron-cisco-vts.yaml for different
modes of deployments. See section
Configuring the neutron-cisco-vts.yaml File.
For
purpose of illustration, this document includes two sample configurations of
neutron-cisco-vts.yaml:
See appendix Sample neutron-cisco-vts.yaml Configuration, for details. | ||
| Step 6 | This step
involves editing the nic configuration for controllers and compute nodes to
designate specific interfaces, bridge settings, bonding configuration and other
values.
| ||
| Step 7 | The
activation of VTS-specific services is controlled by adding these services to
the role list defined for each node. Enable VTS-specific services on the
controller or compute nodes depending on the type of deployment.
See the Troubleshooting Director Issues chapter of the Red Hat OpenStack Platform 10 Director Installation and Usage document, for troubleshooting information in case you face problems with the deployment. |
Configuring the neutron-cisco-vts.yaml File
All of the configuration sections below apply to the neutron-cisco-vts environment file.
Cisco VTS Openstack Neutron ML2 plugin
Cisco VTS General Parameters
This section provides details about the Cisco VTS general parameters.
##################
### VTS General ###
### VTSPassword: 'Cisco123!'
###################

VTSUsername: 'admin'
VTSPassword: 'YLdKnf3qSsKA2JWQT9a0Sg=='
VTSServer: '30.30.30.3'
VTSVMMID: 'c958399f-5af6-3517-b902-771b7c1d37e6'
- VTSUsername/VTSPassword—Login name and password used by the Cisco VTS components in OpenStack in order to establish https connection with VTS. Password entered here is an encrypted form of the clear text password. For details about how to create an encrypted password, see Running the Password Encryption Script.
- VTSService—IPv4/IPv6 address of the VTS. This is the virtual IP address assigned to the VTS VMs during VTS installation.
-
VTSVMMID—This is the UUID associated with this OpenStack installation. VTS can manage multiple VMM instances. This UUID helps disambiguate the specific VMM instance. The UUID entered here can be generated by any UUID generator tool (For example; https://www.uuidgenerator.net/). However, the value entered in this field should match the UUID specified in the VTS UI as part of VMM registration.

Neutron ML2 Parameters
This section provides details about the Neutron ML2 parameters.
###################
### Neutron ML2 ###
###################
NeutronCorePlugin: 'neutron.plugins.ml2.plugin.Ml2Plugin'
NeutronMechanismDrivers: 'sriovnicswitch,cisco_vts'
NeutronTypeDrivers: 'vxlan,vlan,flat'
NeutronServicePlugins: 'cisco_vts_router,trunk'


#NeutronInterfaceDriver: ‘cisco_controller.drivers.agent.linux.interface.NamespaceDriver'
-
NeutronCorePlugin—This is the Core neutron plugin for neutron tenant network. Default value is “neutron.plugins.ml2.plugin.Ml2Plugin”.
-
NeutronMechanismDrivers—These are the mechanism drivers for neutron tenant network. To specify multiple values, use a comma-separated string. To enable VTS-specific mechanism driver, add cisco_vts to this list. For enabling SR-IoV interfaces on the compute, add sriovnicswitch.
-
NeutronTypeDrivers—These are the tenant network types for neutron tenant network. To specify multiple values, use a comma-separated string.
-
NeutronServicePlugins—This is the neutron service plugin for neutron tenant network. To enable L3 networking, add cisco_vts_router. To enable trunk mode operation (VLAN aware VMs) add trunk to the list of type drivers.
-
NeutronInterfaceDriver—Specifies the interface driver used by the Neutron DHCP Agent. When deploying the VTF on nodes running the Neutron DHCP Agent this setting needs to be passed (uncommented). Valid values are (default) ‘neutron.agent.linux.interface.OVSInterfaceDriver’ and ‘cisco_controller.drivers.agent.linux.interface.NamespaceDriver'.
VTS Agent Configuration Parameters
This section provides details about the VTS Agent parameters.
########################
### VTS Agent Config ###
########################
VTSPhysicalNet: 'physnet101'
VTSRetries: 15
VTSTimeout:
VTSPollingInterval: 6
-
VTSPhysicalNet—VTSPhysicalNet should be set to the ‘physnet’ used for the tenant networks for OVS on the compute. The environment file in the Heat templates should have the mapping of the tenant OVS bridge to the physnet name.
-
VTSRetries—Number of times VTS agent retries a neutron request. Default is 15.
-
VTSTimeout—Cisco VTS agent times out a request. Default value is 120 seconds.
-
VTSPollingInterval—Cisco VTS agent polling interval for a request. Default value is 6 seconds.
Cisco VTS with VTF on Controller/Compute
VPFA Configuration Parameters
This section provides details about VPFA configuration parameters. These are mandatory to be configured
###################
### VPFA Config ###
###################
UnderlayIpNewtorksList: '21.0.0.0/8,10.10.10.0/24,50.50.0.0/16,40.40.0.0/16,42.42.42.0/24'
VTSR_u_IpAddressList: '10.10.10.133,10.10.10.134'
VPFAHostname: '<some_name>'
NetworkConfigMethod: 'static'
NetworkNameServerIP: ''
VifTypeCompute: 'vhostuser'
VifTypeController: 'tap'
-
UnderlayIpNetworksList—List of underlay IP networks for VTF reachability. To specify multiple values, use a comma-separated string.
-
VTSR_u_IpAddressList—List of underlay IP address assigned to VTS.
-
VPFAHostname—Hostname assigned to VPFA.
-
NetworkConfigMethod—VPFA network configuration method. Default value is “static”.
- NetworkNameServerIP—DNS IP assigned to VPFA.
-
VifTypeCompute—VPFA VIF type for compute is “vhostuser”.
-
VifTypeController—VPFA VIF type for Controller node is “tap”.
VPP Configuration Parameters
This section provides details about VPP configuration parameters.
#####################################
### VPP Configuration Parameters ###
#####################################
## MTU for Tun/tap interfaces
VppTunTapMtu: '9000'
##The CPUs listed below need to be part of the grub isol CPU list (configured elsewhere)
VppCpuMainCoreController: '6'
VppCpuMainCoreCompute: '6'
## Comma delimited workers list
VppCpuCorelistWorkersCompute: '7,8,9'
VppCpuCorelistWorkersController: '7,8,9'
## Avoid dumping vhost-user shared memory segments to core files
VppVhostUserDontDumpMem: True
Note | All CPU values given above are examples and need to be adapted to the actual deployment, or left commented out (that is, these are optional). |
-
VppTunTapMtu—MTU for VPP tap interface.
-
VppCpuMainCoreController—Pin VPP to a CPU core on controller.
-
VppCpuMainCoreCompute—Pin VPP to a CPU core on compute.
-
VppCpuCorelistWorkersCompute—Pin VPP worker threads to a CPU core on compute.
- VppCpuCorelistWorkersController—Pin VPP worker threads to a CPU core on controller
-
VppVhostUserDontDumpMem—Do not dump vhost-user memory segments in core files.
PerNodeData Parameters
-
Gather baremetal (ironic) UUID for overcloud nodes where VTF needs to be deployed.
“openstack baremetal node list”
- The node-specific
hieradata is provisioned based on the node UUID, which is hardware dependent
and immutable across reboots/reinstalls. Value returned will be unique and
immutable machine UUID not related to the baremetal node UUID. Extract the
machine unique UUID from the command below by substituting
<baremetal-UUID> from the previous step. Run:
“openstack baremetal introspection data save <baremetal-UUID> | jq .extra.system.product.uuid”
- Populate “PerNodeData” parameters for each node where VTF is intended to be deployed in the neutron-cisco-vts.yaml. For example:
PerNodeData: |
    {
      "< Node1 UUID >": {
          "cisco_vpfa::vtf_underlay_ip_v4": "10.0.0.2",
          "cisco_vpfa::vtf_underlay_mask_v4": "24",
          "cisco_vpfa::network_ipv4_gateway": "10.0.0.1"},
      "< Node2 UUID >": {
          "cisco_vpfa::vtf_underlay_ip_v4": "10.0.0.3",
          "cisco_vpfa::vtf_underlay_mask_v4": "24",
          "cisco_vpfa::network_ipv4_gateway": "10.0.0.1"}
    }
Rsyslog settings for computes with VTF
# IMPORTANT: Add OS::TripleO::Services::RSyslogClient to the role data catalogue for the service to come into effect

# ****** EDIT THE SYSLOG SERVER IP ADDRESS AND PORT IN ClientLogFilters and add/remove entries as needed! *******
#The default template below uses UDP (@) servers on port 514. To add a TCP server, add an extra stanza prefixing
# with @@ the server's IP address

ClientLogFilters: | [
{
"expression": "$syslogfacility-text == 'local3' and $syslogseverity-text == 'crit'", "action": "@[192.168.128.2]:514;forwardFormat"
},
{
"expression": "$syslogfacility-text == 'local3' and $syslogseverity-text == 'err'", "action": "@[192.168.128.2]:514;forwardFormat"
},
{
"expression": "$syslogfacility-text == 'local3' and $syslogseverity-text == 'warning'",

"action": "@[192.168.128.2]:514;forwardFormat"
},

{
"expression": "$syslogfacility-text == 'local3' and $syslogseverity-text == 'info'", "action": "@[192.168.128.2]:514;forwardFormat"
}

]
Note | In this example, 192.168.128.2 is the IP address of the Syslog server, and 514 is the UDP port. |
Additionally, the rsyslog client service on the computes and controller may need to be enabled in the roles_data.yaml file.
##Add rsyslog client under Controller role:
-	OS::TripleO::Services::RSyslogClient

#Add rsyslog client under Compute role:
-	OS::TripleO::Services::RSyslogClient
Updating VTS RPMs in Overcloud
To be able to update packages, Red Hat recommends the use of activation keys. To do this, the overcloud nodes need to be registered using environment files. See Registering the Overcloud with an Environment File section of the Red Hat OpenStack Platform 10 Advanced Overcloud Customization document, for details.
After these are setup, you can update overcloud nodes with the latest set of RPMs initiated from the OpenStack director node, by following the procedures documented in the Updating the Overcloud Packages section of the Red Hat OpenStack Platform 10 Upgrading Red Hat OpenStack Platform document.
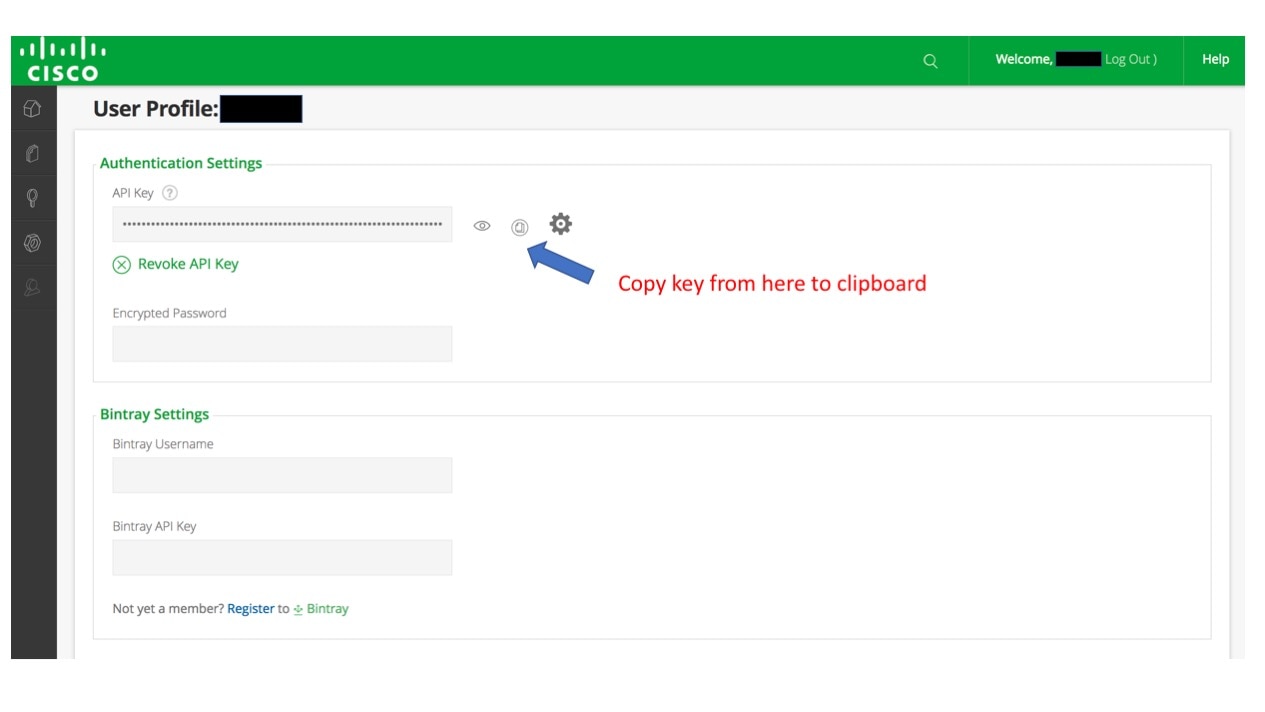
Running the Password Encryption Script
sudo yum install cisco-vts-overcloud-installer
 Feedback