Configure Active Discovery on a Cisco switch or router
Before you begin
This procedure is applicable to:
-
Cisco IE3300 10G and Cisco IE3400.
-
Cisco Catalyst 9300 and Cisco Catalyst 9400.
-
Cisco IR8340 Integrated Services Router Rugged
The sensors must have been deployed using the IOx sensor application file with Active Discovery.
Procedure
| Step 1 |
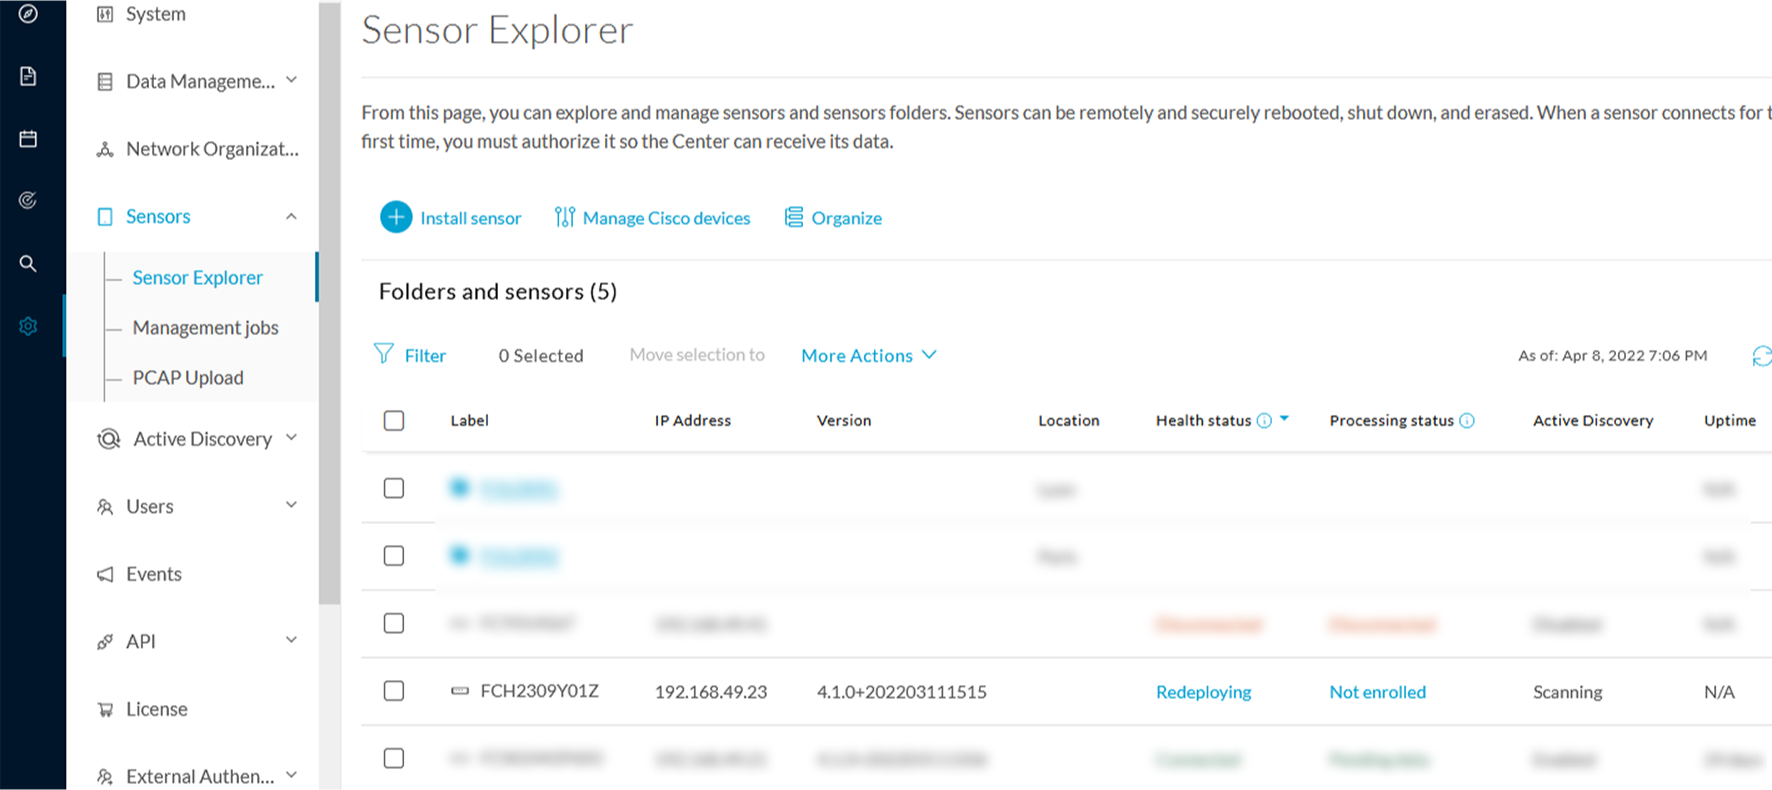
Navigate to Admin > Sensors > Sensor Explorer. |
| Step 2 |
Select a sensor in the list. The sensor right side panel appears. The Active Discovery button is displayed if the sensor is compatible. If there is no Active Discovery button in the panel, you must redeploy the sensor using the IOx application file with Active Discovery. |
| Step 3 |
Click the Active Discovery button.  The Active Discovery Configuration window pops up:  |
| Step 4 |
If necessary, tick the Use collection interface check box for Active Discovery to use the Collection network interface to do discovery on the same subnet as the sensor IP, or using the sensor Collection gateway. The Collection network interface is added in the list on the right.  |
| Step 5 |
Click + New network interfaces for the sensor to perform Active Discovery on additional subnetworks. |
| Step 6 |
Fill the following parameters to set dedicated network interfaces: |
-
IP address
-
Prefix length
-
VLAN number

| Step 7 |
Click Add. You can add as many network interfaces as needed, like below.  |
| Step 8 |
Click OK. |


What to do next
Proceed to Active Discovery policies configuration.


 Feedback