Access Azure portal
Procedure
| Step 1 |
Access Azure Marketplace at https://azuremarketplace.microsoft.com/. |
| Step 2 |
Search for Cisco Cyber Vision. 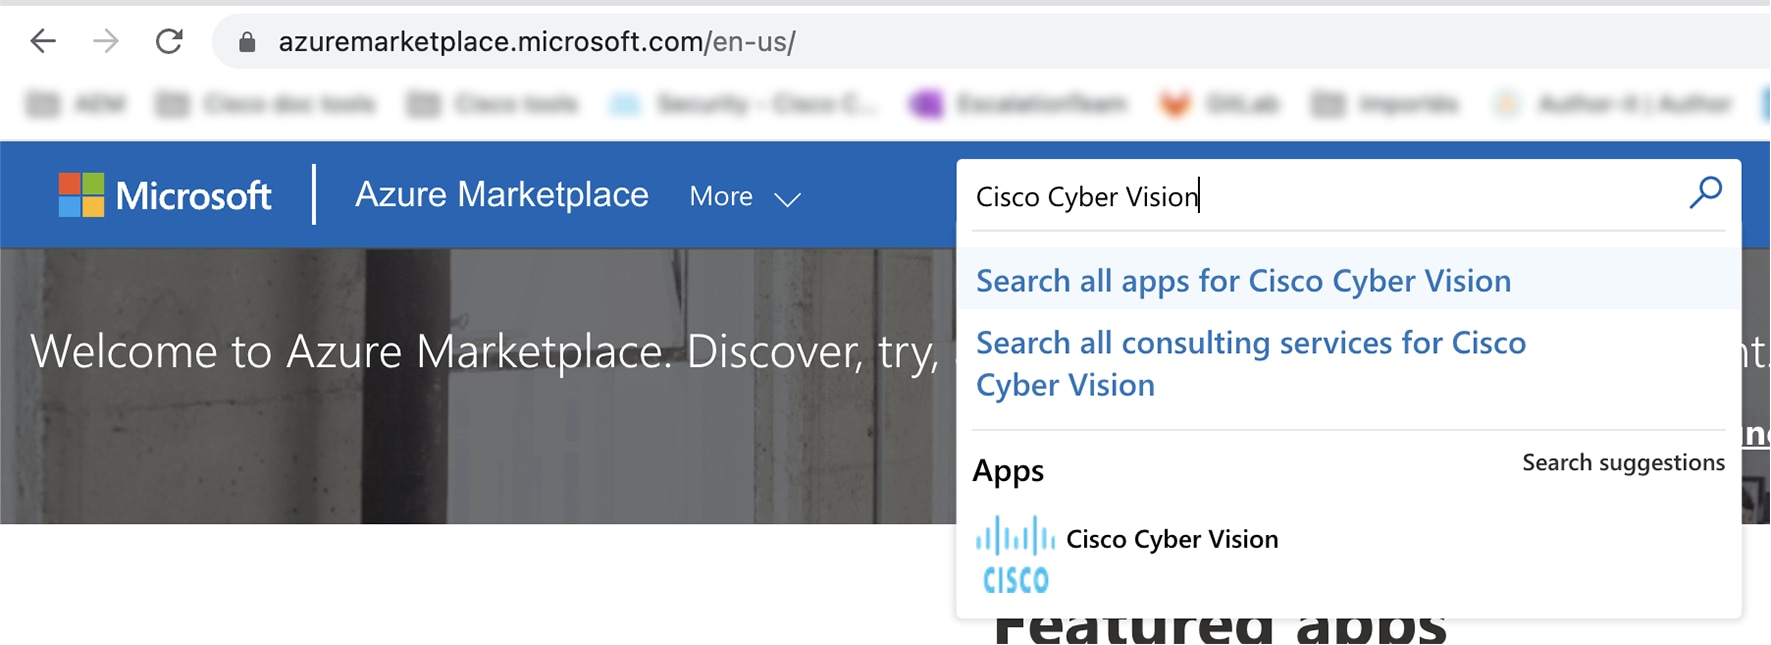 |
| Step 3 |
Click Get it now. 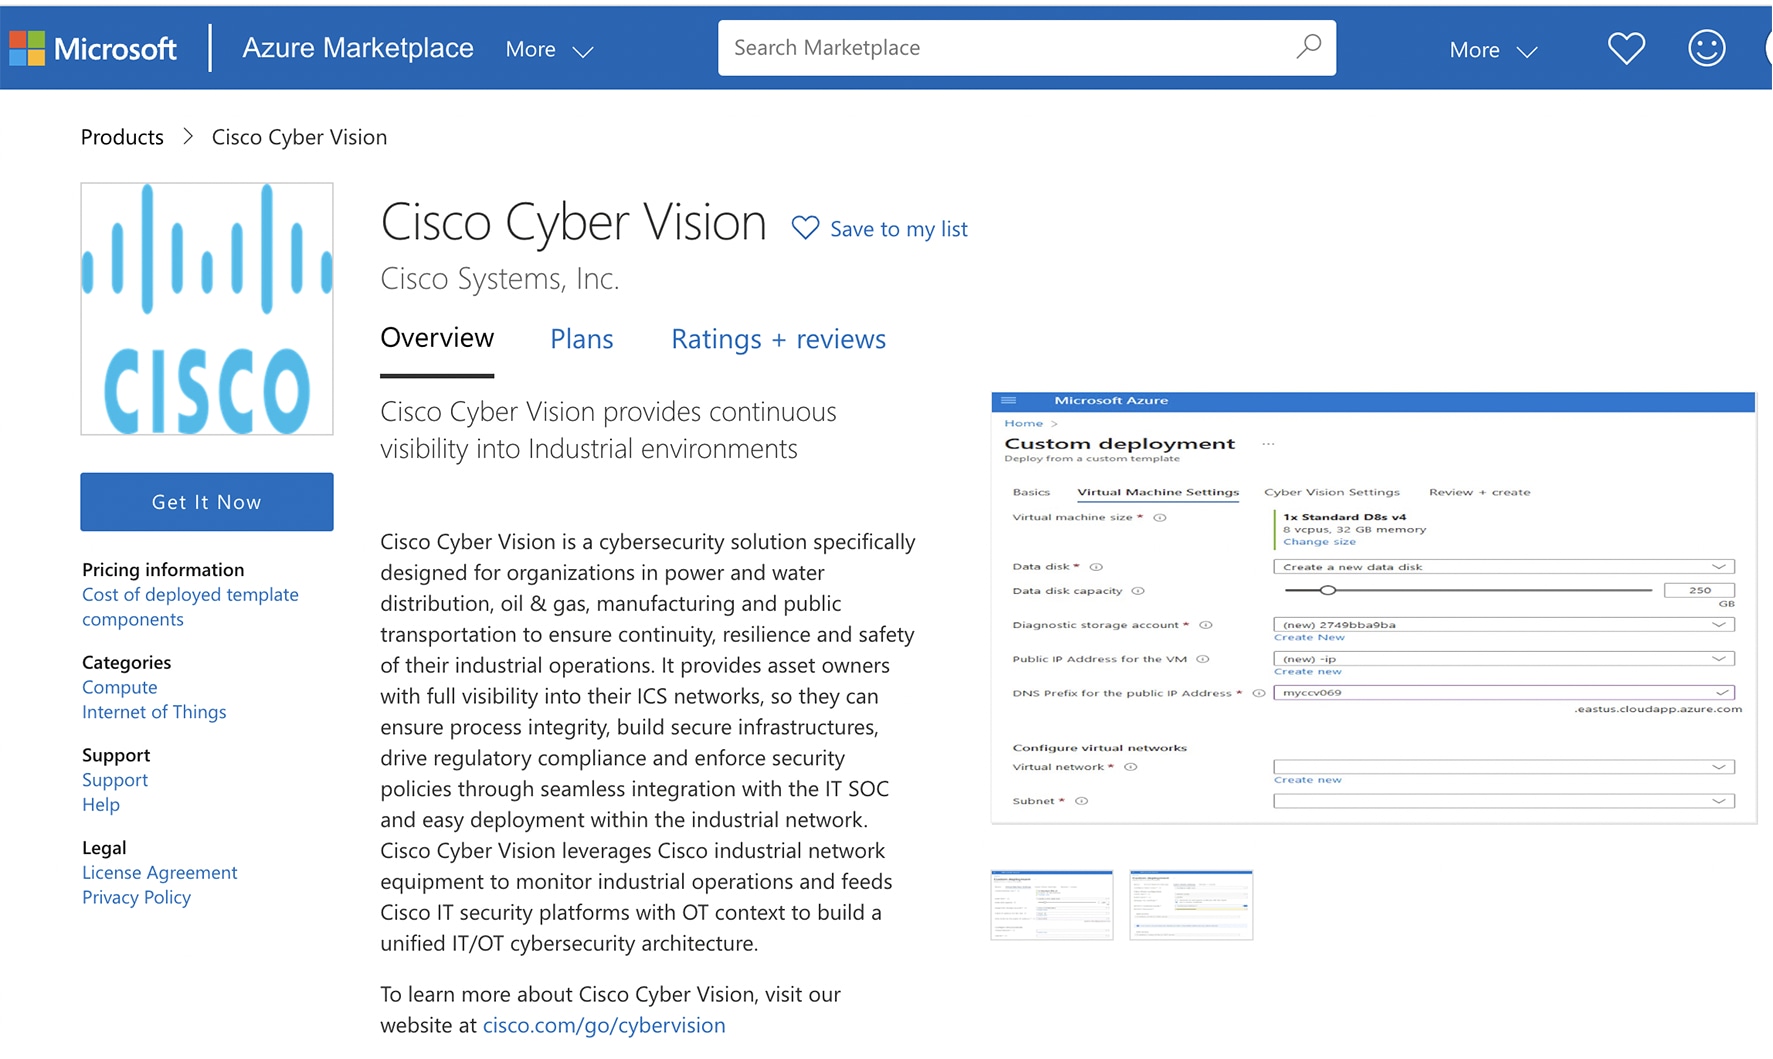 The popup Create this app in Azure appears. 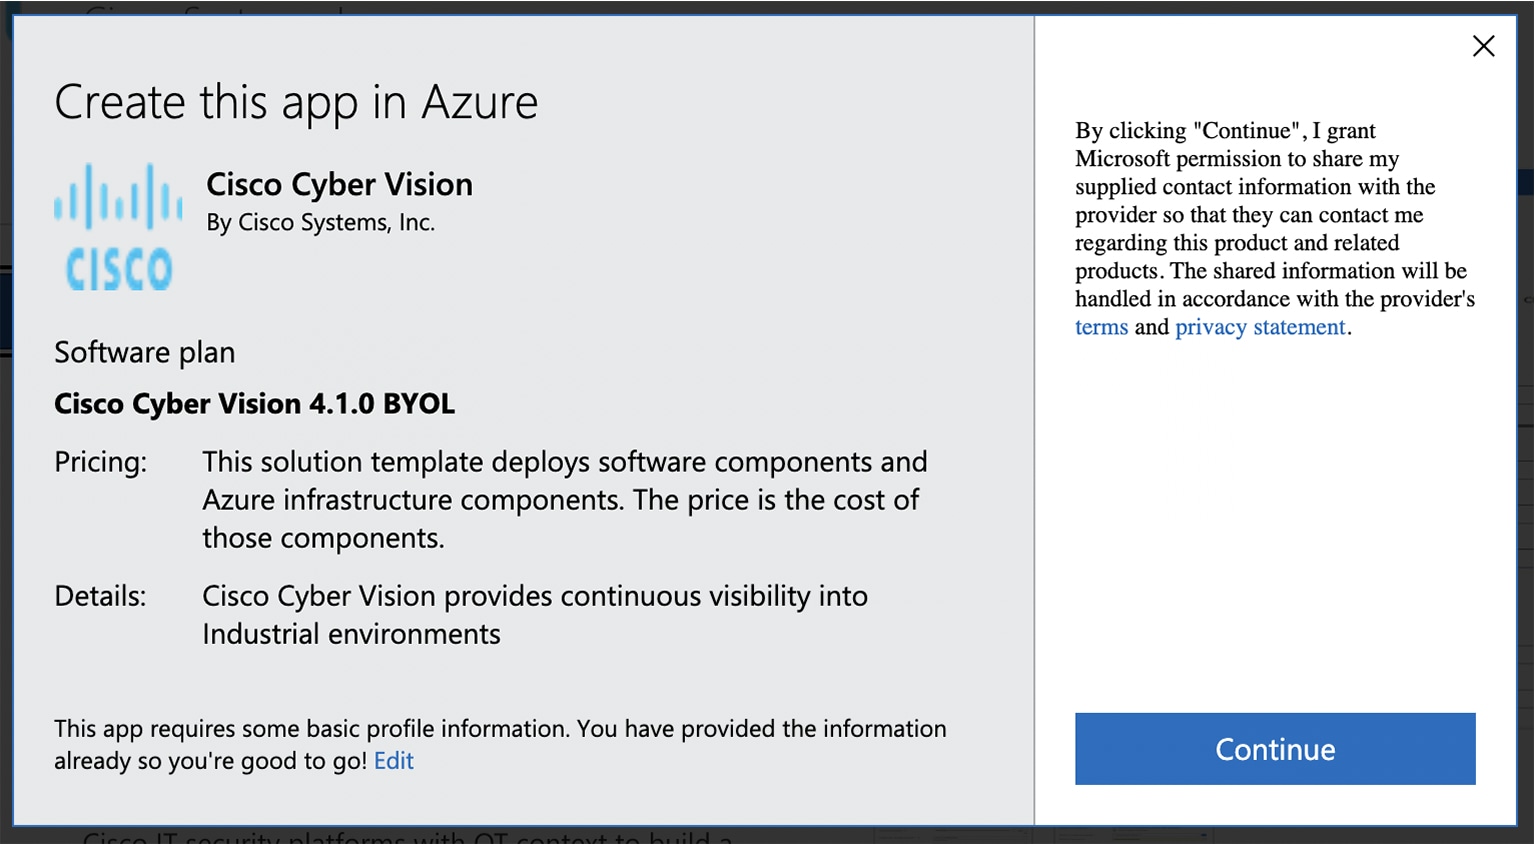 |
| Step 4 |
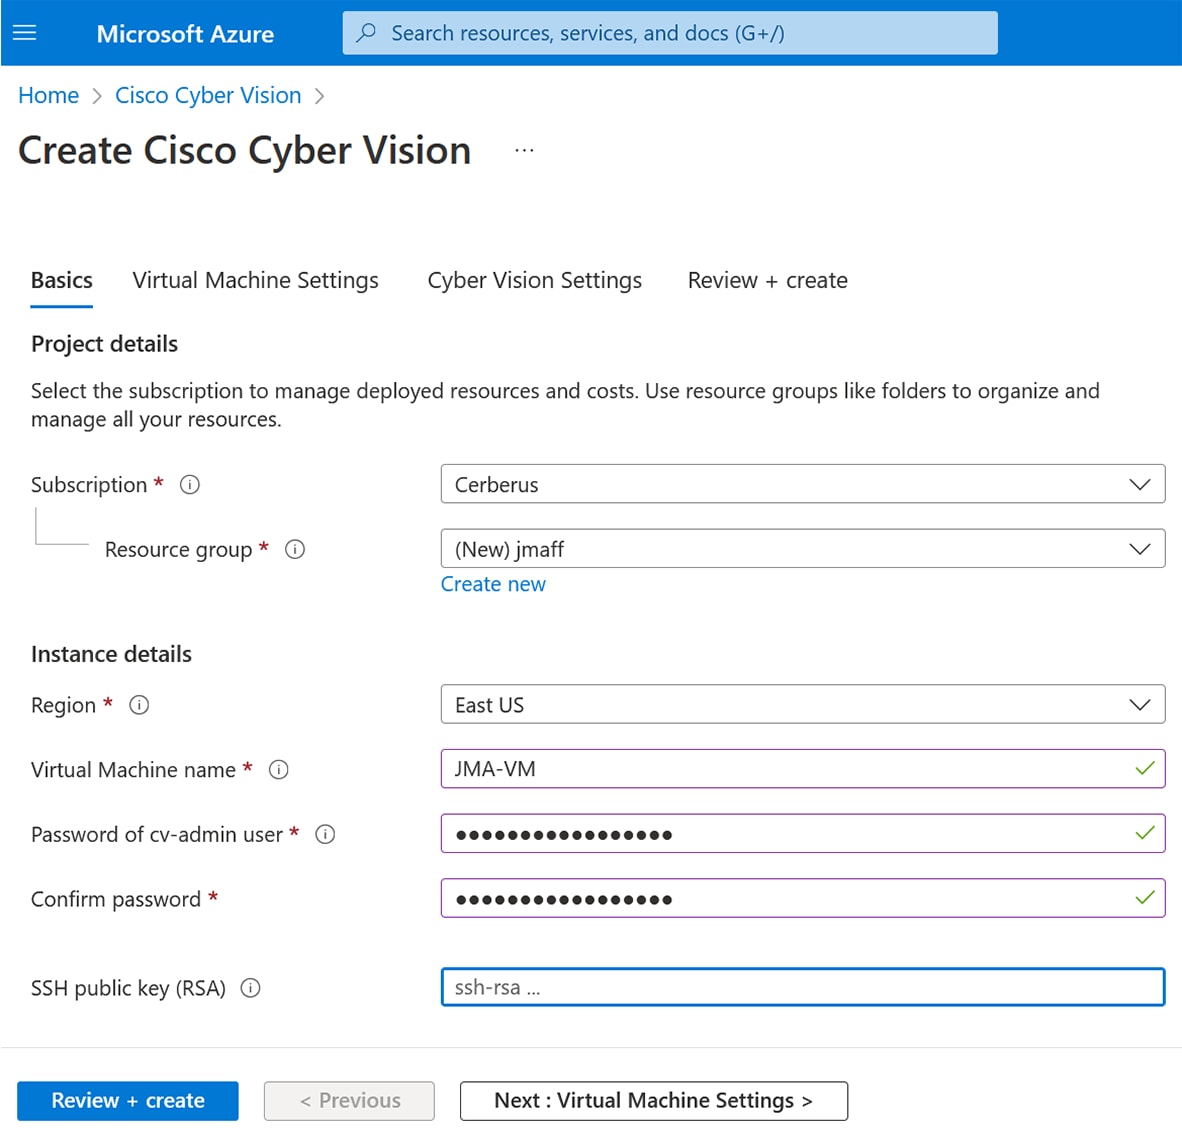
Click Continue. The Azure portal to create a Cisco Cyber Vision machine opens. |
| Step 5 |
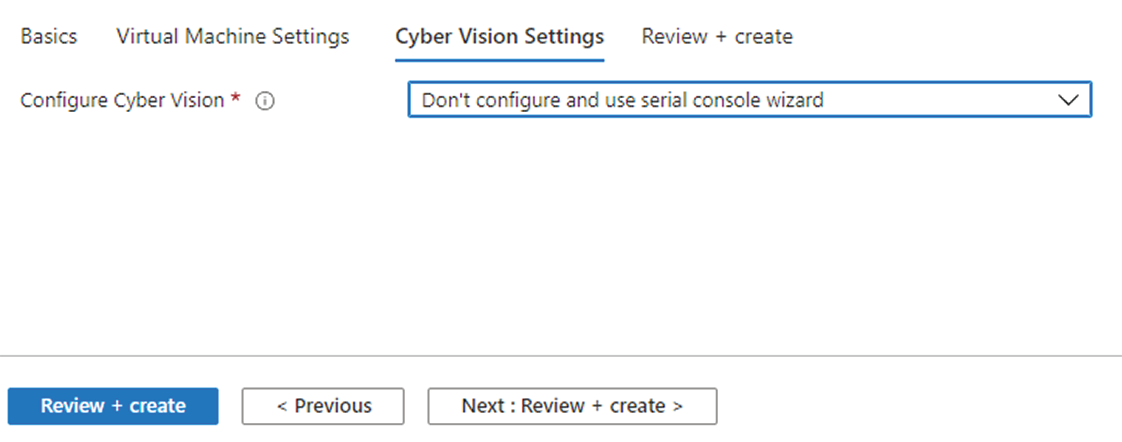
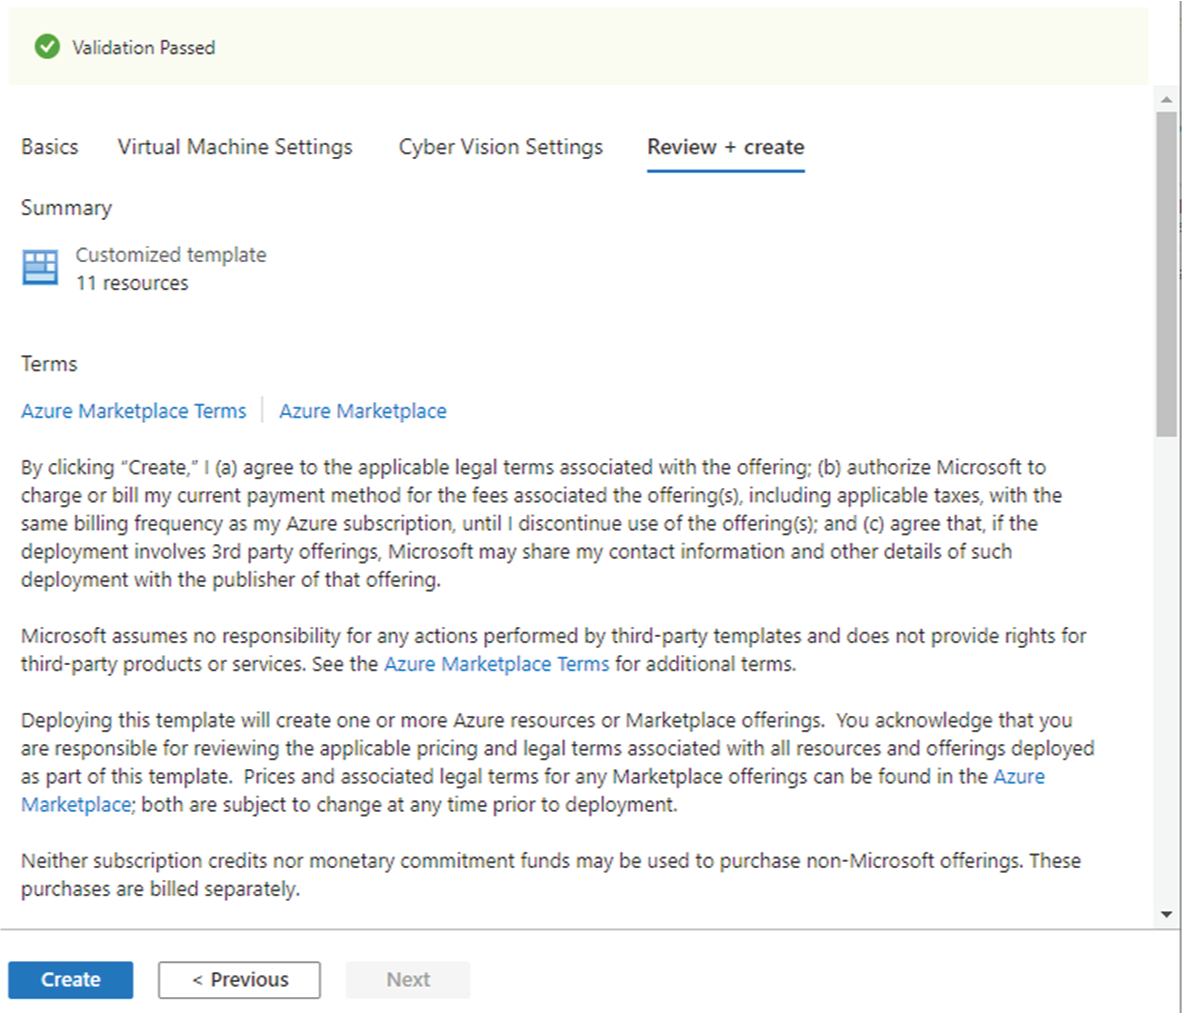
Click Create. 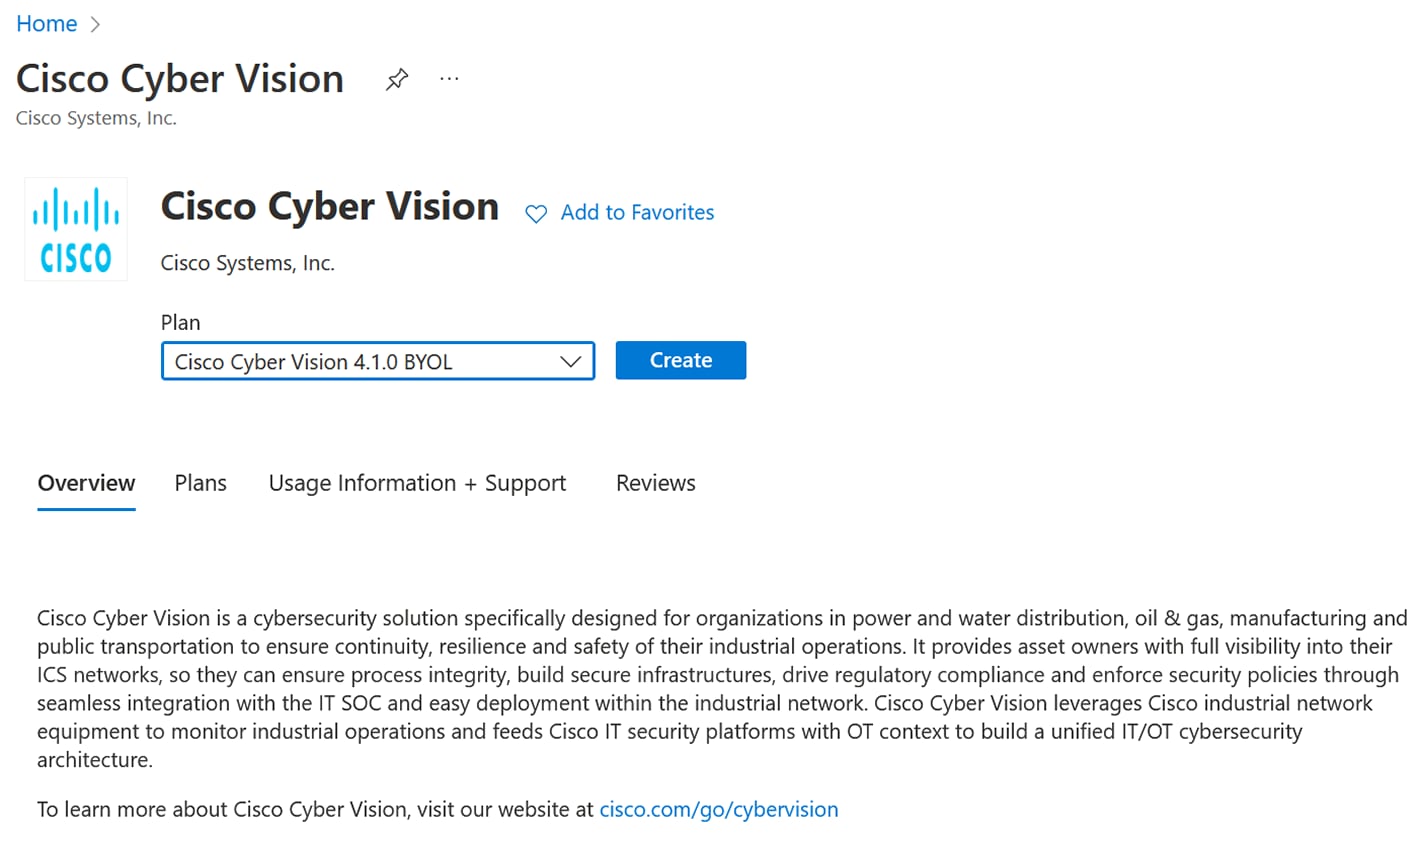 |


 Feedback