Deploy the Firewall for Low-Touch Provisioning
This section describes how a branch office can install the firewall without having to perform any configuration. The CDO administrator can then onboard the firewall remotely.
End-to-End Procedure
See the following tasks to deploy FTD with CDO using low-touch provisioning on your chassis.

|
|
Branch Office Tasks (Branch admin) |
Provide the Firewall Serial Number to the Central Administrator. |
|
|
Branch Office Tasks (Branch admin) |
Install the firewall. See the hardware installation guide. |
|
|
Branch Office Tasks (Branch admin) |
|
|
|
Branch Office Tasks (Branch admin) |
|
|
|
Cisco Defense Orchestrator (CDO admin) |
|
|
|
Cisco Defense Orchestrator (CDO admin) |
Onboard the Device Using Low-Touch Provisioning and the Serial Number. |
|
|
Cisco Commerce Workspace (CDO admin) |
(Optional) Obtain feature licenses (Configure Licensing). |
|
|
Smart Software Manager (CDO admin) |
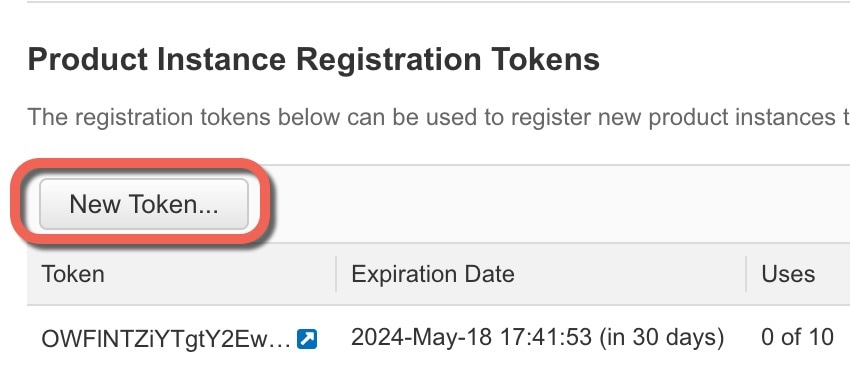
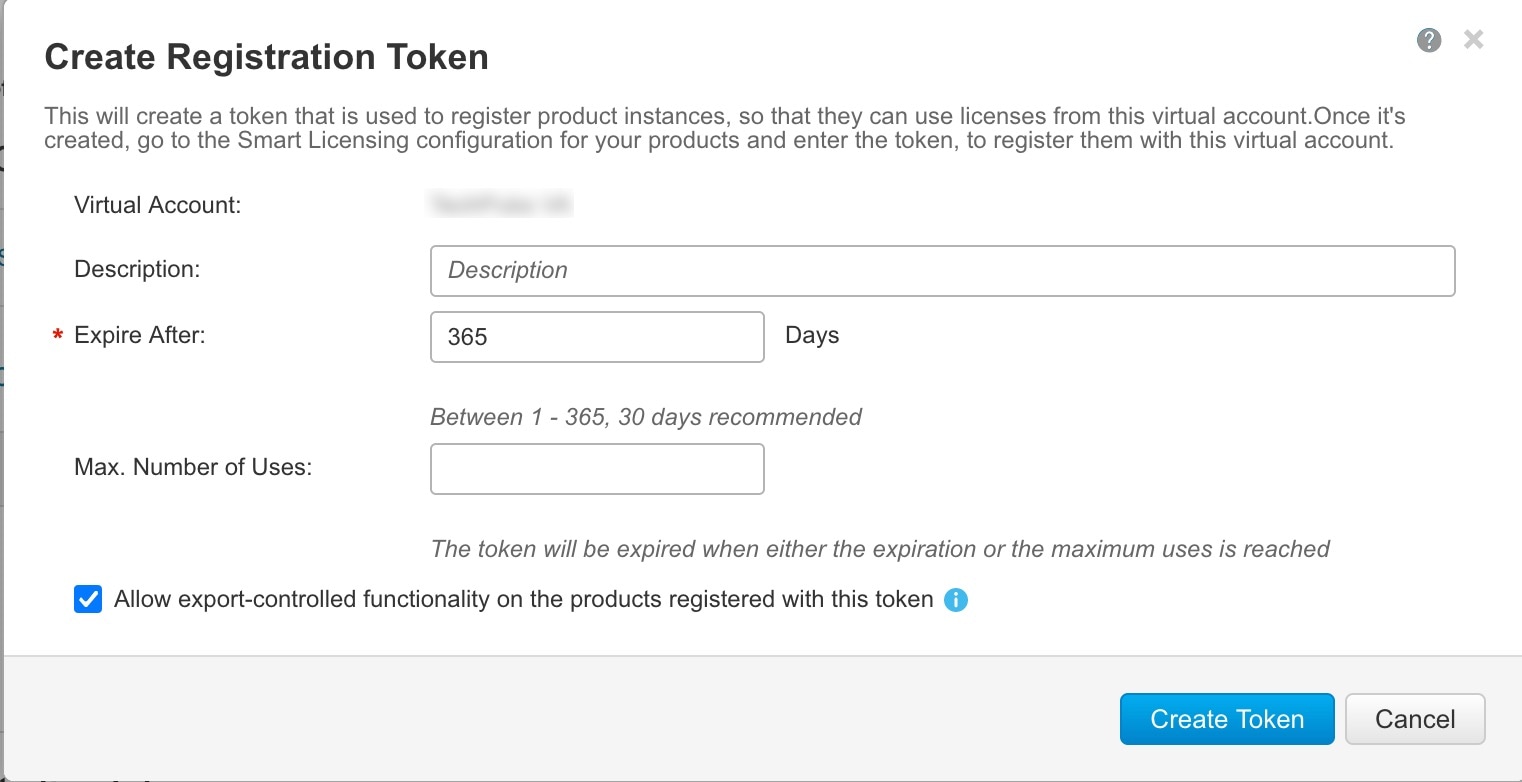
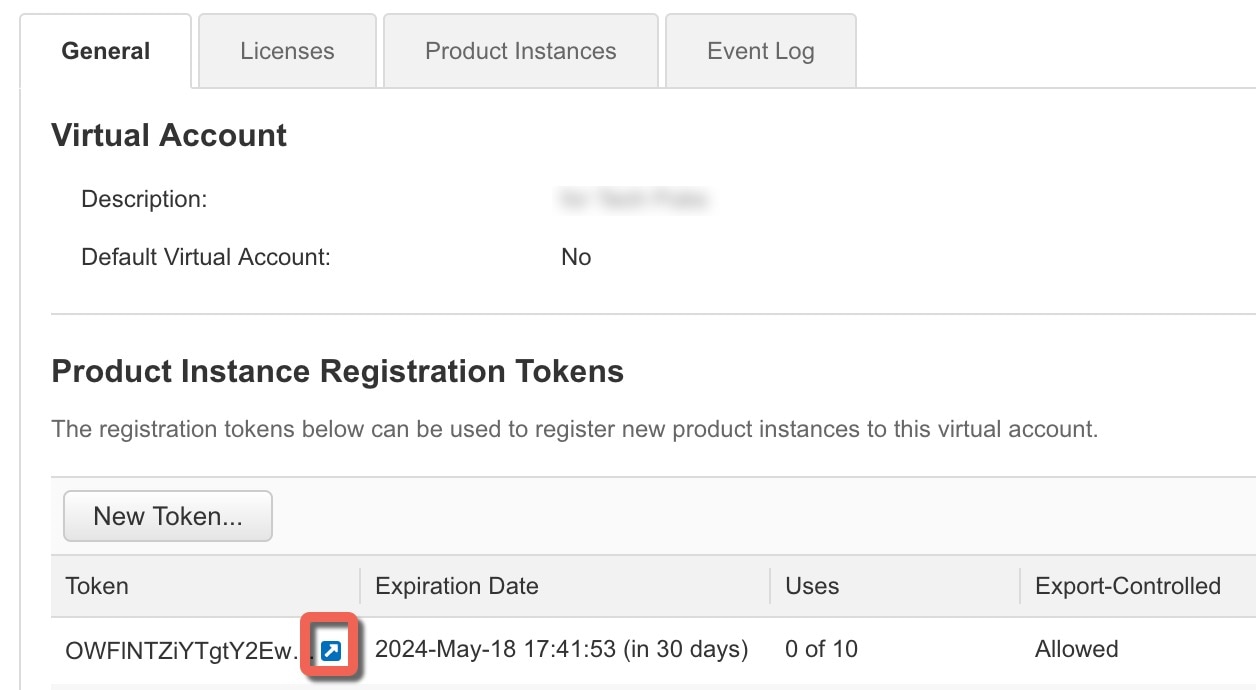
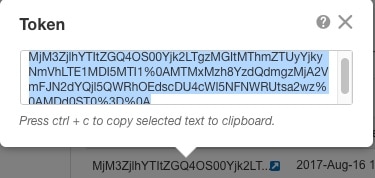
Generate a license token (Configure Licensing). |
|
|
Cisco Defense Orchestrator (CDO admin) |
Register the device with the Smart Licensing Server (Configure Licensing). |
|
|
Cisco Defense Orchestrator (CDO admin) |
Branch Office Installation
After you receive the FTD from your corporate IT department, you need to record the firewall's serial number and send it to the CDO administrator. Outline a communication plan for the onboarding process. Include any key tasks to be completed and provide points of contact for each item.
Then, you need to cable and power on the firewall so that it has internet access from the outside interface. The CDO administrator can then complete the onboarding process.
 Tip |
You can watch this video to see how a Branch employee onboards a firewall using CDO and low-touch provisioning. |
Provide the Firewall Serial Number to the Central Administrator
Before you rack the firewall or discard the shipping box, verify that your firewall can be deployabled using low-touch provisioning, and record the serial number so you can coordinate with the central adminstrator.
 Note |
This procedure assumes you are working with a new firewall running FTD Version 6.7 or later. |
Procedure
| Step 1 |
Unpack the chassis and chassis components. Take inventory of your firewall and packaging before you connect any cables or power on the firewall. You should also familiarize yourself with the chassis layout, components, and LEDs. |
| Step 2 |
Verify that the software version is 6.7 or later by checking the product ID (PID) on the shipping box. The cardboard box in which the firewall was shipped should have a plain white sticker on it that indicates the shipped version of software (6.7 or later). The PID should be similar to this example of a Firepower 2100 series PID: SF-F2K-TD6.7-K9. |
| Step 3 |
Record the firewall's serial number. The serial number of the firewall can be found on the shipping box. It can also be found on a sticker on a pull-out tab on the front of the firewall. |
| Step 4 |
Send the firewall serial number to the CDO network administrator at your IT department/central headquarters. Your network administrator needs your firewall serial number to facilitate low-touch provisioning, connect to the firewall, and configure it remotely. Communicate with the CDO administrator to develop an onboarding timeline. |
Cable the Device
This topic describes the how to connect the Firepower 2100 to your network so that it can be managed remotely by a CDO administrator.
-
If you received a Firepower firewall at your branch office and your job is to plug it in to your network, watch this video.
The video describes your Firepower device and the LED sequences on the device that indicate the device's status. If you need to, you'll be able to confirm the device's status with your IT department just by looking at the LEDs.

 Note |
For 6.7, the Ethernet 1/2 inside IP address is 192.168.1.1. |
Low-touch provisioning supports connecting to CDO on Ethernet 1/1 (outside). You can alternatively use low-touch provisioning on the Management 1/1 interface.
Procedure
| Step 1 |
Install the chassis. See the hardware installation guide. |
||
| Step 2 |
Connect the network cable from the Ethernet 1/1 interface to your wide area network (WAN) modem. Your WAN modem is your branch's connection to the internet and will be your Firepower device's route to the internet as well.
|
||
| Step 3 |
Connect the inside network to Ethernet 1/2. |
||
| Step 4 |
Connect other networks to the remaining interfaces as needed. |
Power On the Device
The power switch is located to the left of power supply module 1 on the rear of the chassis. It is a toggle switch that controls power to the system. If the power switch is in standby position, only the 3.3-V standby power is enabled from the power supply module and the 12-V main power is OFF. When the switch is in the ON position, the 12-V main power is turned on and the system boots.
 Note |
The first time you boot up the FTD, initialization can take approximately 15 to 30 minutes. |
Before you begin
It's important that you provide reliable power for your device (for example, using an uninterruptable power supply (UPS)). Loss of power without first shutting down can cause serious file system damage. There are many processes running in the background all the time, and losing power does not allow the graceful shutdown of your system.
Procedure
| Step 1 |
Attach the power cord to the device and connect it to an electrical outlet. |
| Step 2 |
Press the power switch on the back of the device. |
| Step 3 |
Check the PWR LED on the front of the device; if it is solid green, the device is powered on.  |
| Step 4 |
Observe the SYS LED on the front the device; when the device is booting correctly, the SYS LED flashes fast green. If there is a problem, the SYS LED flashes fast amber. If this happens, call your IT department. |
| Step 5 |
Observe the SYS LED on the front; when the device connects to the Cisco cloud, the SYS LED slowly flashes green. If there is a problem, the SYS LED flashes amber and green, and the device did not reach the Cisco Cloud. If this happens, make sure that your network cable is connected to the Ethernet 1/1 interface and to your WAN modem. If after adjusting the network cable, the device does not reach the Cisco cloud after about 10 more minutes, call your IT department. |
What to do next
-
Communicate with your IT department to confirm your onboarding timeline and activities. You should have a communication plan in place with the CDO administrator at your central headquarters.
-
After you complete this task, your CDO administrator will be able to configure and manage the Firepower device remotely. You're done.




 ) for each interface you want to configure and give the interface a




 Feedback