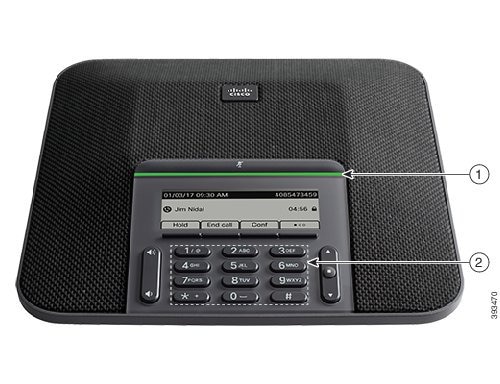
The Cisco IP Conference Phone 7832
The Cisco IP Conference Phone 7832 enhances people-centric communications, combining superior high‑definition (HD) audio performance and 360-degree coverage for all sizes of conference rooms and executive offices. It provides an audiophile sound experience with a full-duplex two-way wideband (G.722) audio hands-free speaker. The Cisco IP Conference Phone 7832 is a simple solution that meets the challenges of the most diverse rooms.
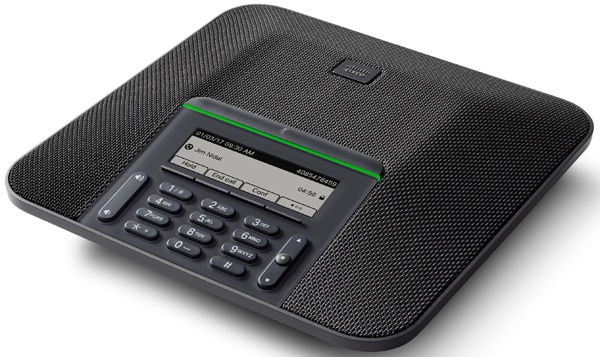
The phone has sensitive microphones with 360-degree coverage. This coverage lets users speak in a normal voice and be heard clearly from up to 7 feet (2.1 m) away. The phone also features technology that resists interference from mobile phones and other wireless devices, assuring delivery of clear communications without distractions.
-
G.711 a-law
-
G.711 mu-law
-
G.722
-
G722.2 AMR-WB
-
G.729a/G.729ab
-
G.726
-
iLBC
-
Opus
-
iSAC
 Caution |
Using a cell, mobile, or GSM phone, or two-way radio in close proximity to a Cisco IP Phone might cause interference. For more information, see the manufacturer’s documentation of the interfering device. |
Cisco IP Phones provide traditional telephony functionality, such as call forwarding and transferring, redialing, speed dialing, conference calling, and voice messaging system access. Cisco IP Phones also provide a variety of other features.
As with other network devices, you must configure Cisco IP Phones to prepare them to access Cisco Unified Communications Manager and the rest of the IP network. By using DHCP, you have fewer settings to configure on a phone. If your network requires it, however, you can manually configure information such as: an IP address, TFTP server, and subnet information.
Cisco IP Phones can interact with other services and devices on your IP network to provide enhanced functionality. For example, you can integrate Cisco Unified Communications Manager with the corporate Lightweight Directory Access Protocol 3 (LDAP3) standard directory to enable users to search for coworker contact information directly from their IP phones. You can also use XML to enable users to access information such as weather, stocks, quote of the day, and other web-based information.
Finally, because the Cisco IP Phone is a network device, you can obtain detailed status information from it directly. This information can assist you with troubleshooting any problems users might encounter when using their IP phones. You can also obtain statistics about an active call or firmware versions on the phone.
To function in the IP telephony network, the Cisco IP Phone must connect to a network device, such as a Cisco Catalyst switch. You must also register the Cisco IP Phone with a Cisco Unified Communications Manager system before sending and receiving calls.
Feature Support
This document describes all the features that the device supports. However, not all features may be supported with your current configuration. For information on supported features, contact your administrator.


 Feedback