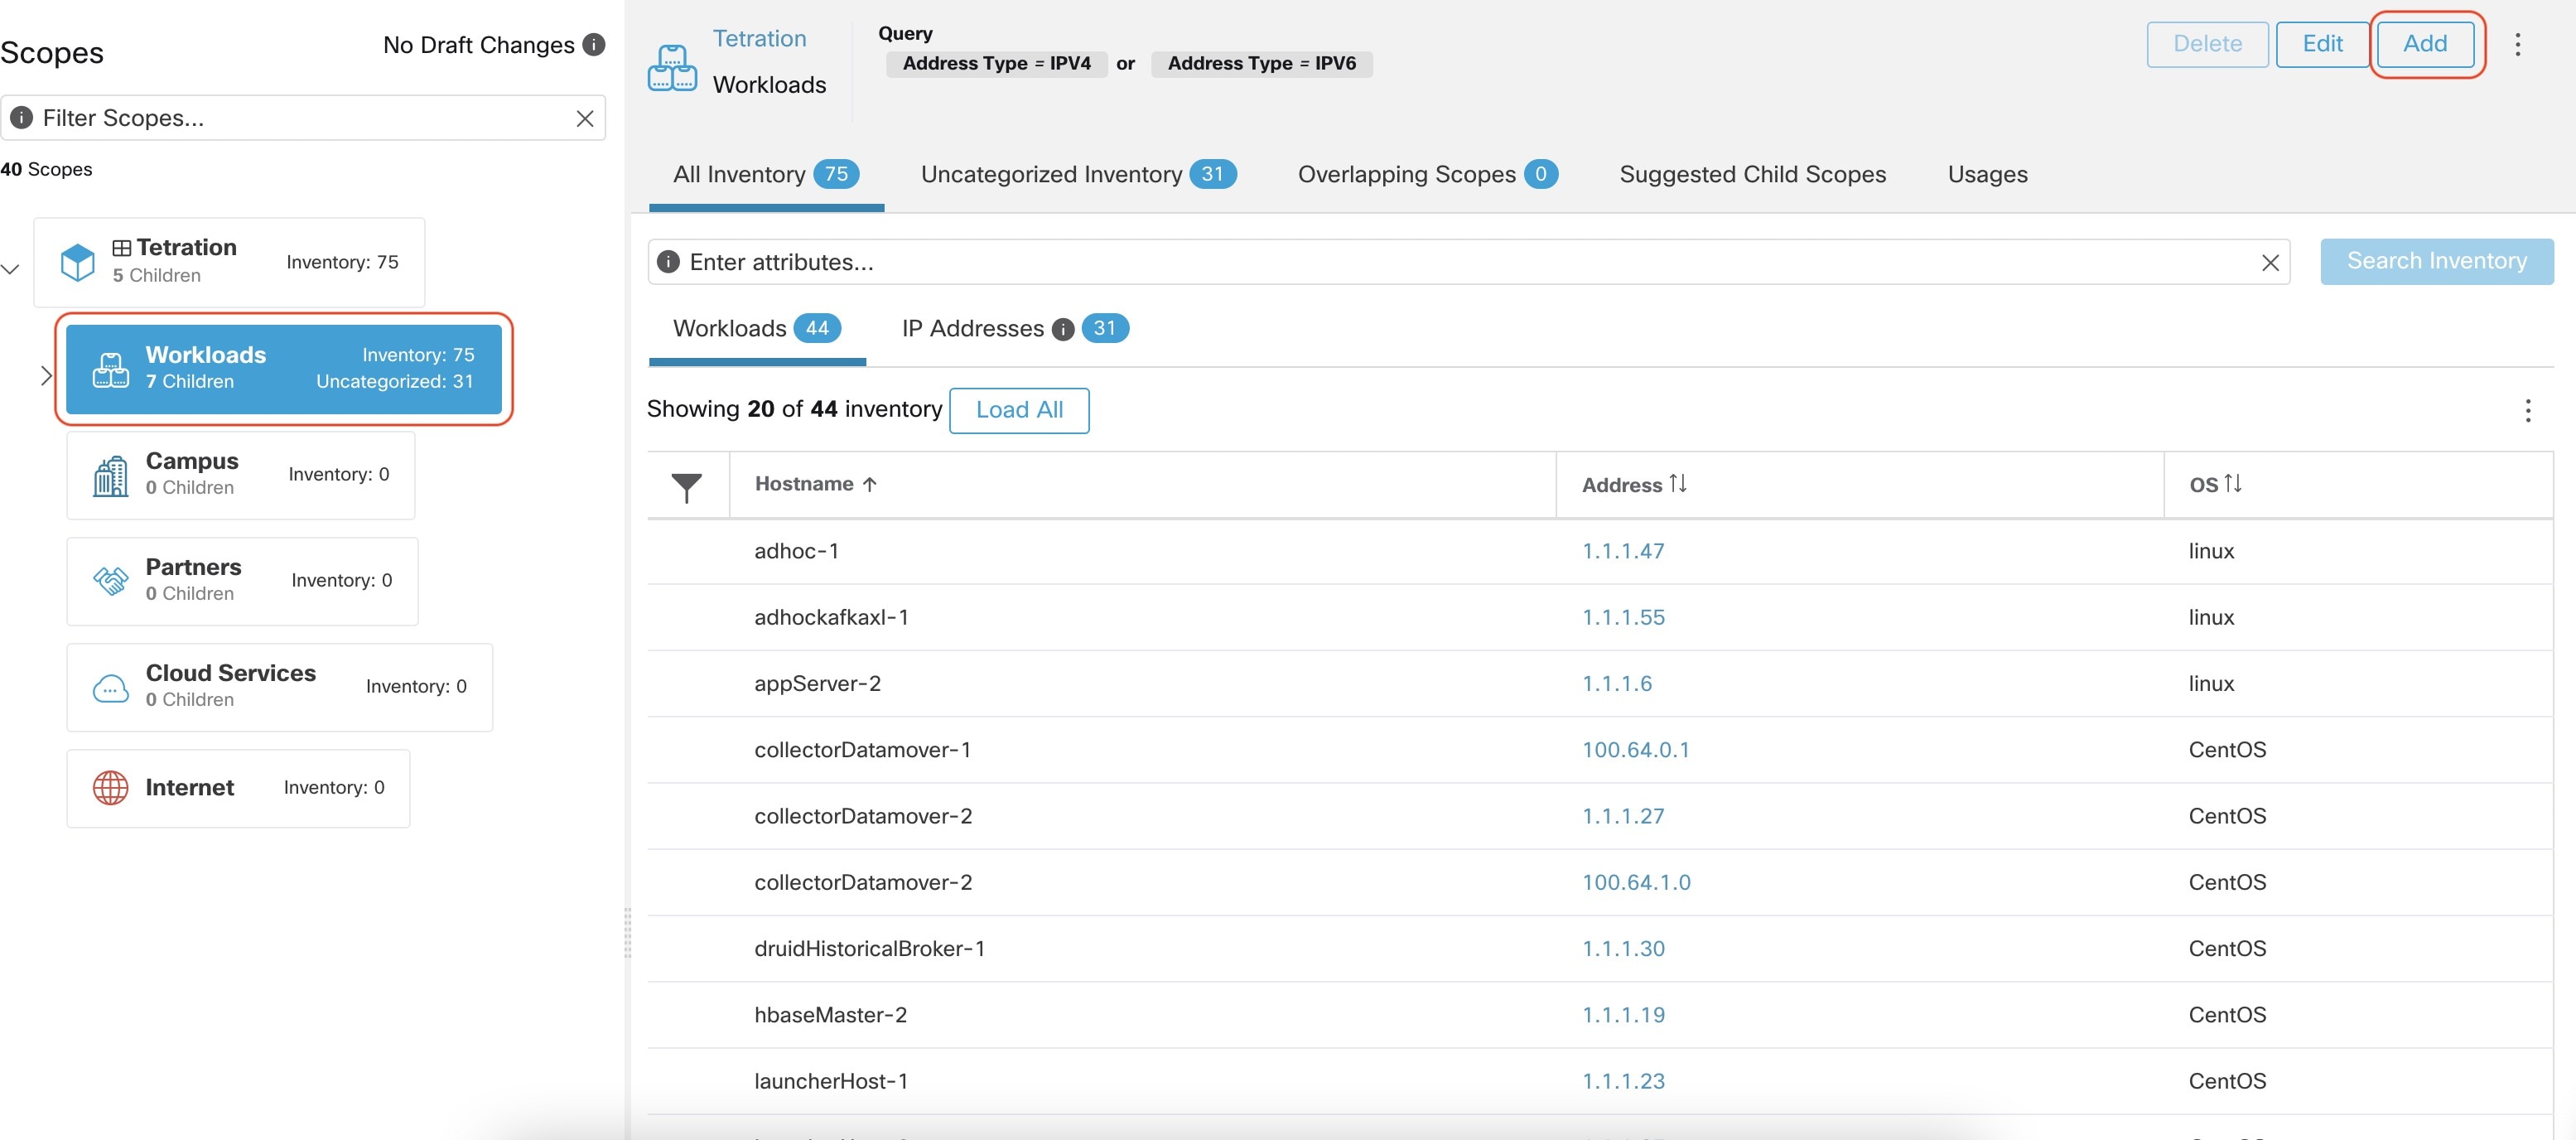
Workload Labels
Labels (sometimes called tags, annotations, attributes, metadata, or context, though these terms are not necessarily always completely synonymous) are key to the power of Secure Workload.
Human-readable labels describe your workloads in terms of their function, location, and other criteria.
Secure Workload supports the following methods for adding user labels:
-
Discovery by Secure Workload agents running on inventory items
-
Manual import from uploading Comma Separated Value (CSV) files
-
Manual assignment through the user interface
-
Automated import through Connectors for Endpoints
-
Automated import through Connectors for Inventory Enrichment
-
Automated import of orchestrator generated and custom labels (See External Orchestrators)
-
Automated import from cloud connectors (See Cloud Connectors)
-
You can specify inventory labels when creating the installer script. All agents installed using the script are automatically tagged with such labels. Only Linux and Windows workload deployments support this feature.
Importance of Labels
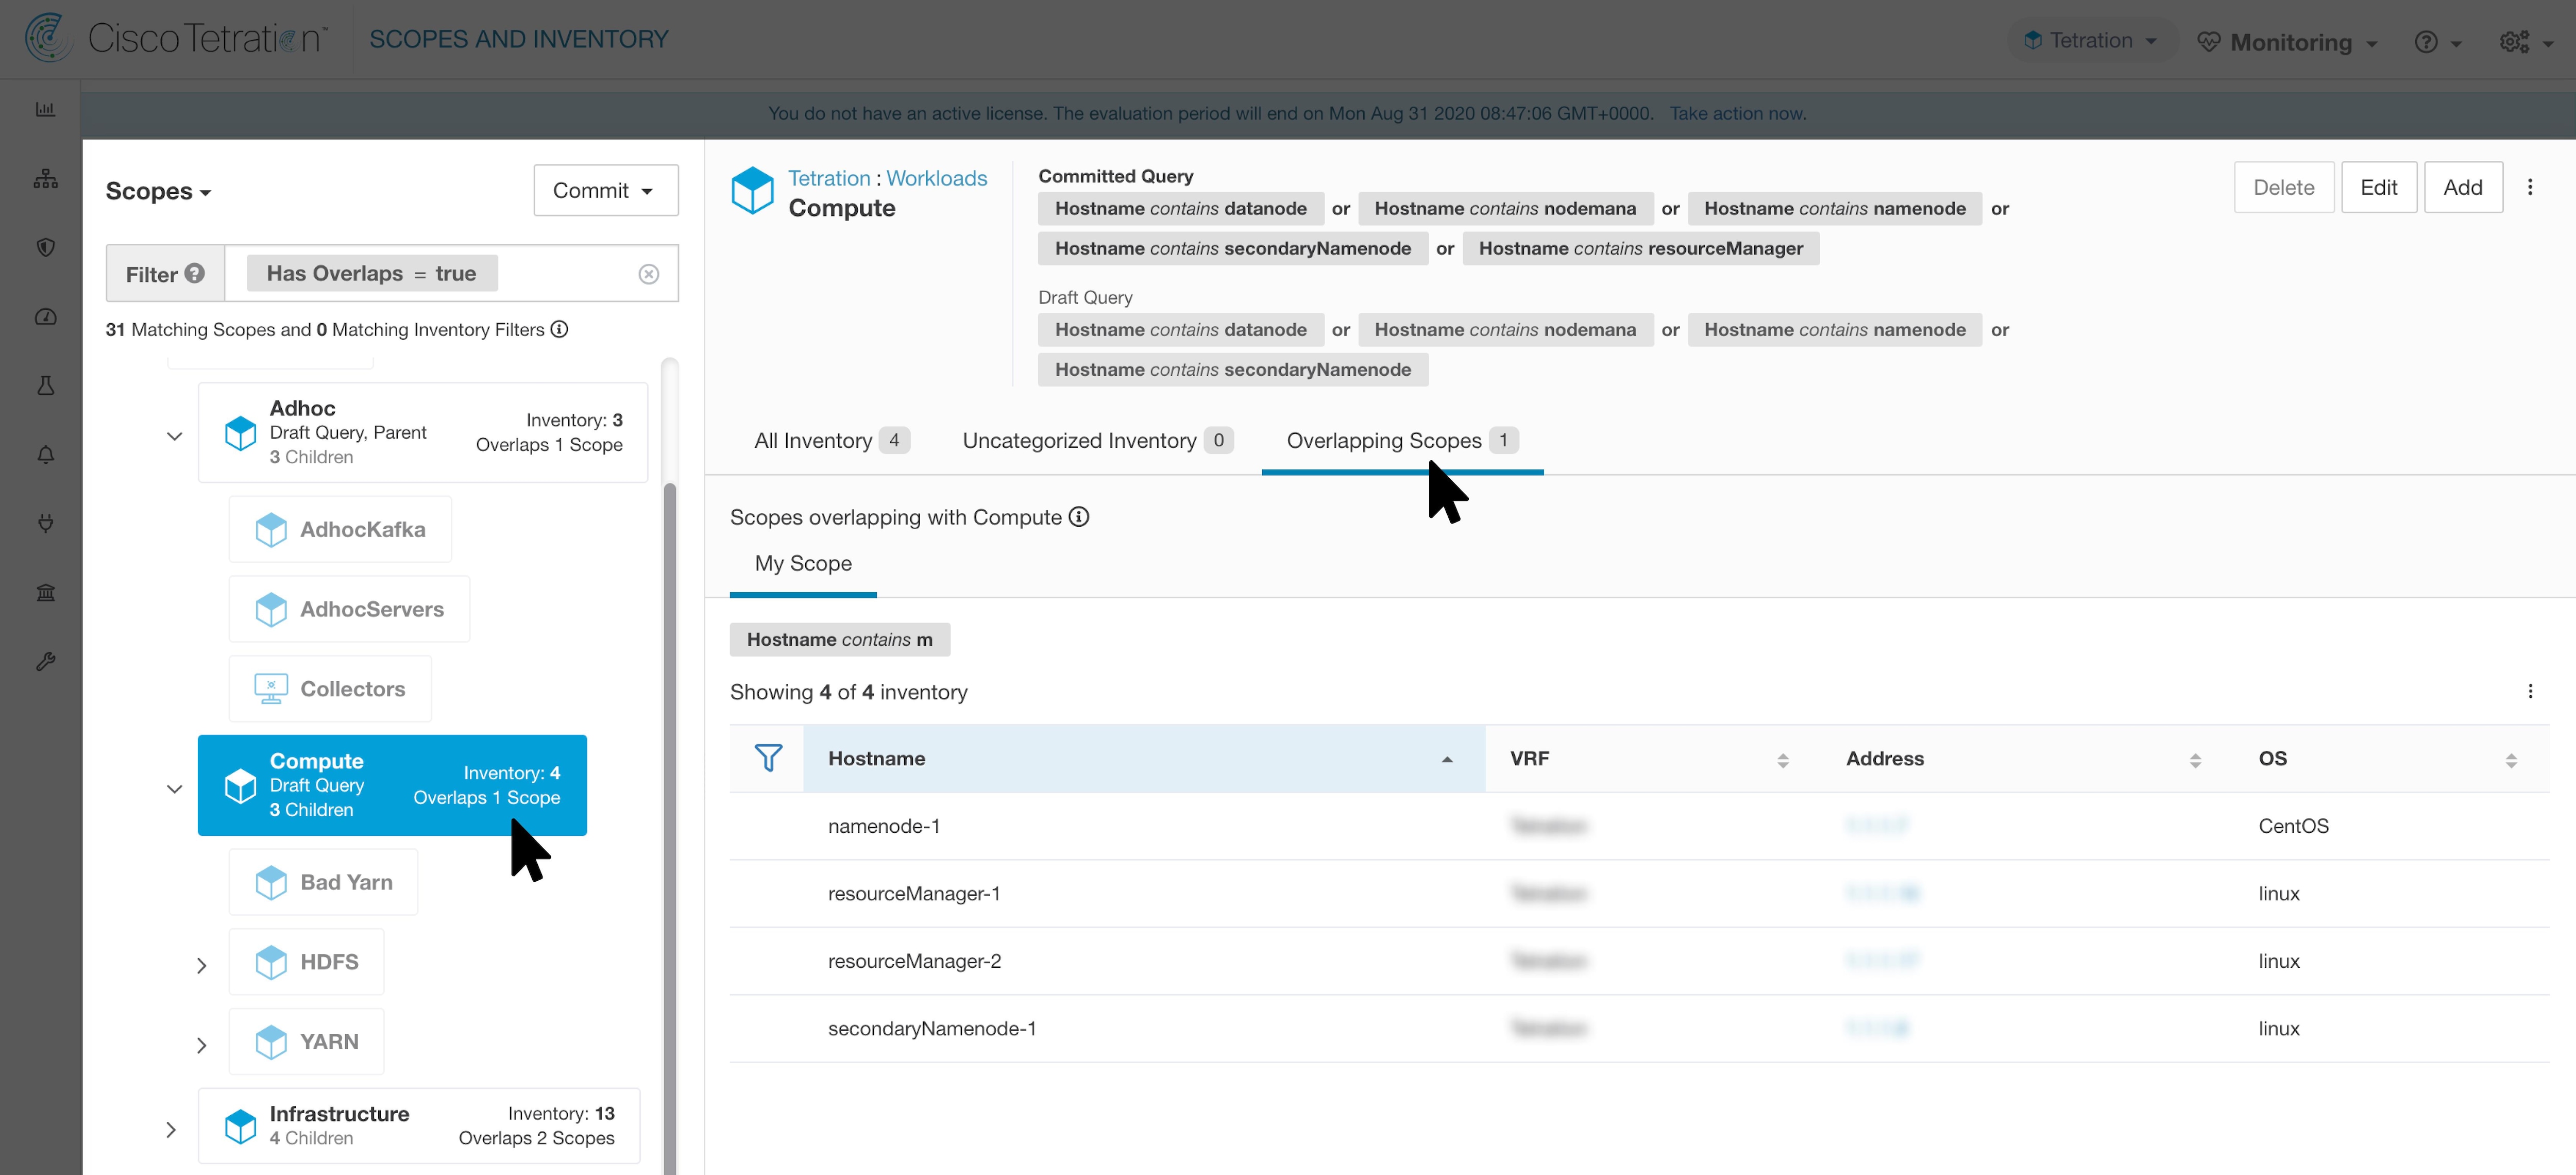
Labels allow you to define a logical policy. For example:
allow traffic from consumer hr_department to provider employee_db
Instead of specifying the members of the consumer and provider workload groups, we can define the logical policy using the labels as shown in the following figure. Note that this allows the membership of the consumer and provider groups to be dynamically modified without the need to modify the logical policy. As workloads are added and removed from the fleet, Secure Workload is notified by services you have configured, such as external orchestrators and cloud connectors. This enables Secure Workload to evaluate the membership of the consumer group hr_department and the provider group employee_db.

Subnet-based Label Inheritance
Subnet-based label inheritance is supported. The smaller subnets and IP addresses inherit labels from larger subnets they fall under when one of the following conditions is satisfied:
-
The label is missing from the list of labels for the smaller subnet/address.
-
The label value for the smaller subnet/address is empty.
Consider the following example:
|
IP |
Name |
Purpose |
Environment |
Spirit-Animal |
|---|---|---|---|---|
|
10.0.0.1 |
server-1 |
webtraffic |
production |
|
|
10.0.0.2 |
frog |
|||
|
10.0.0.3 |
eagle |
|||
|
10.0.0.0/24 |
web-vlan |
integration |
||
|
10.0.0.0/16 |
webtraffic |
badger |
||
|
10.0.0.0/8 |
test |
bear |
The labels for IP address 10.0.0.3 are {“name”: “web-vlan”, “purpose”: “webtraffic”, “environment”: “integra- tion”, “spirit-animal”: “eagle”}.
Label Prefixes
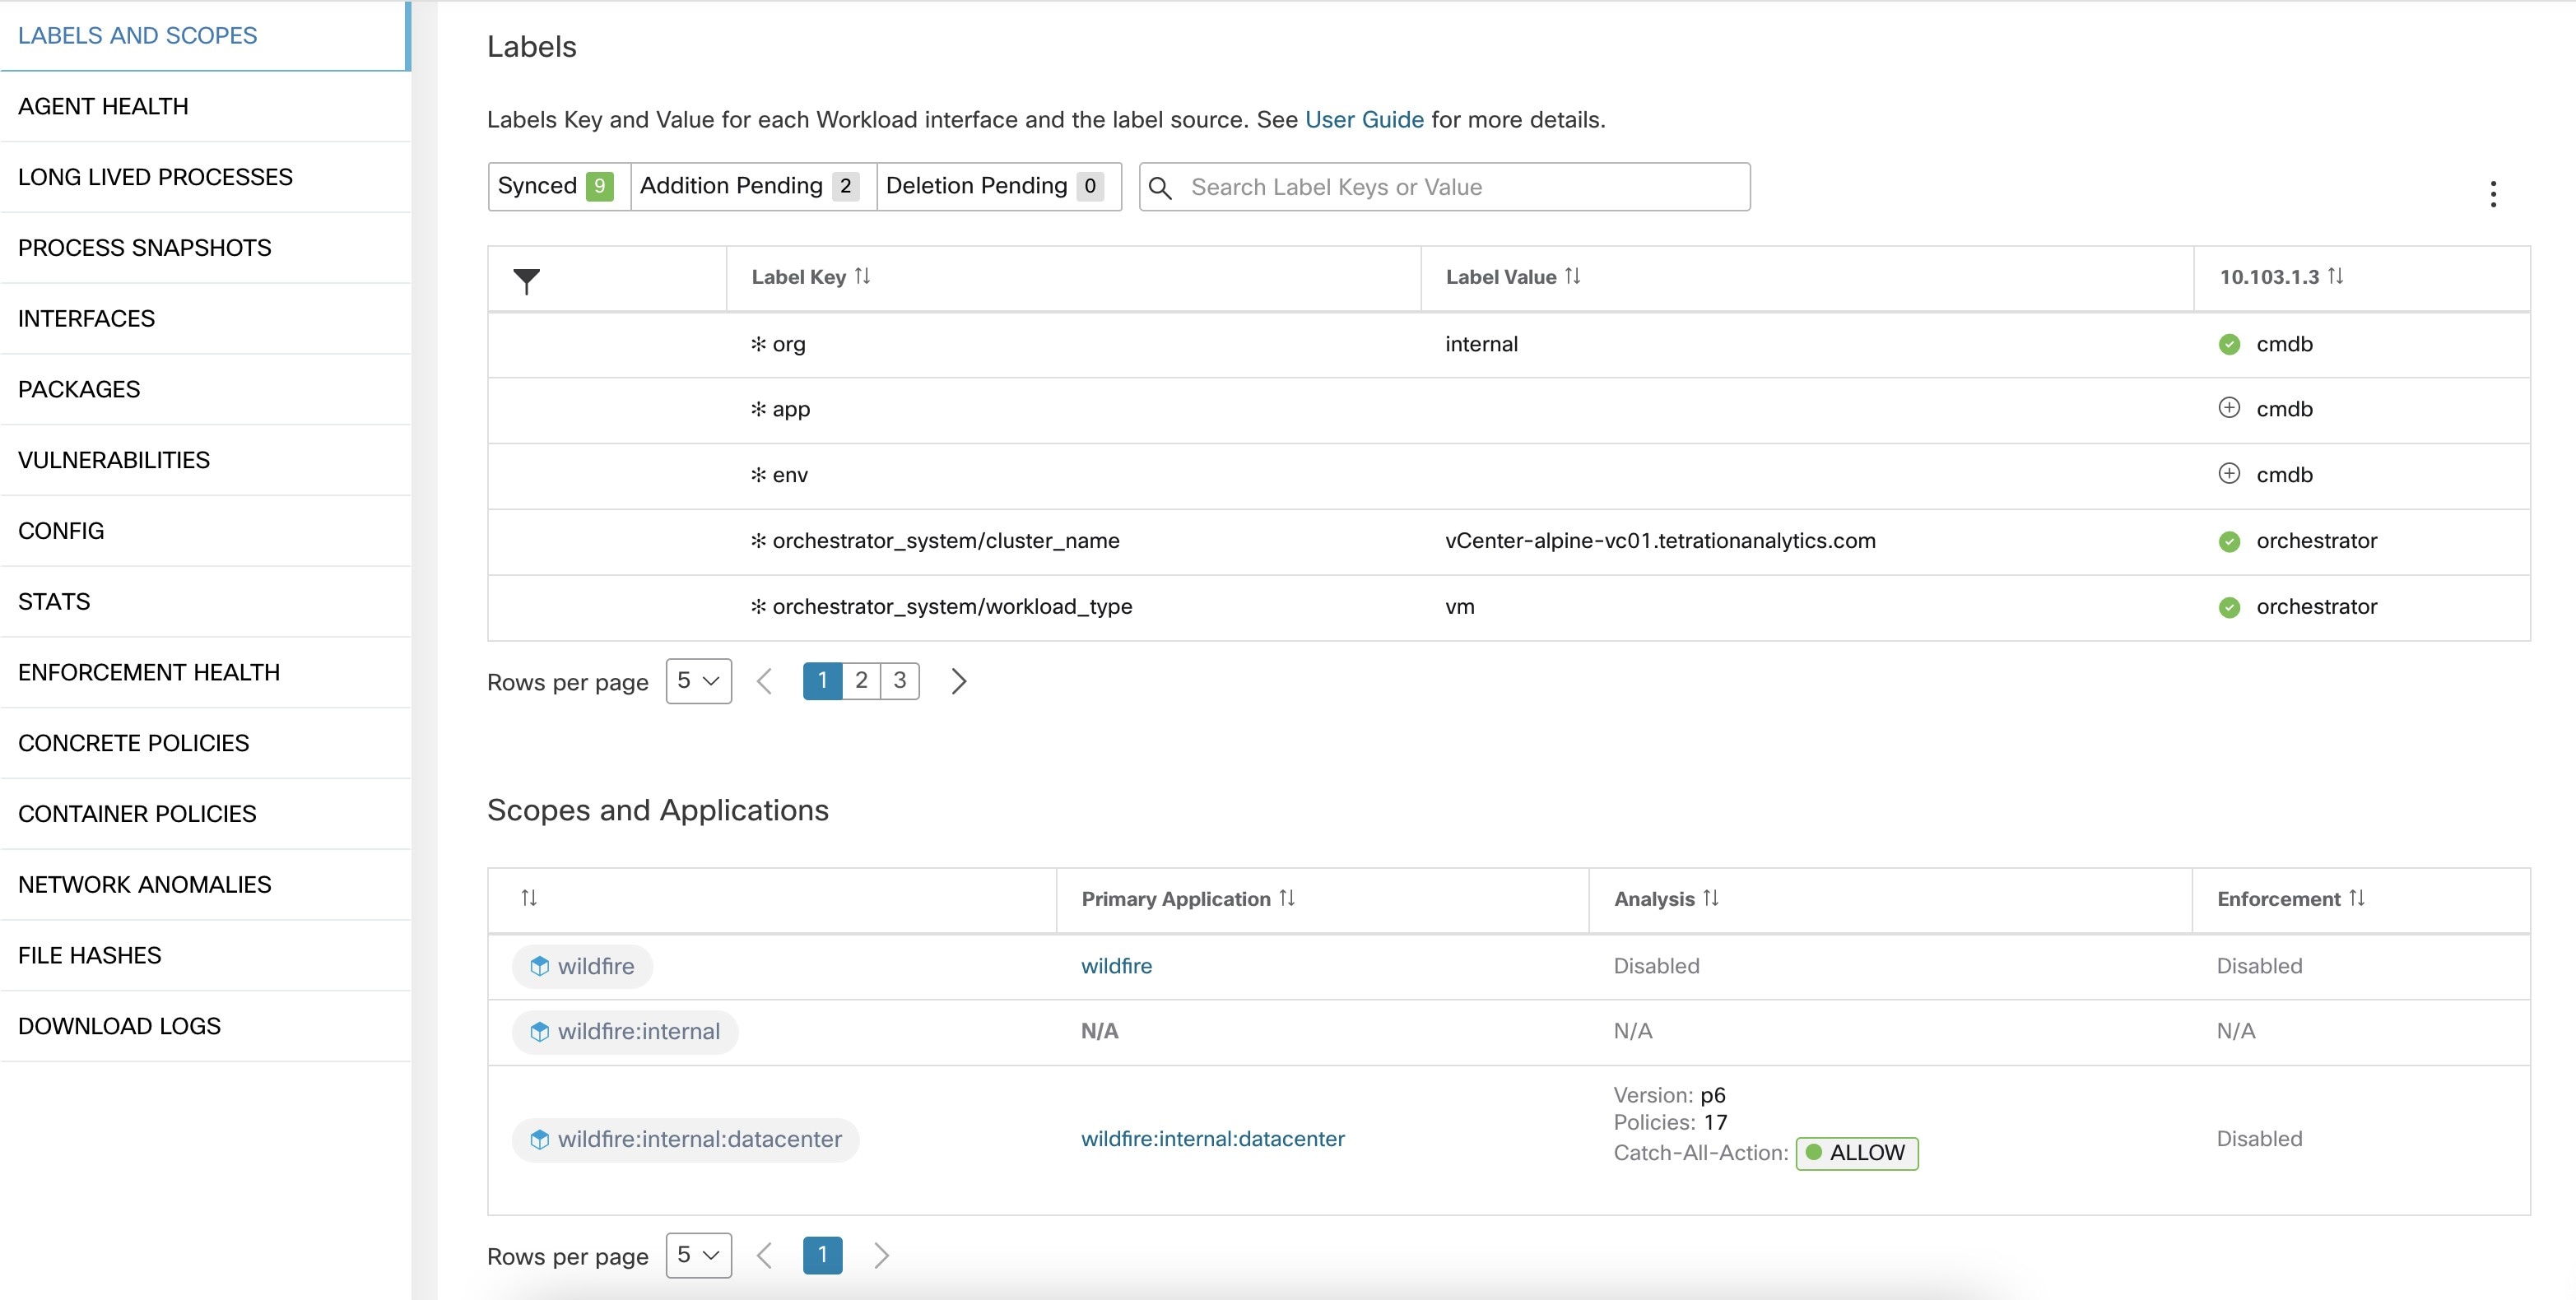
Labels are automatically displayed with a prefix that identifies the source of the information.
All user labels are prefixed by * in the UI (user_ in OpenAPI). In addition, labels automatically imported from external orchestrators or from cloud connectors are prefixed with orchestrator_. For labels imported from endpoint connectors, see details in Connectors for Endpoints, but may include labels prefixed with ldap_.
For example, a label with a key of department imported from user-uploaded CSV files appear in the UI as * department, and in OpenAPI as user_department. A label with a key of location imported from an external orchestrator appear in the UI as * orchestrator_location, and in OpenAPI as user_orchestrator_location.
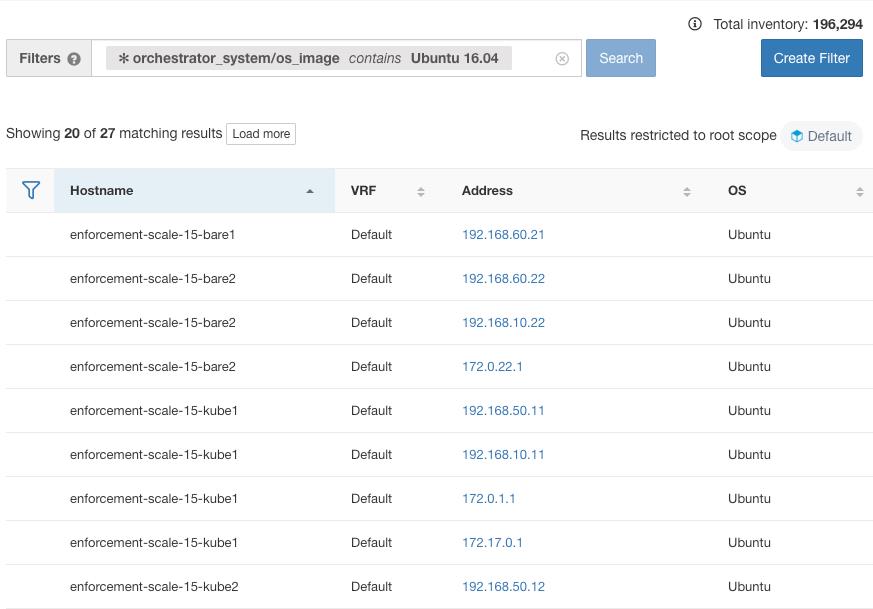
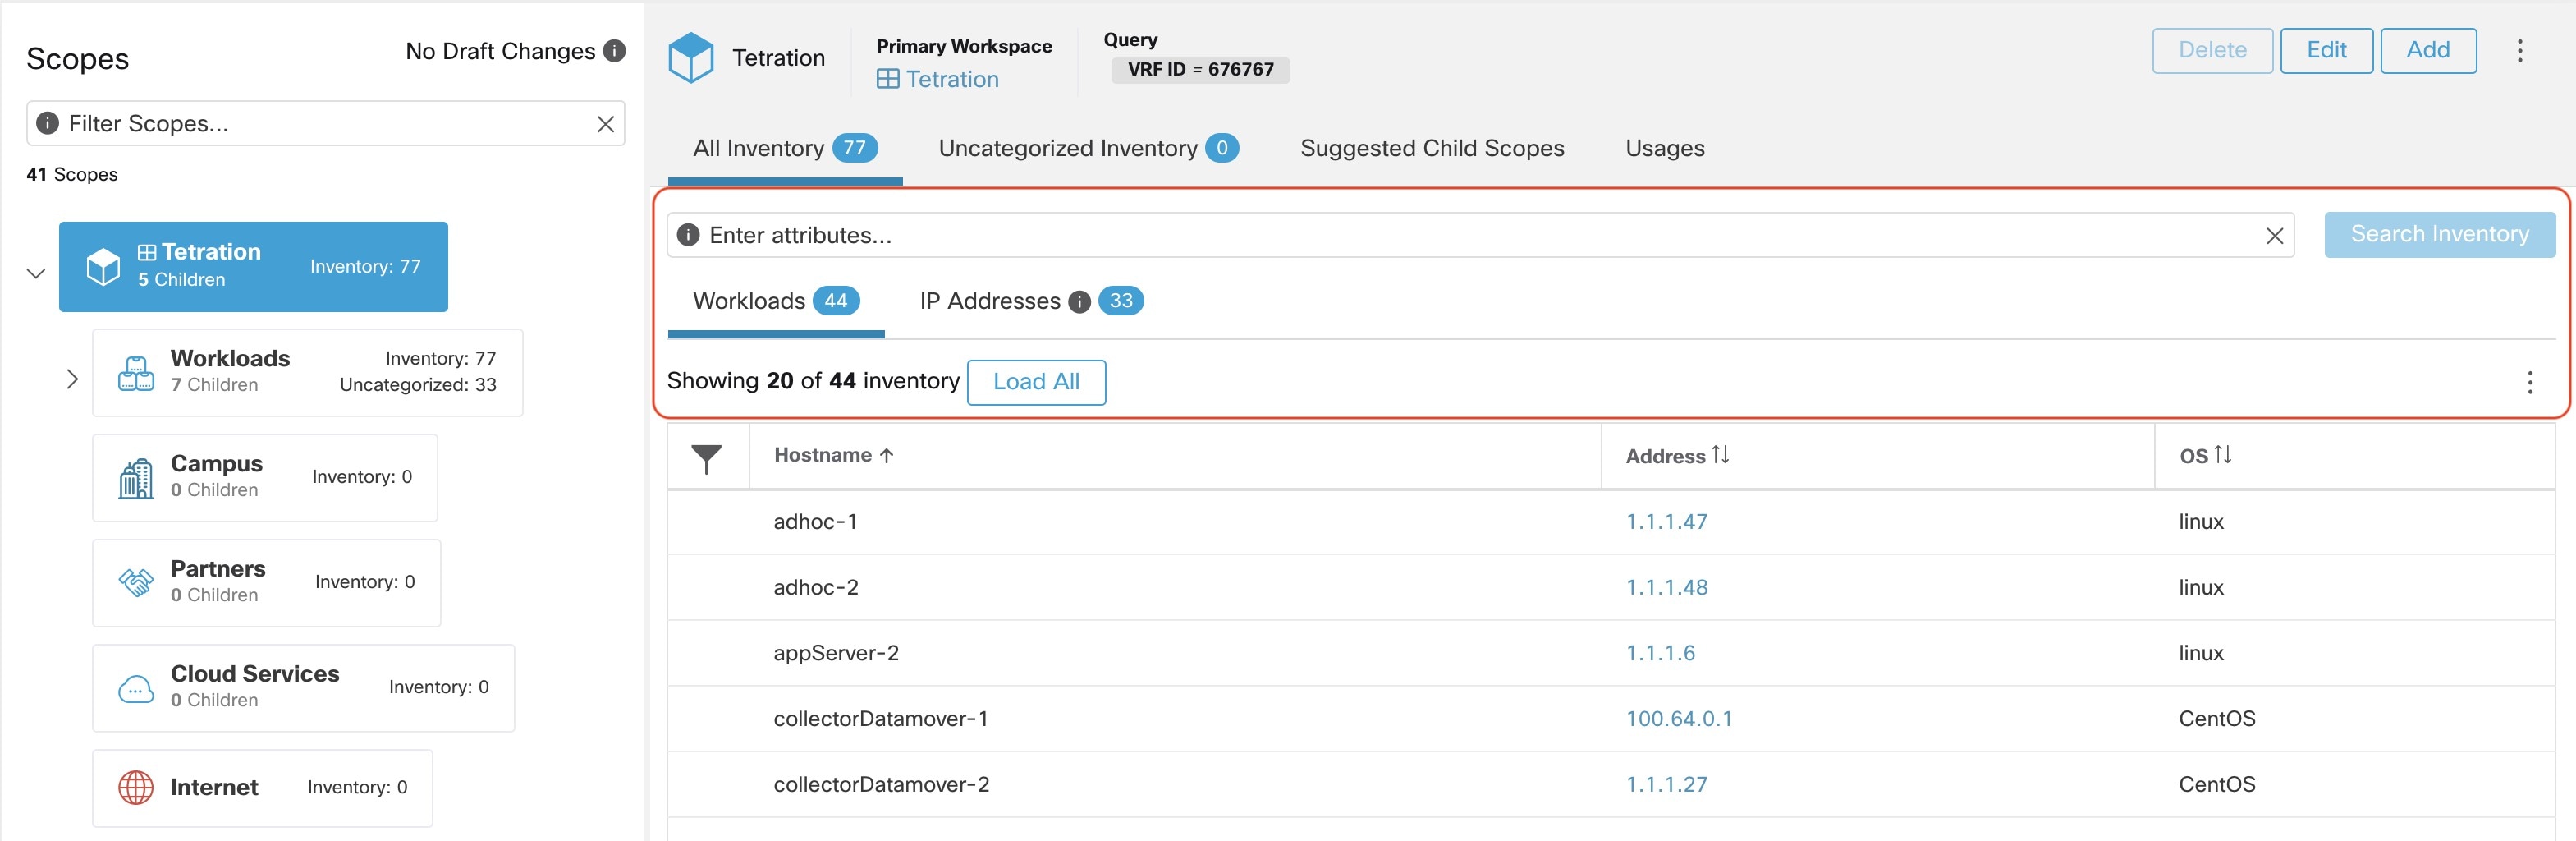
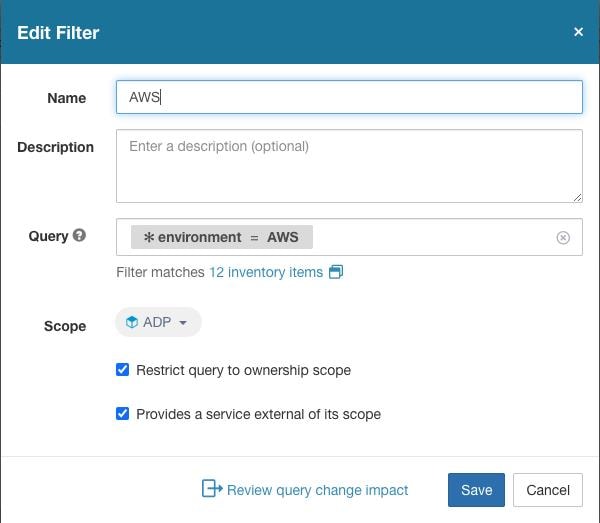
The following figure shows an example of inventory search using the orchestrator-generated label using the prefix:
orchestrator_system/os_image:
Labels Generated by Cloud Connectors
env: prodenv: prodprod,testFor labels specific to AKS, EKS, and GKE, see also Labels Related to Kubernetes Clusters.
|
Key |
Value |
|---|---|
|
orchestrator_system/orch_type |
AWS or Azure |
|
orchestrator_system/cluster_name |
<Cluster_name is the name given by the user for this connector’s configuration> |
|
orchestrator_system/name |
<Name of connector> |
|
orchestrator_system/cluster_id |
<Virtual network ID> |
Instance-Specific Labels
The following labels are specific to each node:
|
Key |
Value |
|---|---|
|
orchestrator_system/workload_type |
vm |
|
orchestrator_system/machine_id |
<InstanceID assigned by the platform> |
|
orchestrator_system/machine_name |
<PublicDNS(FQDN) given to this node by AWS> –or– <InstanceName in Azure> |
|
orchestrator_system/segmentation_enabled |
<Flag to determine if segmentation is enabled on the inventory> |
|
orchestrator_system/virtual_network_id |
<ID of virtual network the inventory belongs to> |
|
orchestrator_system/virtual_network_name |
<Name of virtual network the inventory belongs to> |
|
orchestrator_system/interface_id |
<Identifier of elastic network interface attached to this inventory> |
|
orchestrator_system/region |
<Region the inventory belongs to> |
|
orchestrator_system/resource_group |
(This tag applies to Azure inventory only) |
|
orchestrator_‘<Tag Key>‘ |
<Tag Value> Key-value pair for any number of custom tags assigned to inventory in the cloud portal. |
Labels Related to Kubernetes Clusters
The following information applies to plain-vanilla Kubernetes, OpenShift, and to Kubernetes running on supported cloud platforms (EKS, AKS, and GKE).
For each object type, Secure Workload imports inventory live from a Kubernetes cluster, including labels associated with the object. Label keys and values are imported as-is.
In addition to importing the labels defined for the Kubernetes objects, Secure Workload also generates labels that facilitate the use of these objects in inventory filters. These additional labels are especially useful in defining scopes and policies.
Generated labels for all resources
Secure Workload adds the following labels to all the nodes, pods and services retrieved from the Kubernetes/OpenShift/EKS/AKS/GKE API server.
|
Key |
Value |
|---|---|
|
orchestrator_system/orch_type |
kubernetes |
|
orchestrator_system/cluster_id |
<UUID of the cluster’s configuration in |product|> |
|
orchestrator_system/cluster_name |
<Name of kubernetes cluster> |
|
orchestrator_system/name |
<Name of connector> |
|
orchestrator_system/namespace |
<The Kubernetes/OpenShift/EKS/AKS/GKE namespace of this item> |
Node-specific labels
The following labels are generated for nodes only.
|
Key |
Value |
|---|---|
|
orchestrator_system/workload_type |
machine |
|
orchestrator_system/machine_id |
<UUID assigned by Kubernetes/OpenShift> |
|
orchestrator_system/machine_name |
<Name given to this node> |
|
orchestrator_system/kubelet_version |
<Version of the kubelet running on this node> |
|
orchestrator_system/container_runtime_version |
<The container runtime version running on this node> |
Pod-specific labels
The following labels are generated for pods only.
|
Key |
Value |
|---|---|
|
orchestrator_system/workload_type |
pod |
|
orchestrator_system/pod_id |
<UUID assigned by Kubernetes/OpenShift> |
|
orchestrator_system/pod_name |
<Name given to this pod> |
|
orchestrator_system/hostnetwork |
<true|false> reflecting whether the pod is running in the host network |
|
orchestrator_system/machine_name |
<Name of the node the pod is running on> |
|
orchestrator_system/service_endpoint |
[List of service names this pod is providing] |
Service-specific labels
The following labels are generated for services only.
|
Key |
Value |
|---|---|
|
orchestrator_system/workload_type |
service |
|
orchestrator_system/service_name |
<Name given to this service> |
-
(For cloud-managed Kubernetes only) Services of ServiceType: LoadBalancer are supported only for gathering metadata, not for collecting flow data or for policy enforcement.
 Tip |
Filtering items using orchestrator_system/service_name is not the same as using orchestrator_system/service_endpoint. For example, using the filter orchestrator_system/service_name = web selects all services with the name web while orchestrator_system/service_endpoint = web selects all pods that provide a service with the name web. |
Labels Example for Kubernetes Clusters
The following example shows a partial YAML representation of a Kubernetes node and the corresponding labels imported by Secure Workload.
 - apiVersion: v1
 kind: Node
 metadata:
   annotations:
     node.alpha.kubernetes.io/ttl: "0"
     volumes.kubernetes.io/controller-managed-attach-detach: "true"
   labels:
     beta.kubernetes.io/arch: amd64
     beta.kubernetes.io/os: linux
     kubernetes.io/hostname: k8s-controller
|
Imported label keys |
|---|
|
orchestrator_beta.kubernetes.io/arch |
|
orchestrator_beta.kubernetes.io/os |
|
orchestrator_kubernetes.io/hostname |
|
orchestrator_annotation/node.alpha.kubernetes.io/ttl |
|
orchestrator_annotation/volumes.kubernetes.io/controller-managed-attach-detach |
|
orchestrator_system/orch_type |
|
orchestrator_system/cluster_id |
|
orchestrator_system/cluster_name |
|
orchestrator_system/namespace |
|
orchestrator_system/workload_type |
|
orchestrator_system/machine_id |
|
orchestrator_system/machine_name |
|
orchestrator_system/kubelet_version |
|
orchestrator_system/container_runtime_version |
Importing Custom Labels
You can upload or manually assign custom labels to associate user-defined data with specific hosts. This user-defined data is used to annotate associated flows and inventory.
There are limits on the number of IPv4/IPv6 addresses/subnets that can be labeled across all root scopes, regardless of label source (whether manually entered or uploaded, ingested using connectors or external orchestrators, and so on) For details, see Label Limits.
Guidelines for Uploading Label Files
Procedure
|
Step 1 |
To view a sample file, in the left pane, select , and then click Download a Sample. |
|
Step 2 |
The CSV files used to upload the user labels must include a label key (IP address). |
|
Step 3 |
To use non-English characters in labels, the CSV file must be in UTF-8 format. |
|
Step 4 |
Ensure the CSV files meet the guidelines described in the Label Key Schema section. |
|
Step 5 |
All uploaded files must follow the same schema. |
Label Key Schema
Guidelines governing column names
-
There must be one column with a header “IP” in the label key schema. Additionally, there must be at least one other column with attributes for the IP address.
-
The column “VRF” has special significance in the label schema. If provided, it should match the root scope to which you upload the labels. It’s mandatory when uploading the CSV file using the scope independent API.
-
Column names may contain only the following characters: Letters, numbers, space, hyphen, underscore, and slash.
-
Column names cannot exceed 200 characters.
-
Column names cannot be prefixed with “orchestrator_”, “TA_”, “ISE_”, “SNOW_”, nor “LDAP_” since these can conflict with labels from internal applications.
-
The CSV file should not contain duplicate column names.
Guidelines governing column values
-
Values are limited to 255 characters. However, they should be as short as possible while still being clear, distinctive, and meaningful to users.
-
Keys and values are not case sensitive. However, consistency is recommended.
-
Addresses appearing under the “IP” column should conform to the following format:
-
IPv4 addresses can be of the format “x.x.x.x” and “x.x.x.x/32”.
-
IPv4 subnets should be of the format “x.x.x.x/<netmask>”, where netmask is an integer from 0 to 31.
-
IPv6 addresses in the Long format (“x:x:x:x:x:x:x:x” or “x:x:x:x:x:x:x:x/128”) and the Canonical format (“x:x::x” or “x:x::x/128”) are supported.
-
IPv6 subnets in the Long format (“x:x:x:x:x:x:x:x/<netmask>”) and the Canonical format (“x:x::x/<netmask>”) are supported. Netmask must be an integer from 0 to 127.
-
The order of the columns does not matter. The first 32 user-defined columns will automatically be enabled for label. If more than 32 columns are uploaded, up to 32 can be enabled using the checkboxes on the right-side of the page.
Upload Custom Labels
The following steps explain how users with Site Admin, Customer Support or a root scope owner role can upload labels.
Before you begin
To upload the custom labels, create a CSV file according to the ‘Guidelines for Uploading Label Files’ section.
Procedure
|
Step 1 |
In the left pane, select , and then under Upload New Labels, click Select File. |
||
|
Step 2 |
In the left pane, select , and then under Upload New Labels, click Select File. |
||
|
Step 3 |
Select the operation-Add, Merge, or Delete.
Important: The Delete function, while uploading the custom labels, will remove ALL labels associated with the specified IP addresses/subnets, and is not limited to the columns listed in the CSV file. Therefore, the Delete operation must be used with caution. |
||
|
Step 4 |
Click Upload. |
Search Labels
Users with Site Admin, Customer Support or a root scope owner role can search for, view, and edit labels assigned to an IP address or subnet.
Procedure
|
Step 1 |
On the Label Management page, click Search and Assign. |
|
Step 2 |
In the IP or Subnet field, enter the IP address or subnet and click Next. On the Assign Labels page, the existing labels for the entered IP address or subnet are displayed. |
Manually Assign or Edit Custom Labels
Users with Site Admin, Customer Support, or a root scope owner role can manually assign labels to a given IP address or subnet.
Procedure
|
Step 1 |
On the Label Management page, click Search and Assign. |
|
Step 2 |
In the IP or Subnet field, enter the IP address or subnet and click Next. The Assign Labels page is displayed. Note that the existing labels will be displayed and can be edited. |
|
Step 3 |
To add a new label, in the Labels for <IP address/subnet> section, enter the label name and value, and then click Confirm. Click Next. |
|
Step 4 |
Review the changes and click Assign to commit them. |
Download Labels
Users with Site Admin, Customer Support, or a root scope owner role can download previously defined labels belonging to a root scope.
Procedure
|
Step 1 |
On the Label Management page, click User Defined Label Upload. |
|
Step 2 |
Under the Download Existing Labels section, click Download Labels. The labels used by Secure Workload are downloaded as a CSV file. |
Change Labels
 Warning |
If you need to change a label, do so cautiously, as doing so changes the membership in and effects of existing queries, filters, scopes, clusters, policies, and enforced behavior that are based on that label. |
Procedure
|
Step 1 |
On the Label Management page, click the Search and Assign tab. |
|
Step 2 |
In the IP or Subnet field, enter the IP address or subnet and click Next. The labels used by Secure Workload for the entered IP address/subnet are displayed. |
|
Step 3 |
Under the Actions column, click the Edit icon to change the name and value of the required label. |
|
Step 4 |
Click Confirm, and then click Next. |
|
Step 5 |
Review the changes and click Assign. |
Disable Labels
One way to change the schema is to disable the labels. Proceed with caution.
Procedure
|
Step 1 |
Navigate to the Label Management page. |
|
Step 2 |
For the required label, under the Actions column, select Disable and confirm to remove the label from the inventory by clicking Yes. If you decide to enable the label at a later time, click Enable to use the label. |
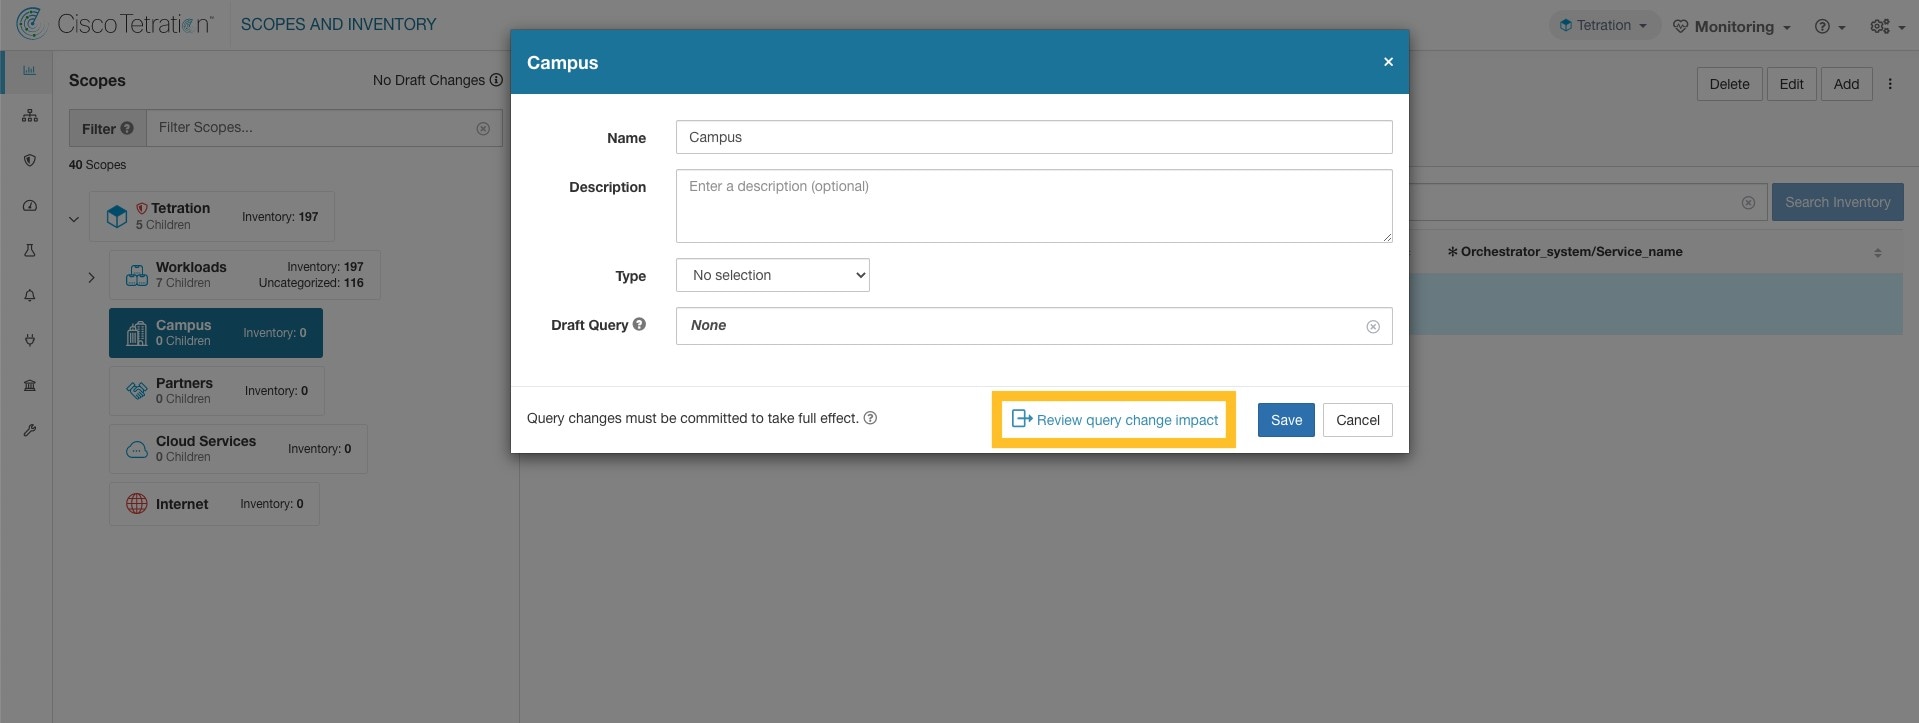
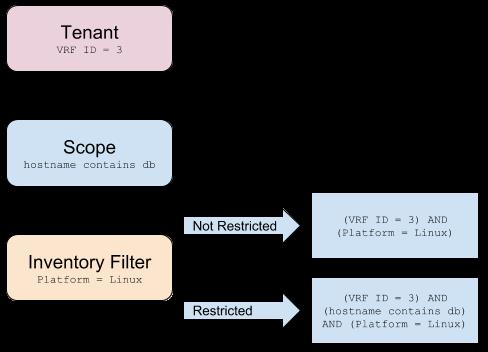
Review Label Change Impact
Users with Site Admin, Customer Support, or a Root Scope Owner role can view and edit the labels assigned to an IP address or subnet.
Procedure
|
Step 1 |
On the Label Management page, click Search and Assign. |
|
Step 2 |
In the IP or Subnet field, enter the IP address or subnet and click Next. Note that the existing labels inherited from the IP address or subnet are editable. |
|
Step 3 |
To add a new label, in the Labels for IP address/subnet section, enter the label name and value, and click Confirm. |
|
Step 4 |
Click Next. |
|
Step 5 |
Under the Action column, click the Review Label Change Impact link for the label that you want to review the details. |
|
Step 6 |
Click Back to close the page. |
|
Step 7 |
In the Search and Assign page, click Assign to commit the changes. 
|
Delete Labels
 Caution |
One way to change the schema is to disable the labels and delete them. Proceed with caution. This action deletes the selected label that impacts all dependent Filters and Scopes. Ensure that these labels are not used. This action cannot be undone. |
Procedure
|
Step 1 |
Disable the labels. For more information, see Disable Labels. |
|
Step 2 |
Click the TrashCan icon to confirm, and click Yes to delete the label. |
View Labels Usage
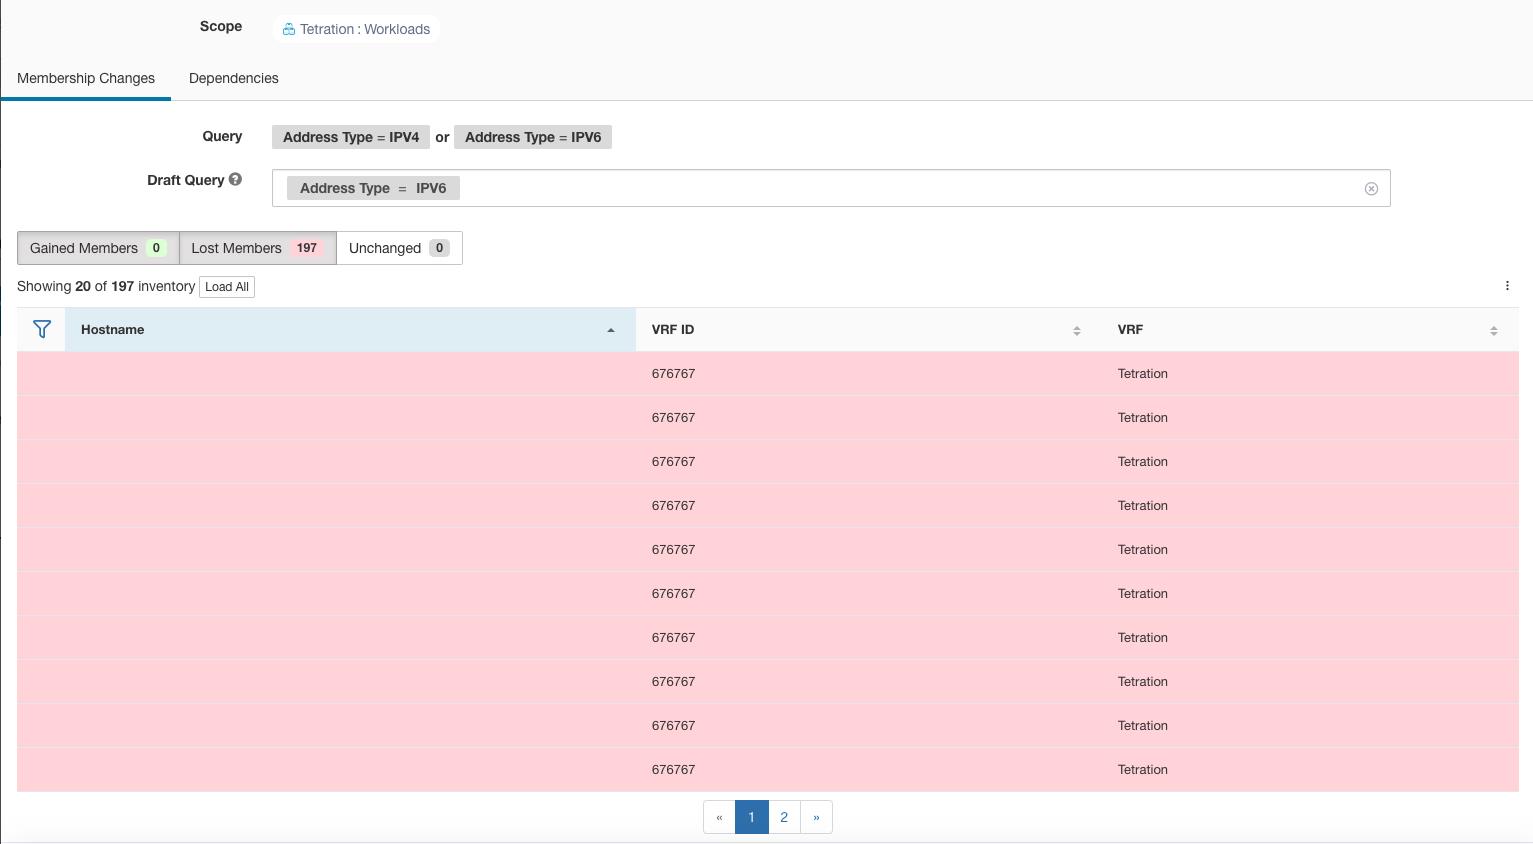
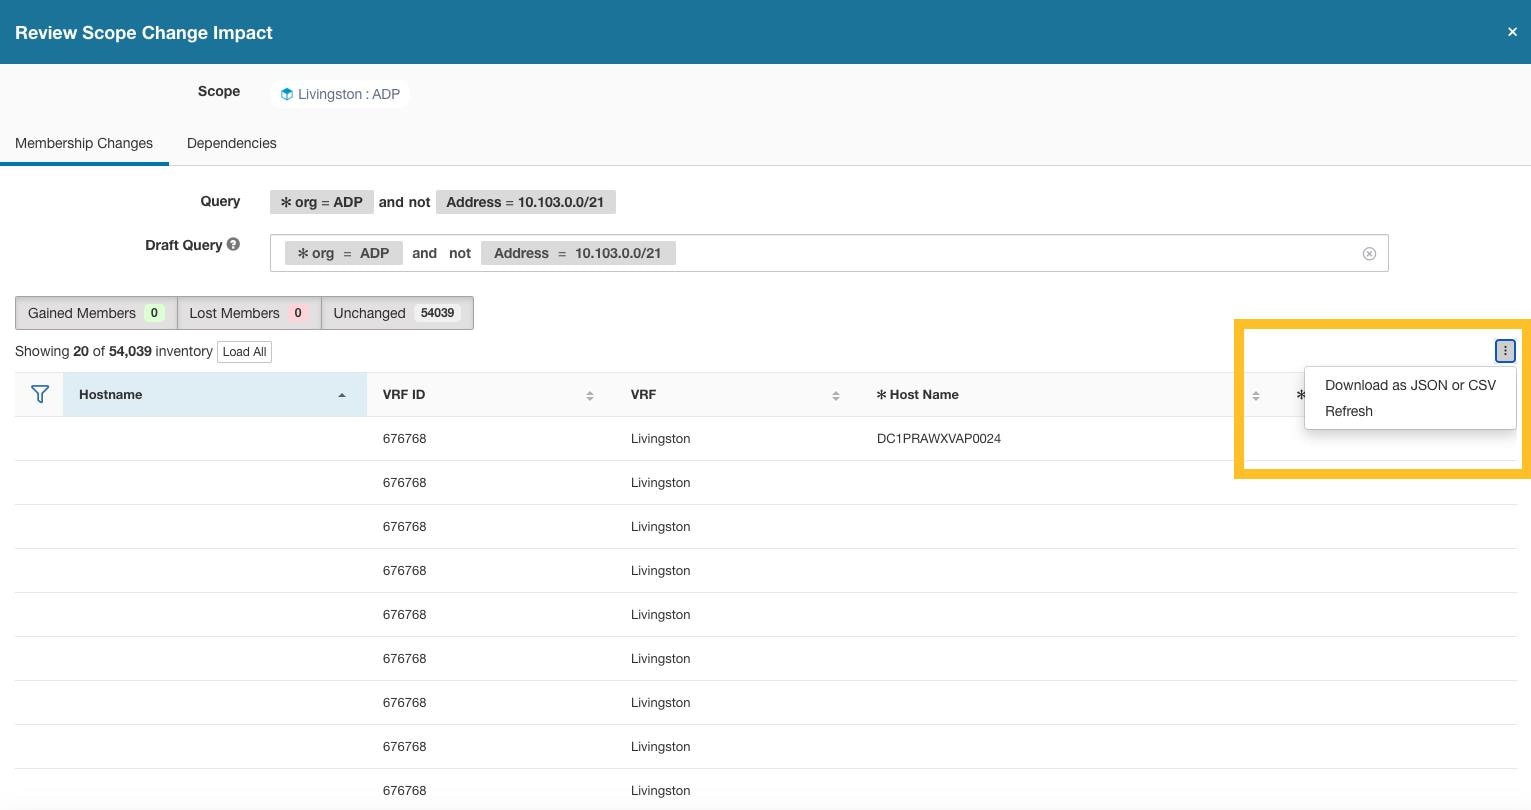
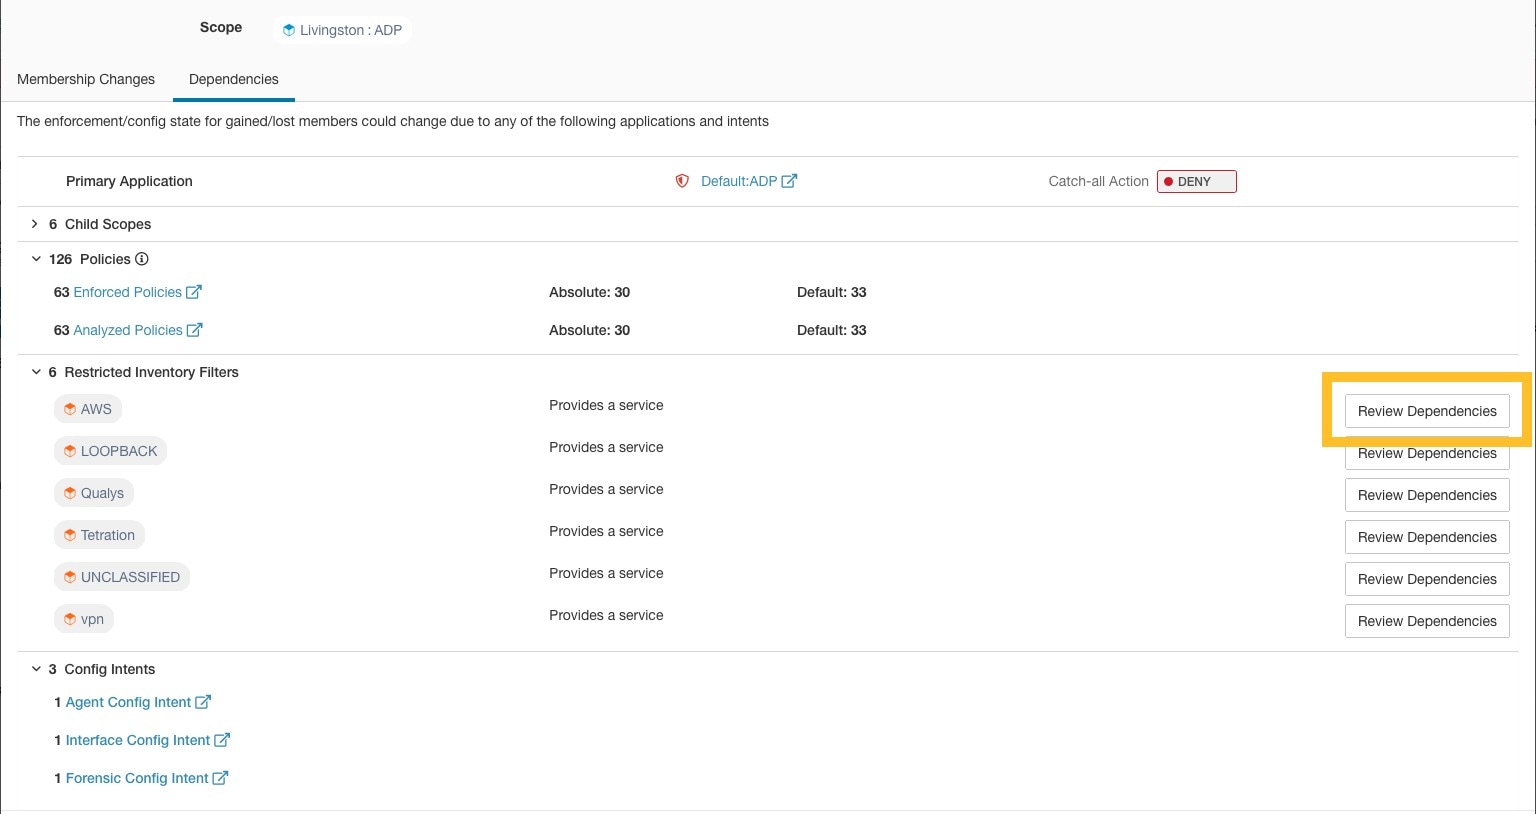
The IP addresses/subnet inventory gets updated with the custom labels uploaded using CSV files or manually assigned by users. The labels are then used in defining the scopes and filters, and the application policies are created based on these filters. Therefore, understanding the usage of labels is critical as any modifications to the labels directly impacts the scopes, filters, and policies in Secure Workload.
To view the usage of labels:
Procedure
|
Step 1 |
On the Label Management page, the label keys, top five values of the labels in use, inventory, scopes, filters, and clusters using the custom labels are displayed. |
||
|
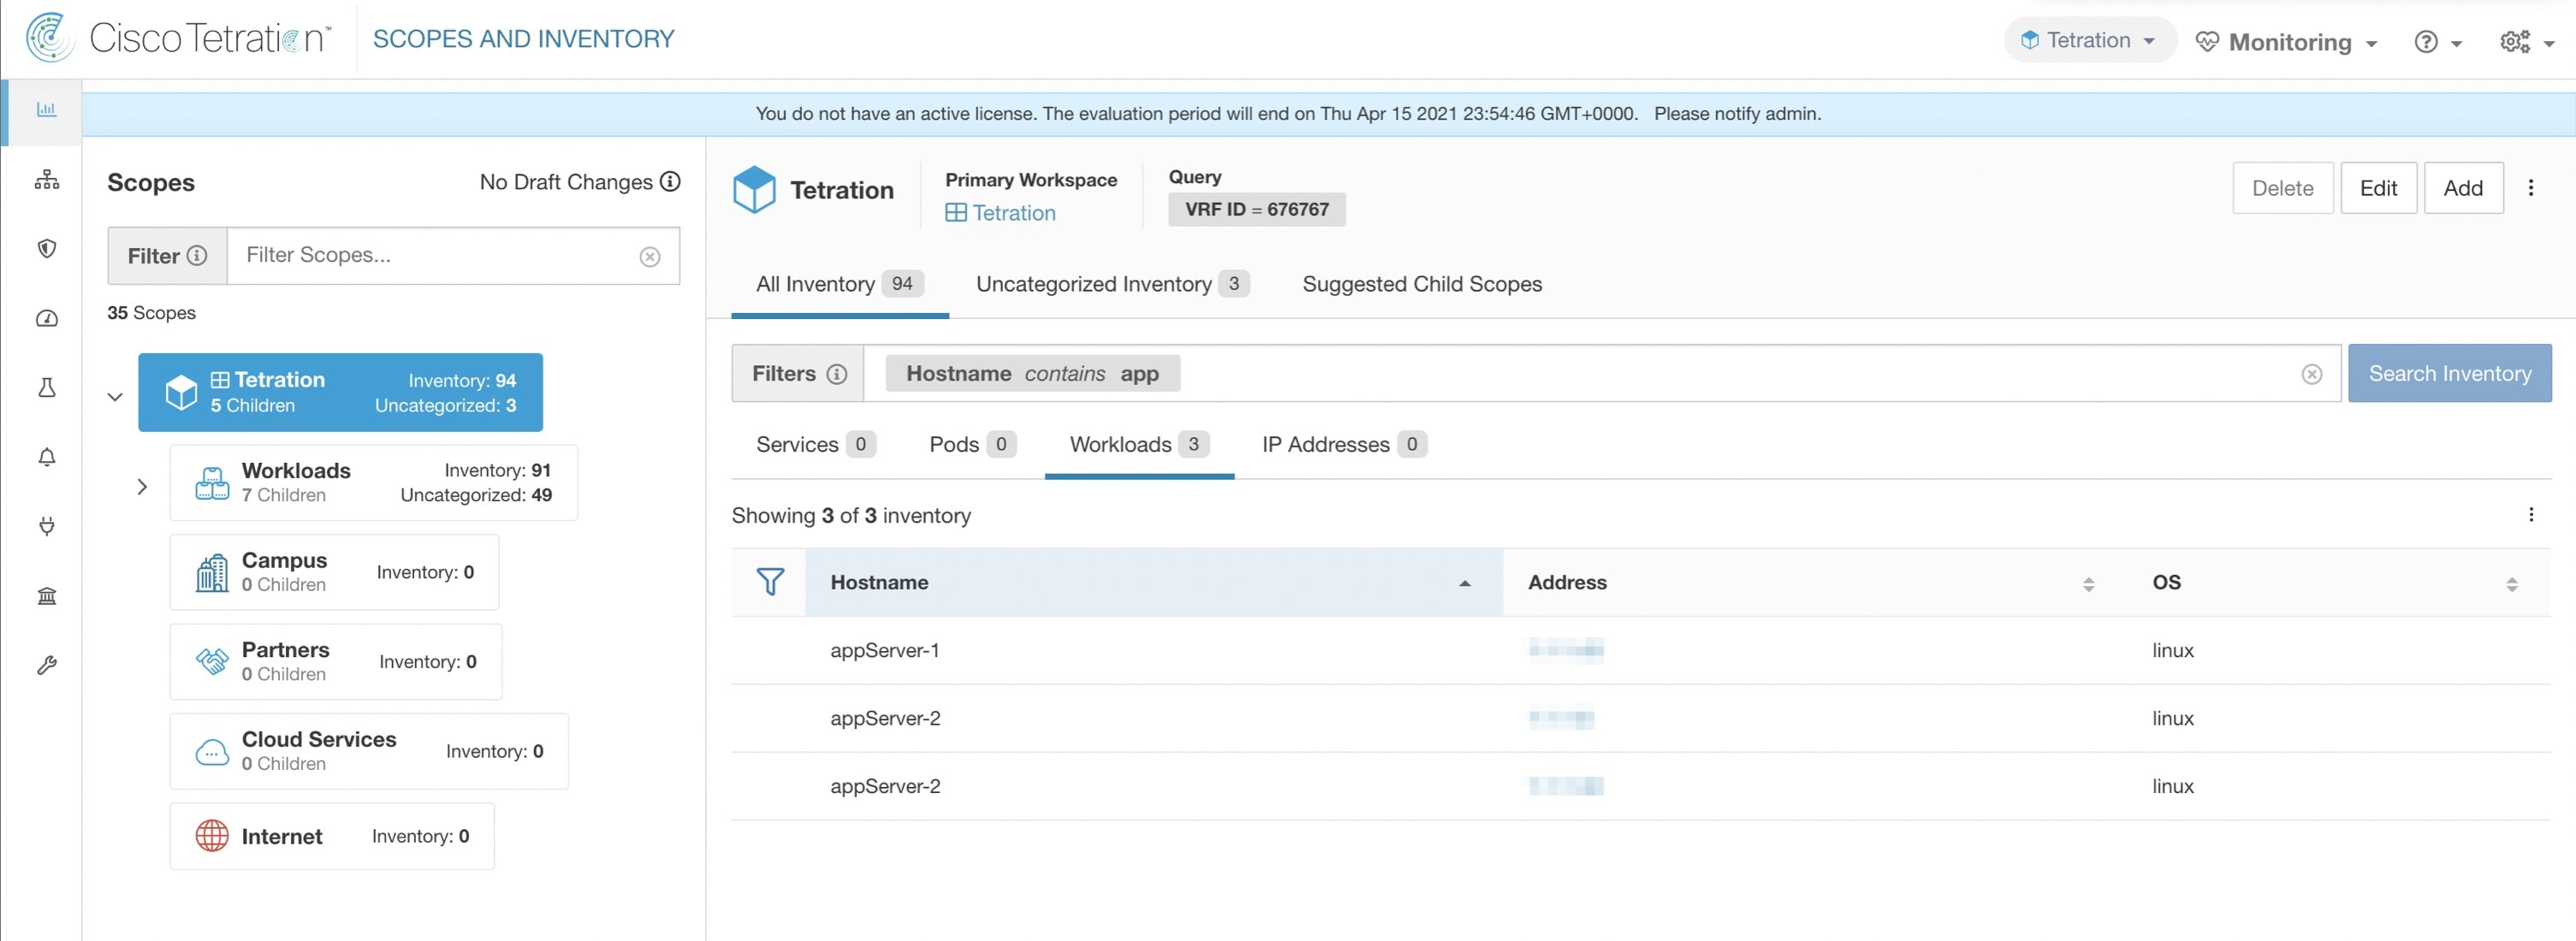
Step 2 |
Under the Usages column, click the count values against the inventory, scopes, or filters. For example, to view the scopes using the “Location” label, click the scope queries count.  The Scopes and Inventory page is displayed, and the query automatically filters the scopes with the selected label.
|
Create a Process for Maintaining Labels
Your network and inventory will change, and you must plan to update labels to reflect those changes.
For example, if a workload is retired and its IP address is reassigned to a workload with a different purpose, you need to update the labels associated with that workload. This is true for both manually uploaded labels and for labels maintained in and ingested from other systems such as a configuration management database (CMDB.)
Create a process to ensure that your labels are updated on a regular, ongoing basis, and add this process to your network-maintenance routine.


 Feedback