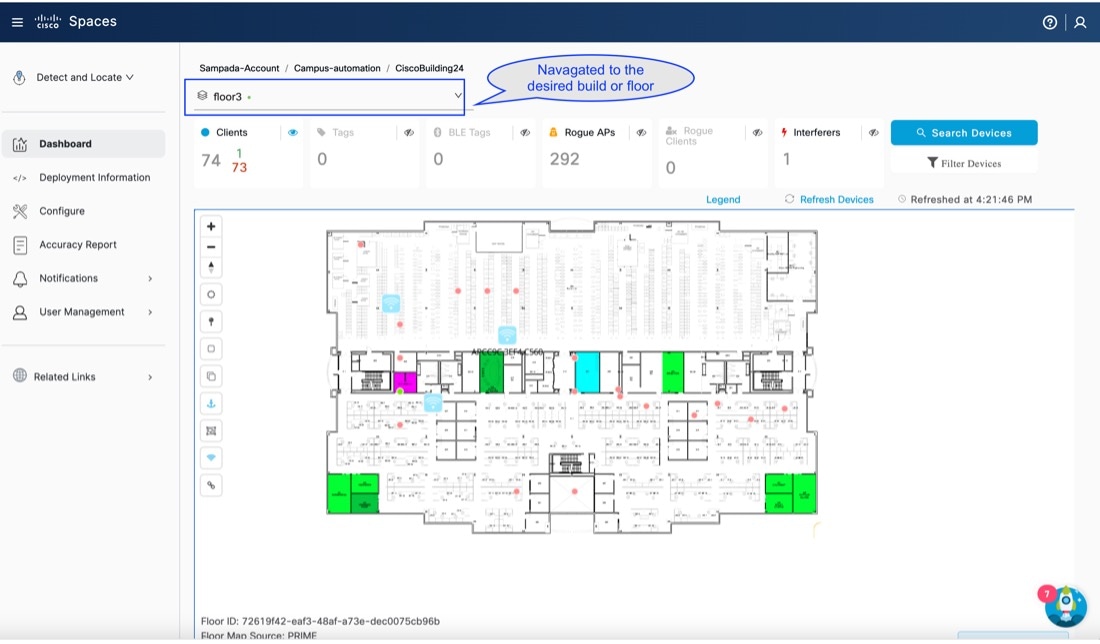
Navigate to Your Location on the Dashboard
You can see the location hierarchy of your network in a drop-down list on the Cisco Spaces: Detect and Locate dashboard.
Use this drop-down list to navigate to the desired campus, building, or floor.

The documentation set for this product strives to use bias-free language. For the purposes of this documentation set, bias-free is defined as language that does not imply discrimination based on age, disability, gender, racial identity, ethnic identity, sexual orientation, socioeconomic status, and intersectionality. Exceptions may be present in the documentation due to language that is hardcoded in the user interfaces of the product software, language used based on RFP documentation, or language that is used by a referenced third-party product. Learn more about how Cisco is using Inclusive Language.
You can see the location hierarchy of your network in a drop-down list on the Cisco Spaces: Detect and Locate dashboard.
Use this drop-down list to navigate to the desired campus, building, or floor.


The map on the Detect and Locate dashboard has various markings. Click the Legend button to understand the various markings.


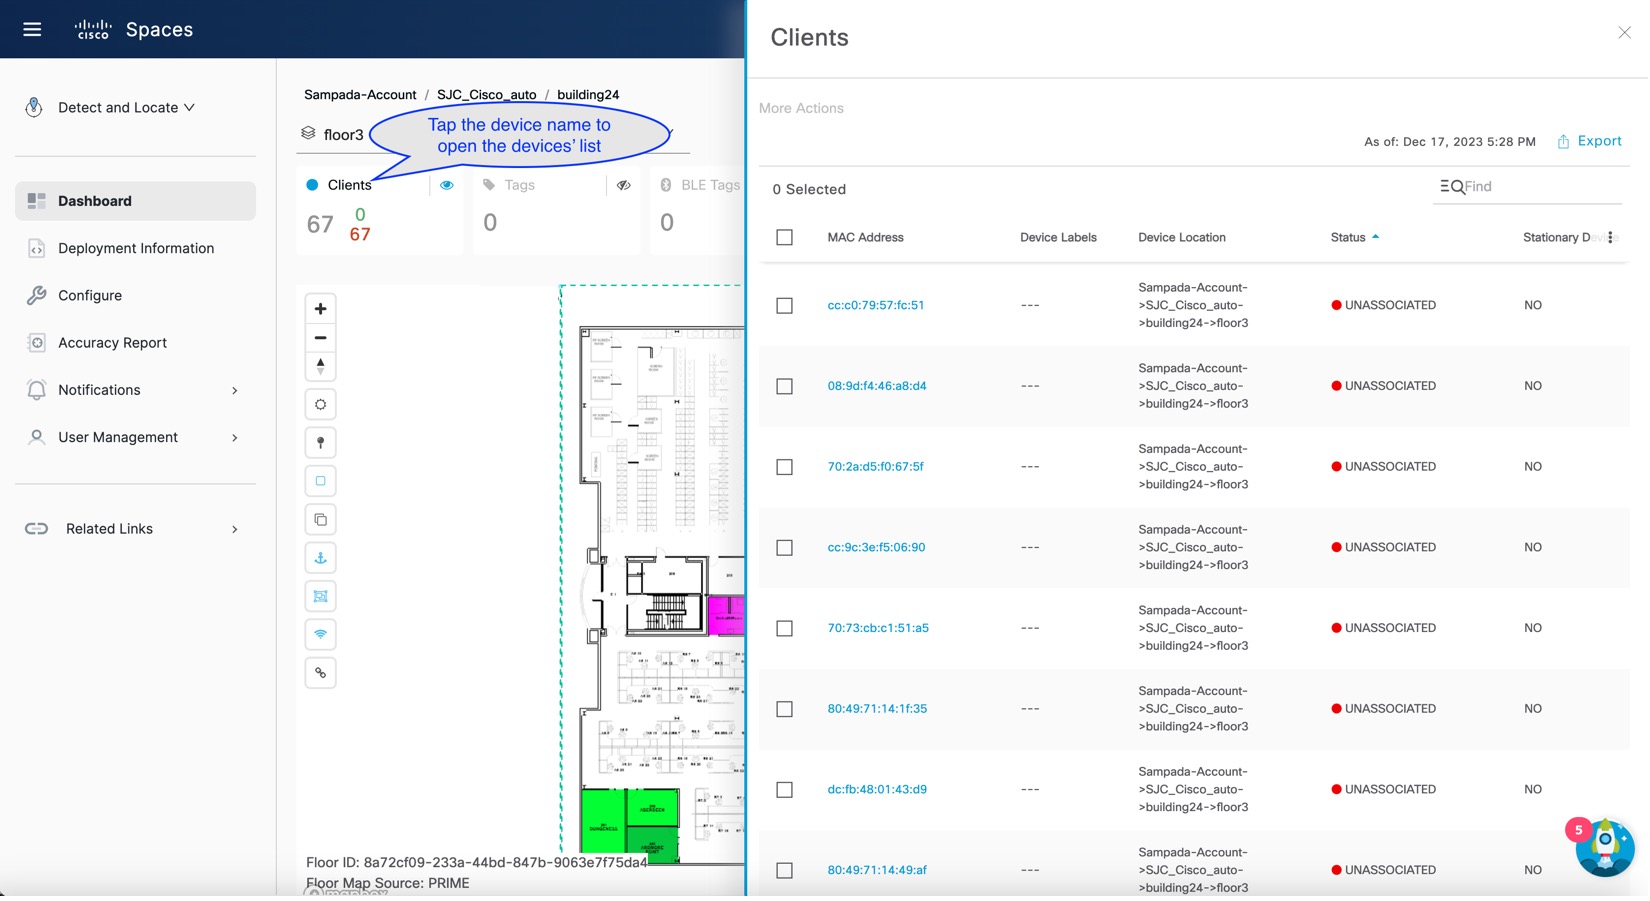
The device toolbar allows you to customize the view of the dashboard. Each device type on the device toolbar has an associated
eye icon ![]() . Click the eye icon to show or hide this type of device on the map. Choose any combination of the icons and click the corresponding
eye icons to customize your view.
. Click the eye icon to show or hide this type of device on the map. Choose any combination of the icons and click the corresponding
eye icons to customize your view.
Here is a description of each device type on the device toolbar, and some additional icons present on the map.
Clients: Represent both connected and detected clients. The number in green (the first number) indicates the number of connected clients, and the number in red (the second number) indicates detected clients. These various client types are represented on the map as:
Clustered Probing Clients: A dot associated with a number on the map (![]() ). This dot signifies a cluster of probing clients. You can zoom in to view individual clients.
). This dot signifies a cluster of probing clients. You can zoom in to view individual clients.
Probing Clients: A red dot on the map indicates probing clients.
Connected Clients: A green dot on the map indicates connected clients.
BLE Tags: Represent Bluetooth Low Energy tags attached to track devices.
Tags: Represent vendor-specific information in raw format from Wi-Fi tags.
Rogue Access Points: Represent APs that are not part of or managed by the Wi-Fi infrastructure.
Rogue Clients: Indicate clients connected to rogue access points.
Interferers: Represent devices that can create radio frequency interference.


You can show or hide the following elements using the left toolbar. You can also enable or disable clustering using the left toolbar:
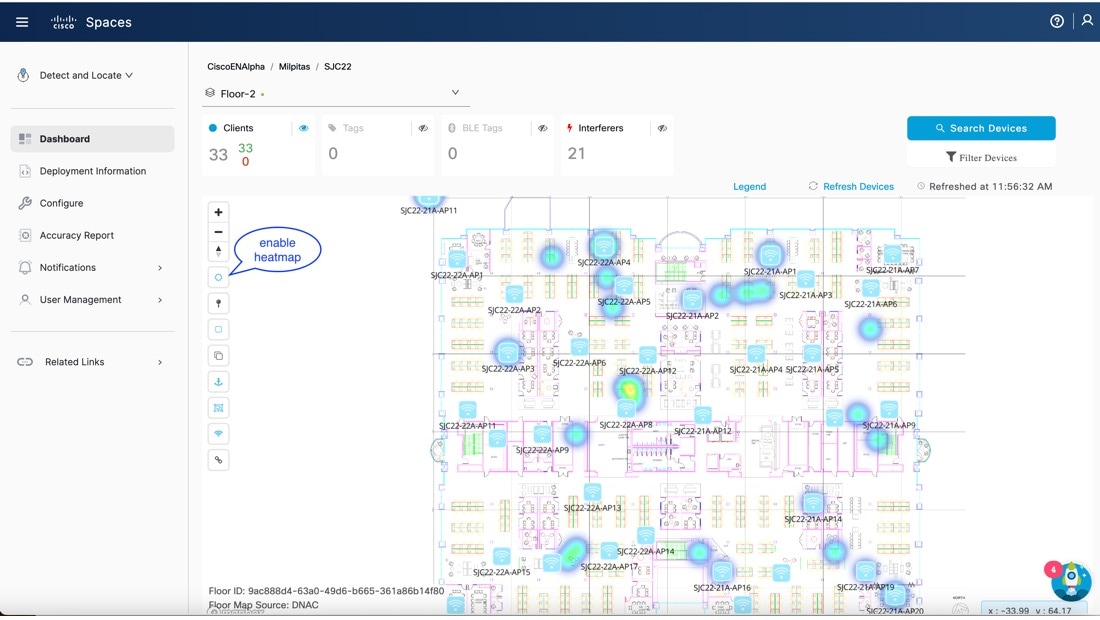
Heatmap:
![]() Displays (or hides) the movement of various clients as a heatmap.
Displays (or hides) the movement of various clients as a heatmap.
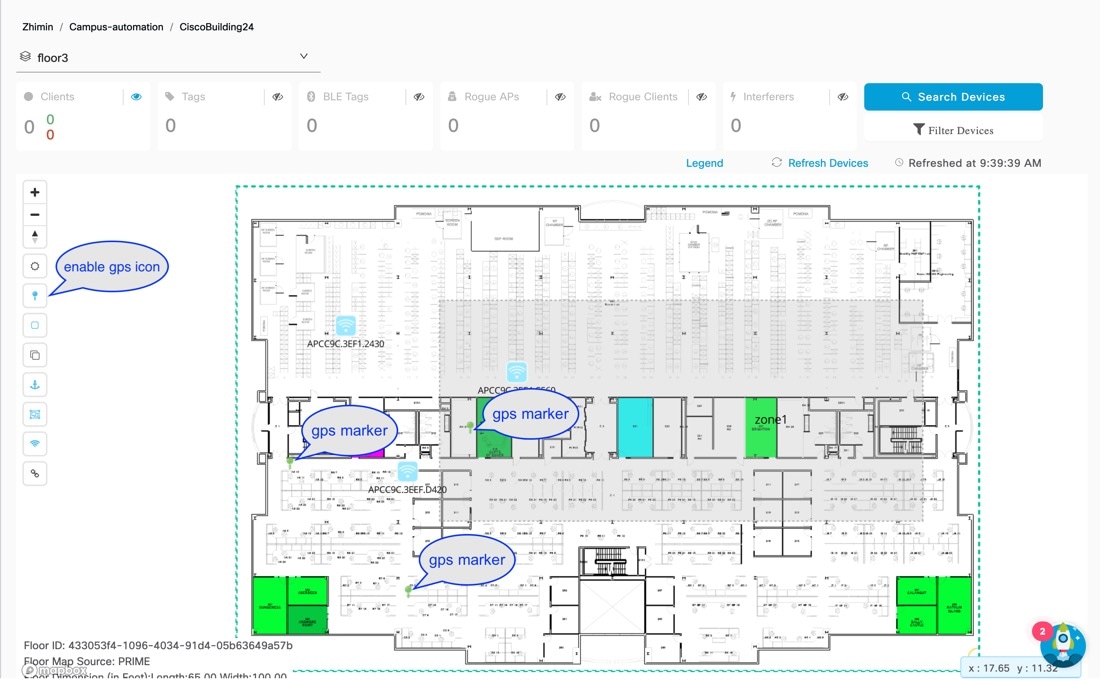
GPS markers:
![]() Displays (or hides) GPS markers. Green markers indicate valid locations, while red markers indicate invalid ones. Hover over
the markers for detailed information.
Displays (or hides) GPS markers. Green markers indicate valid locations, while red markers indicate invalid ones. Hover over
the markers for detailed information.
Floor boundary:
![]() Displays (or hides) floor boundary.
Displays (or hides) floor boundary.
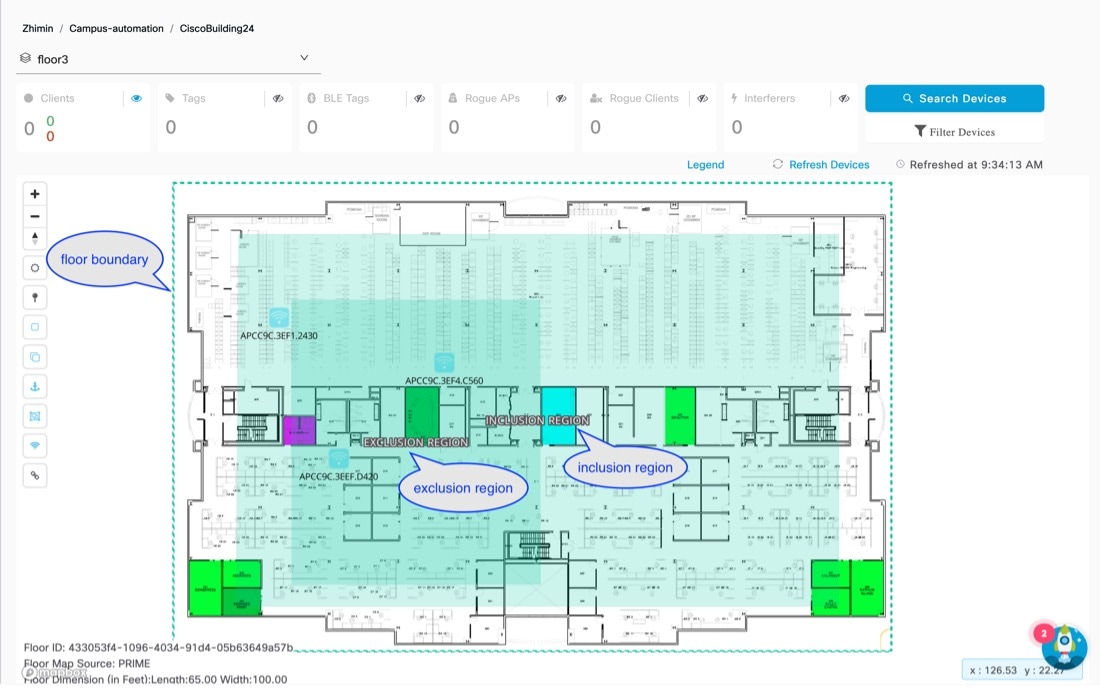
Inclusion Exclusion Regions:
![]() Displays (or hides) inclusion and exclusion regions.
Displays (or hides) inclusion and exclusion regions.
Anchor tags:
![]() Displays (or hides) anchor tags.
Displays (or hides) anchor tags.
Zones:
![]() Displays (or hides) zones on a specific floor.
Displays (or hides) zones on a specific floor.

Access Point:
![]() Displays (or hides) APs deployed on a specific floor. If you uploaded a map to Detect and Locate, you can use this icon to see which APs have device location information (
Displays (or hides) APs deployed on a specific floor. If you uploaded a map to Detect and Locate, you can use this icon to see which APs have device location information (![]() ) and which APs do not (
) and which APs do not (![]() ). You can then troubleshoot based on this information.
). You can then troubleshoot based on this information.

Clustering:
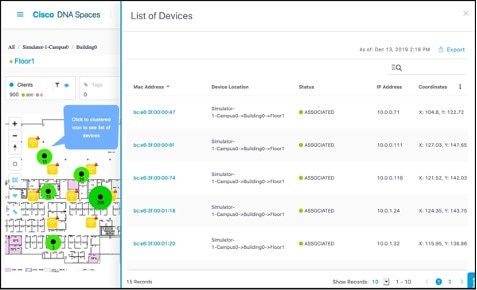
![]() Enables (or disables) clustering of closely-located and possibly-overlapping devices into a group. Click on the clustered
icon to view the list of devices in a separate window.
Enables (or disables) clustering of closely-located and possibly-overlapping devices into a group. Click on the clustered
icon to view the list of devices in a separate window.
Detect and Locate provides a configuration to tag regular clients as sticky clients.
Typically, a client connects to the AP closest to it. However, there may be instances where a device connects to an AP, moves into the range of another AP, and does not change its association to the closer AP. Such a client is referred to as a sticky client.
For example, a user enters the first floor and connects to the AP on that floor. The user then moves to the third floor and stays there. You might expect the device to connect to the AP on the third floor. But if it does not, and such a client is referred to as a sticky client, as it is stuck to an AP that is farther away.
The information about sticky clients is obtained from the controller and is not computed by Cisco Spaces: Detect and Locate. When Detect and Locate tags a client as sticky, there is no difference in the way the device is processed. Detect and Locate continues to receive messages from the controller and reflects the state of the device accordingly. Detect and Locate dashboard uses a green icon to indicate associated clients that are sticky.
This feature is disabled by default, providing users the option to enable it based on their network requirements.
To tag regular clients as sticky clients in Cisco Spaces: Detect and Locate, follow these steps:
|
To enable the sticky clients feature, navigate to the Detect and Locate dashboard. |