Cisco Aironet Four-Port Dual-Band Polarization-Diverse Antenna (AIR-ANT2513P4M-N)

This chapter contains the following:

Overview

This document describes the AIR-ANT2513P4M-N antenna and provides electrical specifications and mounting instructions. The antenna is a four-port polarization-diverse patch array that operates over the 2.4-GHz and 5-GHz Wi-Fi bands. It ships with an articulating mount for use on flat surfaces and masts and is adjustable in both the horizontal and vertical planes. The radome is paintable using commonly available non-conductive spray paints, such as Krylon or Rust-Oleum. The antenna is designed for use in indoor and outdoor environments with Cisco Aironet 3702P and 1570 series access points.

Technical Specifications

Antenna Type

Dual-Band Polarization Diverse Patch Array

Operating Frequency Ranges

2.4-2.5 GHz

5.15-5.925 GHz

Nominal Input Impedance

50 Ohms

50 Ohms

VSWR

1.6:1

1.5:1 (above 5.7 GHz to 5.9 GHz)

2:1 (from 5.15 GHz to 5.7 GHz)

Peak Gain

13 dBi

13 dBi

Polarization (Ports A & C)

Vertical

Vertical

Polarization (Ports B & D)

Horizontal

Horizontal

Nominal Elevation Plane 3-dB Beamwidth

33 Degrees

27 Degrees

Nominal Azimuth Plane 3-dB Beamwidth

31 Degrees

31 Degrees

V-Pol Maximum Sidelobe Level

-15 dBc

-12 dBc

H-Pol Maximum Sidelobe Level

-10 dBc

-12 dBc

Front-to-Back Ratio

> 30 dB

> 30 dB

Connector Type

N-Female Bulkhead

Length

14.5 in. (36.8 cm)

Width

20 in. (50.7 cm)

Height

0.8 in. (2.11 cm)

Weight

81.1 oz. (2.3 kg)

Water/Foreign Body Ingress

IP67

Operational Wind

100 MPH

Operating Temperature Range

-40° C to 85° C

Figure 1. ANT2513P4M-N front high view

2.4 GHz Antenna Radiation Patterns

Figure 2. 2.4 GHz Ports AandC Azimuth Plane
Figure 3. 2.4 GHz Ports AandC Elevation Plane
Figure 4. 2.4 GHz Ports BandD Azimuth Plane
Figure 5. 2.4 GHz Ports BandD Elevation Plane

5 GHz Antenna Radiation Patterns

Figure 6. 5 GHz Ports AandC Azimuth Plane
Figure 7. 5 GHz Ports AandC Elevation Plane
Figure 8. 5 GHz Ports BandD Azimuth Plane
Figure 9. 5 GHz Ports BandD Elevation Plane

Antenna and Bracket Dimensions

The following figures show the overall dimensions of the antenna and bracket.

Figure 10. Antenna and Bracket Dimensions (in millimeters)
Figure 11. Rear View of Antenna (dimensions in millimeters)

System Requirements

This antenna is designed for use with Cisco Aironet 3702P and 1570 series access points. The antenna can be mounted on a wall, a ceiling, or a pole with a maximum diameter of 5 inches (12.7 cm).

General Safety Precautions


Warning


This warning symbol means danger. You are in a situation that could cause bodily injury. Before you work on any equipment, be aware of the hazards involved with electrical circuitry and be familiar with standard practices for preventing accidents. Use the statement number provided at the end of each warning to locate its translation in the translated safety warnings that accompanied this device. Statement 1071

Warning


Do not work on the system or connect or disconnect cables during periods of lightning activity. Statement 1001

Warning


Do not locate the outdoor antenna near overhead power lines or other electric light or power circuits, or where it can come into contact with such circuits. When installing the antenna, take extreme care not to come into contact with such circuits, as they may cause serious injury or death. For proper installation and grounding of the antenna, please refer to national and local codes (for example, U.S.:NFPA 70, National Electrical Code, Article 810, Canada:Canadian Electrical Code, Section 54). Statement 1052

Warning


In order to comply with FCC radio frequency (RF) exposure limits, antennas should be located at a minimum of 7.9 inches (20 cm) or more from the body of all persons. Statement 332

Note


For your safety, and to help you achieve a good installation, please read and follow these safety precautions.

Mast Mounted or Building Mounted Installations

The following instructions are common to most mast mounted or building mounted installations. For specific installation instructions for each antenna, see the antenna data-sheet and the router hardware installation guide.

  • Find someone to help you—installing an antenna is often a two-person job.

  • Select your installation site with safety, as well as performance, in mind. Remember that electric power lines and phone lines look alike. For your safety, assume that any overhead line can kill you.

  • Contact your electric power company. Tell them your plans and ask them to come look at your proposed installation.

  • Do not use a metal ladder.

  • Do not work on a wet or windy day.

  • Do dress properly—wear shoes with rubber soles and heels, rubber gloves, and a long-sleeved shirt or jacket.

  • If the assembly starts to drop, move away from it and let it fall. Because the antenna, mast, cable, and metal guy wires are all excellent conductors of electrical current, even the slightest touch of any of these parts to a power line completes an electrical path through the antenna and the installer.

  • If any part of the antenna system should come in contact with a power line, do not touch it or try to remove it yourself. Call your local power company to have it removed safely.

  • If an accident should occur with the power lines, call for qualified emergency help immediately.

  • Assemble your new antenna on the ground or a level surface at the installation site.

  • Connect its coaxial cable while you are on the ground and attach the antenna to the mast.

  • Ensure that the mast does not fall as you raise or remove it. Use a durable non-conductive rope secured at each two foot level as the mast is raised. Have an assistant tend the rope, ready to pull the mast clear of any hazards (such as power lines) should it begin to fall.

  • Use the mounting bracket provided with the antenna.

  • If the installation will use guy wires:

    • Install guy anchor bolts.

    • Estimate the length of guy wire and cut it before raising the mast.

    • Attach guy wires to a mast using guy rings.

    • In the case of a guyed (tall, thin mast) installation, you must have at least one assistant to hold the mast upright while the guy wires are attached and tightened to the anchor bolts.

  • Attach a “DANGER” label at eye level on the mast.

  • Install ground rods to remove any static electricity buildup and connect a ground wire to the mast and ground rod. Use ground rods designed for that purpose, not a spare piece of pipe.

Unused Antenna Ports

Port plugs must be installed in any unused antenna ports.

The weatherproof caps on the connectors protect the router interior from environmental elements including water, heat, cold, and dust. They are installed on unused ports before the router is shipped.

When you install a new antenna in a port with an N-connector:

  • Chassis-mounted antennas—Remove the weather proof cap before installing a chassis-mounted antenna.

  • External antennas—Remove weatherproof cap, then connect the supported Cisco cable to the connector.

Guidelines to Achieving Optimal RF and Antenna Performance

Antennas are a critical component of a wireless communication system. Selecting a suitable antenna, an optimal antenna location, or antenna site is essential for optimum performance of a wireless links.

This section covers general tips for optimizing RF performance of indoor and outdoor terrestrial radio systems in the 400-7125 MHz frequency range. Examples of terrestrial radio systems include 4G LTE, 5G NR, Wi-Fi, LoRa, LR-WPAN and similar. In this context GPS SPS would not be considered a terrestrial system as the signal is received from space, not from another terrestrial site.

Because the antenna transmits and receives radio signals over the air, overall RF performance of the link is susceptible to RF obstructions and common sources of RF interference that can reduce throughput and range of the system.

Follow these guidelines to optimize performance. When in doubt, consult a qualified RF professional, and check with your solution partner for specific recommendations.

Antenna Model Selection and Performance

Consider the following when planning your installation:

  • When selecting the antenna, ensure that it covers the frequency ranges or frequency bands of interest, and that it has good RF parameters such as antenna efficiency, VSWR and suitable radiation pattern for every frequency range that your application will use with this antenna.

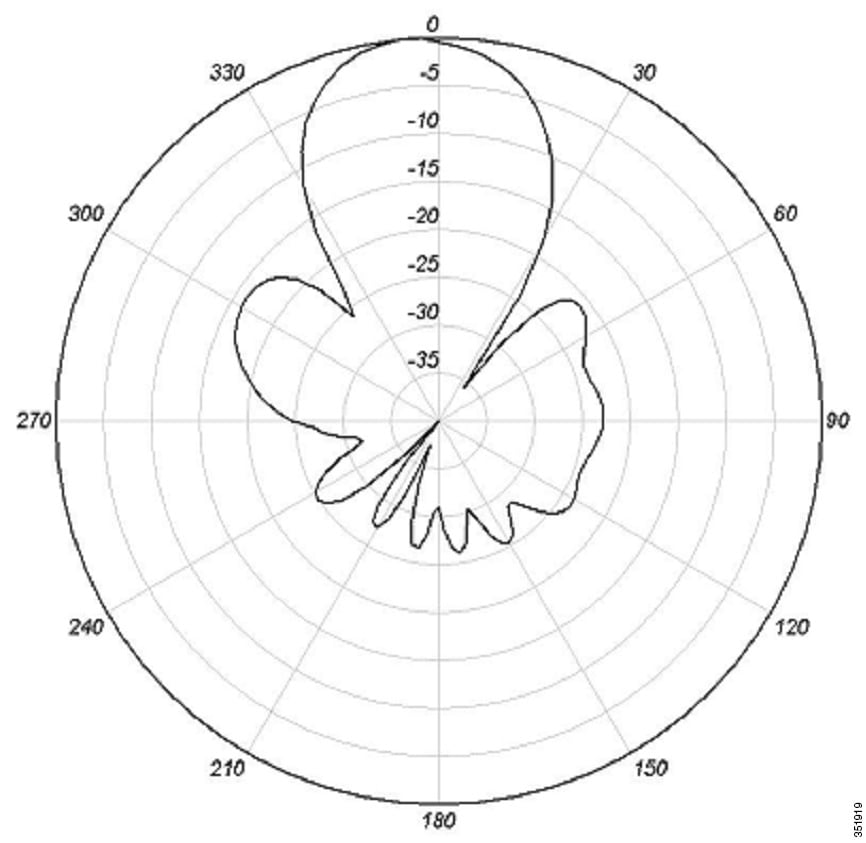
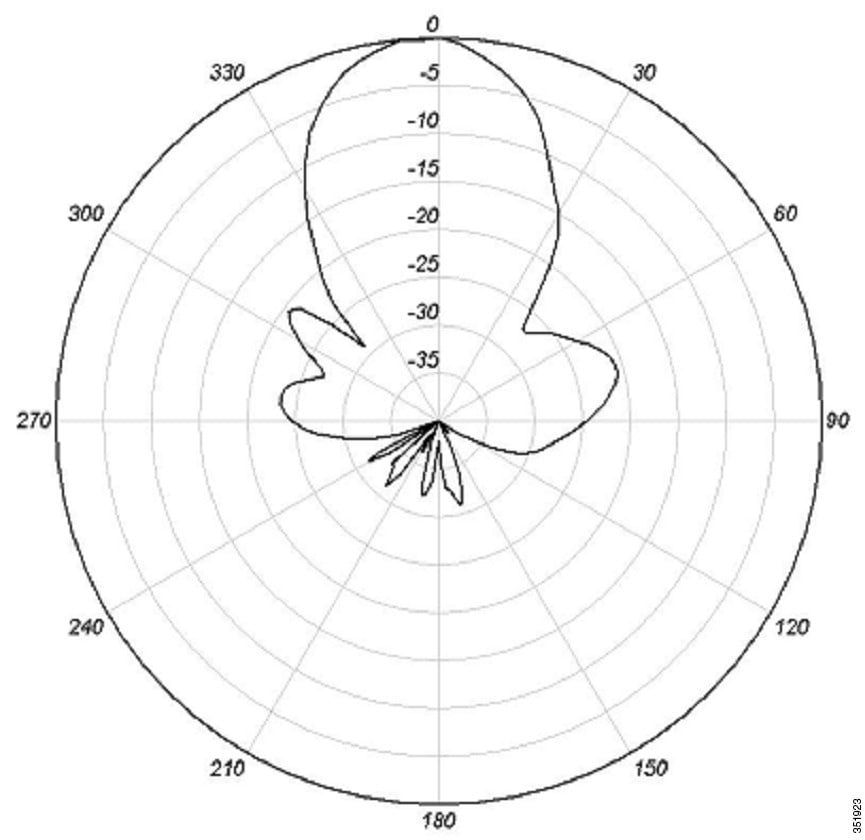
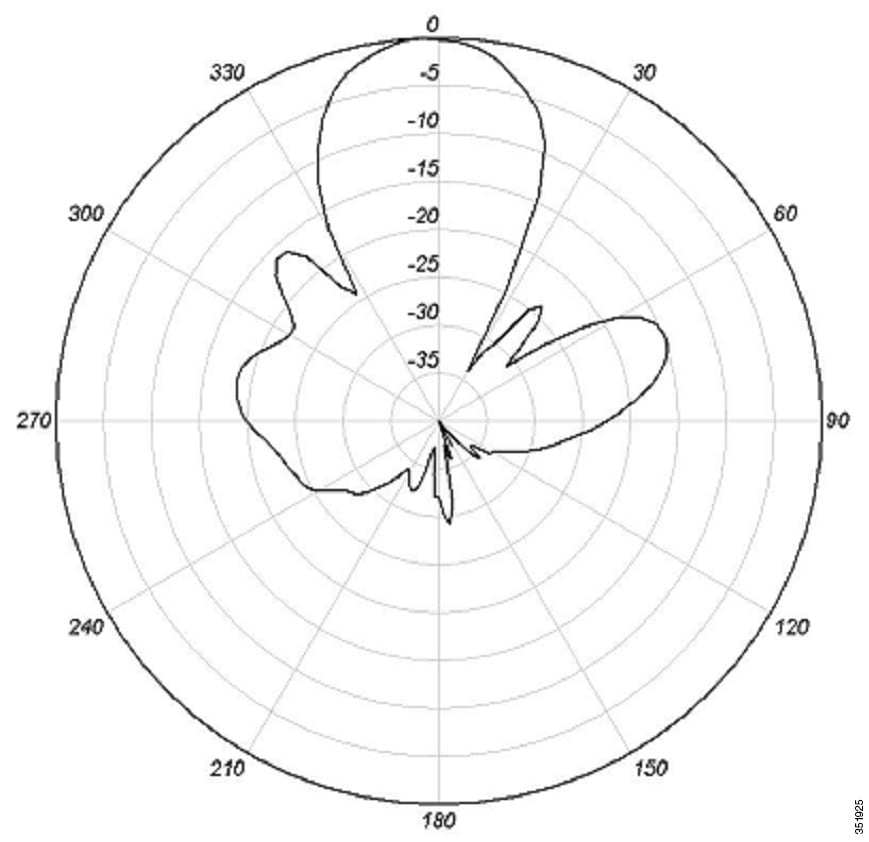
  • Antenna pattern is important. Omni-directional antennas have lower gain, but allow communicating to devices in all azimuth directions. Directional antennas concentrate the beam in a specific direction, making them ideal for point to point communication.

  • When a system has multiple RF ports for receive and / or transmit, as is the case for 4G LTE , 5G NR or Wi-Fi, it is highly recommended to populate all the RF ports with suitable antennas to take advantage of MIMO, rather than rely on a single port or single antenna to save on cost. Please see the MIMO section for a detailed description of MIMO benefits.

  • For RF systems that support multiple RF ports and multiple RF standards such as LTE, Wi-Fi, and GPS: consider using a multi-element antenna that integrates multiple antennas under the same radome (cover). Doing so may reduce cost compared to deploying and mounting a discrete single port antenna for every RF port.

  • For communication between fixed infrastructure devices, such as mesh nodes or a point-to-point backhaul link, each device should have an antenna with the same polarization. If communicating with mobile devices that might be randomly oriented, consider dual-polarized antennas, such as those with both vertical and horizontal or slant +45° and -45° polarized elements.

Antenna Environmental Specifications

The selected antenna must have suitable mechanical and environmental specifications for the environment where it will be deployed. For example, shock and vibration specifications for transportation, corrosion resistant construction for marine and oil and gas industries, or IP (ingress protection) rating for outdoor deployment. Indoor antennas are typically not suitable for harsh industrial environments. Please check with your system integrator for environmental requirements for your application.

Antenna Accessories and Mounting

Consider the following when planning your installation:

  • Carefully consider what type of other RF accessories, besides antenna, such as RF cables, lightning arrestors or RF adapters may be required in your installations. It is best to minimize long RF cable runs due to RF signal losses in the cable. Thinner RF cables have more RF loss , thicker cables are less flexible and more expensive.

  • Carefully consider how the antenna will be physically mounted, as this may affect antenna selection. For example, a stud mount mechanical mounting design is a better fit for mounting on top of an electrical cabinet than a mast mount antenna.

  • For outdoor deployments, follow installation instructions for the antenna. It is good practice to keep protective covers on the radio’s RF ports and any antenna or accessory RF ports until the moment the interfaces are mated. This reduces chances of contamination, trapping water or condensation inside the connector, or accidental damage to RF interfaces.

MIMO Performance and Arrays

MIMO systems deliver benefits of higher SNR, higher reliability and higher throughput compared to single antenna systems. In more technical terms, MIMO delivers array gain, diversity gain and multiplexing gain compared to single antenna.

  • Array gain — Improvement in SNR (signal to noise ratio) by coherently combining signals from multiple antennas. For example, increasing SNR through beamforming techniques.

  • Diversity gain — Improvement in reliability by mitigating deep fading or strong destructive EM wave interference. For example, in a two-antenna system, if one antenna is experiencing deep fading due to an EM destructive null at its location at a given instant, the other antenna is unlikely to have a null at the same instant, and the combined SNR stays at a reliable level. In contrast, a single antenna would see SNR oscillating between good SNR and very poor SNR and reliability would degrade.

  • Multiplexing gain — Increase in system capacity or throughput by sending independent data over multiple spatial streams simultaneously. The number of streams cannot be more than the number of antennas. For example, to support three spatial streams, a minimum of three antennas is required. Often there may be additional antennas for diversity or redundancy, such as in the case of 4x4:3, or 4x4 MIMO with 3 spatial streams.

If deploying multiple single-element antennas for a MIMO system in an array, ensure sufficient spacing between the antennas. Omnidirectional elements should generally be at least one wavelength apart at the lowest operating frequency.

Consider the following:

  • For Wi-Fi systems operating in the 2.4, 5, and/or 6 GHz bands, space elements at least 5 inches (12.5 cm) apart.

  • For 4G LTE and 5G systems with the lowest operating frequency of 617 MHz , space elements at least 20 inches (50 cm) apart.

  • Note that spacing between elements inside multi-element MIMO antennas is often less than one wavelength. However multi-element antennas are engineered with MIMO performance in mind, by providing antenna diversity through pattern, polarization, and isolation between MIMO elements.

Antenna siting and location

Consider the following when planning your installation:

  • Plan antenna location ahead of time. Ideal location for an antenna is in LOS (line of sight) of the counterpart that it is trying to communicate with. Under LOS conditions the signals propagate directly between the two communication nodes, without relying on signal bouncing off a wall or other structure to reach the counterpart. This is sometimes not possible to achieve in practice, but it is a useful goal to keep in mind when optimizing antenna location.

  • While it is good to keep RF cables short, it is most desirable for an antenna to be in the best location it can be to provide the desired coverage.

  • For large deployments involving multiple units communicating with each other across a complex urban or industrial landscape, consider running an RF propagation modeling study to predict approximate simulated coverage maps and determine initial placement of the units. A propagation study may help reduce overall deployment cost by discovering and mitigating issues with RF coverage before the infrastructure is physically installed.

  • Keep the antenna away from metal obstructions such as heating and air-conditioning ducts, large ceiling trusses, building superstructures, and major power cabling runs. One exception is if the antenna is designed to be mounted on a ground plane. If mounting on a ground plane, mount the antenna on a flat metal surface away from adjacent obstructions.

  • It is strongly recommended not to install antennas directly on the router or access point (AP), unless the router or AP is specifically engineered to directly mount the antennas. Products that are engineered for direct mounting of antennas specifically address each of the below issues.

  • Reasons to mount antennas away from the router include:

    • Router location may not be optimal location for antenna to communicate with the counterpart wirelessly, so router and antenna may need to be in different locations.

    • Router may have a clutter of Ethernet cable and power cables around it, which will obstruct antenna signal.

    • A number of routers, such as the IR1835, are modular. They have plug-in RF modules for Wi-Fi , 4G LTE or 5G NR such as WP-WIFI6, P-LTEAP18-GL, P-5GS6-GL. These modules have RF connectors spaced close together, and while it is mechanically possible to install four or five antennas directly attached, this will result in significant degradation to RF performance of antennas due to mutual de-tuning between closely spaced antennas. It is strongly recommended to install antennas away from the chassis in modular cases.

  • If installing an antenna indoors, consider that the density and electromagnetic properties of the materials used in the building construction determines the number of walls the signal can pass through and still maintain adequate coverage.

    • Paper and vinyl walls have very little effect on signal penetration.

    • Solid and pre-cast concrete walls limit signal penetration to one or two walls without degrading coverage.

    • Concrete and wood block walls limit signal penetration to three or four walls.

    • A signal can penetrate five or six walls constructed of drywall or wood.

    • A thick metal wall causes signals to reflect off, causing poor penetration.

    • A chain link fence or wire mesh spaced between 1 and 1 1/2 in. (2.5 and 3.8 cm) acts as a harmonic reflector that blocks a 2.4-GHz radio signal.

    • Install the antenna away from microwave ovens and 2-GHz cordless phones. These products can cause signal interference because they operate in the same frequency range as the device your antenna is connected to.

Installing the Antenna

You can install the antenna on any flat surface or on a pole with a minimum diameter of 2 inches (5.08 cm) and a maximum diameter of 5 inches (12.7 cm). The antenna and one mounting flange are connected together when shipped. When mounting the antenna you need to assemble the bracket hardware, connect the antenna and bracket to the mounting surface, and adjust the antenna orientation.

Contents of Antenna Bracket Kit

The following figure shows the parts included with the antenna bracket.

Figure 12. Antenna Bracket Kit Contents

1

Mounting flange

5

Flat washers

2

Mounting arm

6

Lock washers

3

Arm attachment bolts (5/16-18 x 1-5/8")

7

Arm attachment nuts (5/16-18)

4

Serrated washers

8

Hose clamps (50 – 135 mm adjustment)


Note


One flange (not pictured here) ships attached to the antenna. The flange pictured here is the one that you attach to the wall or the pole.

Tools and Equipment Required

You will need these tools to loosen and tighten the adjustment bolts on the bracket:

  • A 1/2 in. (13-mm) wrench or socket

To mount the antenna on a wall or ceiling, you will need these supplies:

  • Four mounting screws or bolts and wall anchors


Note


The fasteners and mounting surface should be capable of maintaining a minimum pullout force of 150 pounds (68 kg) to support the weight of the antenna and bracket plus the potential wind loading on the antenna.

To mount the antenna on a pole or mast, you will need either or both of these supplies:

  • Slotted screwdriver to tighten the screws on the hose clamps

  • A 5/16 in. (8mm) socket or box wrench


Note


The pole or mast must be rigid enough to hold the weight of the antenna plus the associated forces produced by wind loads. In addition, the pole or mast must be structurally strong enough to withstand the clamping force of the hose clamps

You may need the following tools and equipment, which are not provided:

  • A drill and drill bit

  • A pencil

Mounting on a Wall or Ceiling

Follow these steps to mount your antenna on a wall or ceiling.

Procedure


Step 1

Remove the antenna and bracket hardware from the shipping container.

Step 2

Determine the mounting location for the antenna.

Note

 
The fasteners and mounting surface should be capable of maintaining a minimum pullout force of 150 pounds (68 kg) to support the weight of the antenna plus the potential wind loading on the antenna.

Step 3

Attach the mounting bracket to the wall or ceiling using four screws or bolts and anchors through the holes on the bracket. The following figure shows the wall-mount bracket.

Figure 13. Wall-Mount Bracket and Dimensions (in millimeters)

Step 4

Assemble the bracket hardware as shown in the following figure.

Figure 14. Assembling the Bracket Hardware

Step 5

Make sure you orient the antenna correctly (note the arrow on the back of the antenna that indicates the top of the antenna). Use a 1/2 in. (13-mm) wrench to loosen the elevation adjustment bolt and the elevation pivot bolt.

Step 6

Adjust the azimuth (side-to-side position) and elevation (up-and-down position) of the antenna. Loosen the adjustment bolts slightly to allow for adjustment. Azimuth angle can be adjusted ±25 degrees and elevation can be adjusted ±60 degrees. You can use the azimuth and elevation markings on the mounting arm and the wall flange as a guide.

Step 7

After you adjust the antenna position, tighten the adjustment bolts and the pivot bolts. Tighten all bolts to 18.7 +/- 5 lb-ft (25.4 Nm).

Step 8

Connect the antenna cables to the access point. The antenna ports are labeled A through D, from left to right.

  • On the AP3702P, connect the antenna port A to connector A on the access point, antenna port B to connector B, and so on.

  • On the AP1570, connect antenna port A to Port 1 on the AP, antenna port B to port 2 on the AP, and so on.


What to do next

See the Suggested Cable section for cable recommendations.

Mounting on a Pole or Mast

The antenna can be mounted on a pole or mast using two hose clamps.


Note


The pole or mast must be rigid enough to hold the weight of the antenna plus the associated forces produced by wind loads. In addition, the mast must be structurally strong enough to withstand the clamping force of the hose clamps.

Procedure


Step 1

Follow steps 1 and 2 from the Mounting on a Wall or Ceiling section.

Step 2

Position and mount the mounting flange (see Antenna Bracket Kit Contents) onto the pole or mast using the hose clamps provided in the kit. The hose clamps should pass through the slots on the mounting flange (see Wall-Mount Bracket and Dimensions (in millimeters).

Step 3

Tighten the clamps only enough to hold the flange and antenna in place until the antenna is positioned to its final position.

Step 4

Assemble the antenna and bracket to the flange as shown in Figure 6.

Step 5

Position the antenna, mounting bracket, and hose clamps on the mast.

Step 6

Tighten the hose clamps until the antenna is fully secure on the mast. Ensure that the antenna cannot rotate about the mast.

Step 7

After the antenna is secured on the mast, adjust the azimuth and elevation.

To adjust the azimuth and elevation, use a 1/2 in. (13-mm) wrench to loosen the adjustment bolts. Azimuth can be adjusted ±25 degrees and elevation can be adjusted ±60 degrees.

Step 8

After you adjust the antenna position, tighten the adjustment bolts. Tighten all bolts to 18.7 +/- 5 lb-ft (25.4 Nm).

Step 9

Connect the antenna cables to the access point. The antenna ports are labeled A through D, from left to right. Connect the antenna port A to connector A on the access point, antenna port B to connector B on the access point, and so on.


What to do next

See the Suggested Cable section for cable recommendations.

Suggested Cable

Cisco recommends a high-quality, low-loss cable for use with the antenna, such as Cisco AIR-CAB005LL-R-N= (5 foot low-loss cable with RP-TNC and N-type connectors) for AP3702P, or AIR-CAB005LL-N= or AIR-CAB010LL-N= (5 foot and 10 foot N-type connectors, respectively) for AP1570.

Four cables are required.


Note


Coaxial cable loses efficiency as the frequency increases, resulting in signal loss. The cable should be kept as short as possible because cable length also determines the amount of signal loss (the longer the run, the greater the loss)

Painting the Antenna

Painting the antenna and the bracket does not affect its performance if you use standard exterior-grade, oil-based or latex paint. Do not use metallic or metallic-flake paints, which will degrade antenna performance.


Note


Before painting the antenna, cover the pressure-release vent on the rear, lower-left of the antenna with masking tape to prevent clogging.

Cisco recommends Krylon Fusion for Plastic or Rust-Oleum for Plastic (which might require a primer coat). For best results, follow the surface preparation suggestions from the paint manufacturer.

Communications, Services, and Additional Information

  • To receive timely, relevant information from Cisco, sign up at Cisco Profile Manager.

  • To get the business impact you’re looking for with the technologies that matter, visit Cisco Services.

  • To submit a service request, visit Cisco Support.

  • To discover and browse secure, validated enterprise-class apps, products, solutions, and services, visit Cisco DevNet.

  • To obtain general networking, training, and certification titles, visit Cisco Press.

  • To find warranty information for a specific product or product family, access Cisco Warranty Finder.

Cisco Bug Search Tool

Cisco Bug Search Tool (BST) is a web-based tool that acts as a gateway to the Cisco bug tracking system that maintains a comprehensive list of defects and vulnerabilities in Cisco products and software. BST provides you with detailed defect information about your products and software.

Documentation Feedback

To provide feedback about Cisco technical documentation, use the feedback form available in the right pane of every online document.

Cisco Support Community

Cisco Support Community is a forum for you to ask and answer questions, share suggestions, and collaborate with your peers. Join the forum at https://supportforums.cisco.com/index.jspa.